How To Make Metal Detector?
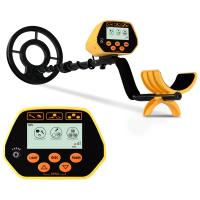
Building a metal detector is a highly engaging and educational DIY project that combines principles of basic electronics, physics, and engineering. Whether you're a hobbyist looking to experiment with new concepts, a treasure hunter, or an educator searching for a hands-on teaching tool, making your own metal detector can be an exciting activity. In this comprehensive guide, we'll discuss the basic principles behind metal detectors, outline the methods for building one, and provide practical tips to ensure success.
Understanding Metal Detectors: The Basics
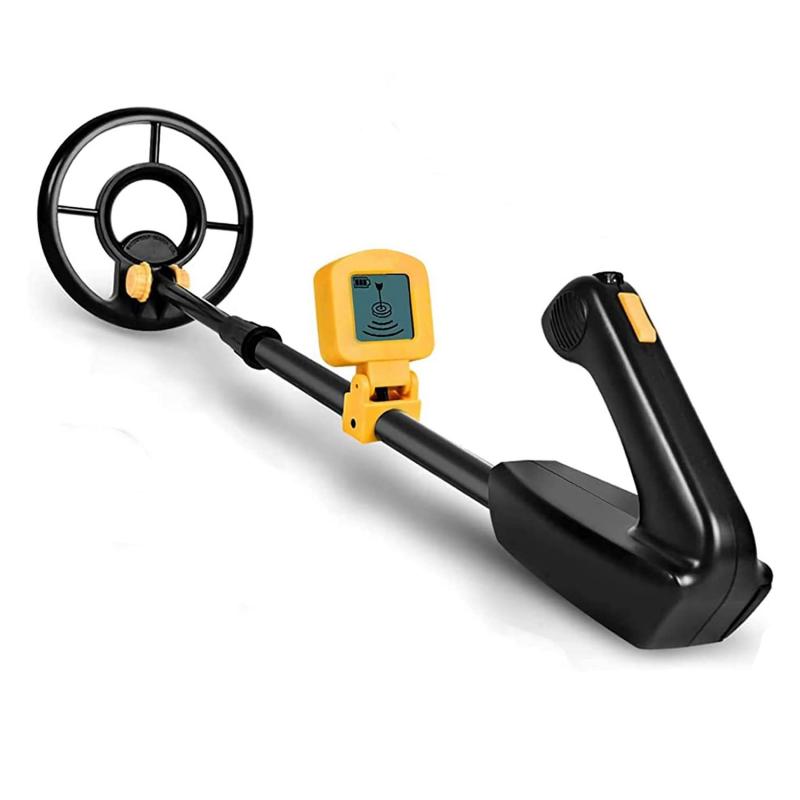
Metal detectors work on the principle of electromagnetic fields. At their core, they rely on the interaction between a magnetic field generated by an electrical coil and the conductive nature of metal objects. Here's how it works in simple terms:
1. Transmission of Electromagnetic Waves: A coil inside the metal detector emits electromagnetic waves when powered by an electric current. These waves propagate outward, passing through the surrounding medium (soil, air, etc.).
2. Induction of Eddy Currents: When these electromagnetic waves encounter a metal object, they induce tiny currents, known as eddy currents, within the metal. These currents generate their own magnetic field.
3. Detection of Magnetic Signal: A second coil, or the same coil in some designs, measures changes in the magnetic field. Any disturbance caused by a metal object is detected and conveyed as a signal, usually as an audio tone or a visual alert.
Now that we've established the science behind metal detection, let's explore how you can create your own metal detector from scratch.
---
Tools and Components Required

To build a basic metal detector, you’ll need the following materials and components:
- Oscillator Circuit: Responsible for creating a high-frequency current in the detector coil.
- Detection Coil: A wire loop that acts as an antenna for transmitting and receiving the electromagnetic signal.
- Capacitor: Helps stabilize the electrical signal in the circuit.
- Resistor: Controls the flow of current in the circuit.
- Diode: Ensures that current flows only in one direction.
- Speaker or Buzzer: Produces an audio signal when a metal object is detected.
- Electric Switch: For turning the device on and off.
- Battery and Battery Holder: Supplies power to the entire circuit.
Optional tools include soldering equipment, a multimeter (for checking connections), insulating tape, and a plastic or wooden enclosure for housing the components.
---
Step-by-Step Guide to Building a Basic Metal Detector

Step 1: Create the Detection Coil
1. Take a length of copper wire, approximately 20–30 feet, and wind it into a circular coil. Aim for between 20 and 50 turns of wire.
2. Use tape or zip ties to secure the coil so it holds its shape. Leave enough excess wire on both ends for connecting it to the circuit.
3. This coil will serve as your antenna for transmitting and receiving electromagnetic signals.
Step 2: Assemble the Electronic Circuit
1. Oscillator Circuit: Use a simple transistor oscillator to generate high-frequency currents. You'll need resistors, capacitors, and a transistor to create the oscillator.
2. Signal Detection: Attach the detection coil to the oscillator circuit and ensure that the output flows into a signal detection system. This will involve connecting your diode and capacitor to filter the signal.
3. Output System: Attach your speaker or buzzer to the circuit so that it responds to disturbances in the magnetic field.
For a simpler approach, you can use readily available schematics online that illustrate basic metal detector circuits. Alternatively, hobbyists can also purchase pre-assembled circuit boards tailored for metal detection.
Step 3: Test the Circuit
1. Assemble all the components on a breadboard before soldering to ensure everything works properly. Use a multimeter to check for continuity and correct voltage levels.
2. Turn on the circuit and test it by holding the detection coil near a metal object. If the object is detected, the buzzer or speaker should activate.
Step 4: Mount the Components
Once the circuit is functioning, mount all the components within a plastic or wooden casing. Attach the detection coil to the end of a stick or rod to act as a handle, making the detector easier to maneuver.
---
Practical Tips for Better Performance
1. Choosing the Right Coil Size: The size of your coil determines the depth and sensitivity of your detector. Larger coils will detect objects buried deeper but may struggle with small items, while smaller coils are better for detecting tiny pieces of metal at shallow depths.
2. Avoiding Interference: Ensure your detection coil is insulated to prevent external electrical interference or noise from affecting your circuit. You can shield it using aluminum foil or keep it away from other electronic devices during testing.
3. Fine-Tuning Sensitivity: Add a potentiometer to your circuit to act as a sensitivity adjustment. This allows you to calibrate the detector for specific tasks, whether you’re searching for large objects or small metal fragments.
4. Power Source Optimization: Use a stable power source, such as AA batteries in series, to provide consistent voltage. Avoid underpowering or overloading the circuit with inappropriate batteries.
5. Ergonomics: Include a comfortable handle and adjustable length for ease of use. Customizing the design for lightweight handling makes your detector practical for extended periods of operation.
---
Exploring Advanced Metal Detector Technologies
For those who wish to go beyond a rudimentary design, consider the following advanced techniques:
- Pulse Induction (PI) Detectors: Pulse induction systems send short pulses of current through the coil, detecting metals by analyzing the time delay between pulse emission and reception.
- Very Low Frequency (VLF) Detectors: These devices utilize two coils—one for transmitting and one for receiving signals. VLF detectors are ideal for distinguishing between types of metals, often including discrimination settings.
- Smart Detectors: Incorporate a microcontroller (e.g., Arduino) to process signal data and display findings on an LCD screen. You can even integrate wireless connectivity to send detection data to your smartphone.
Although these approaches require a deeper understanding of electronics and programming, they enable you to customize your detector for specific needs.
---
Challenges and Troubleshooting
Like any DIY project, building a metal detector comes with its challenges. Below are common issues and solutions:
1. No Signal Detection: Ensure all connections are correct and secure. Test individual components (e.g., the coil and circuit board) to identify and replace defective parts.
2. False Alarms: If the detector alerts even when no metal is present, the issue may be stray electromagnetic signals or improper wiring. Recheck your coil insulation and minimize external interference.
3. Low Sensitivity: This could result from insufficient power input or an improperly wound detection coil. Re-check the coil specifications and battery voltage.
---
Practical Applications of Homemade Metal Detectors
Although homemade metal detectors cannot compete with commercial models in terms of depth sensitivity and accuracy, they serve several useful purposes:
- Treasure Hunting: Searching for coins, relics, or jewelry in shallow soil or sand.
- Educational Demonstrations: Teaching students about electromagnetism, circuits, and engineering principles.
- Game or Puzzle Activities: Using the detector for scavenger hunts or outdoor games involving hidden metallic objects.
- Niche Applications: Locating small metal items, such as nails or screws, in construction or workshop setups.
---
Final Thoughts
Building a metal detector from scratch is a rewarding project that combines creativity, problem-solving, and technical knowledge. Not only can you customize the device to suit your needs, but you also gain valuable experience in electronics and engineering principles along the way.
By following the steps outlined above and experimenting with various designs and components, you can create a functional metal detector that brings your vision to life. Whether you're treasure hunting, exploring physics, or tackling a DIY challenge, the journey of building your own metal detector is sure to be both educational and gratifying. With time and practice, you may even find yourself inspired to push the boundaries of DIY devices and venture into other innovative projects.

