How To Make Laser Security Camera?
Creating your own laser security camera can be an interesting, innovative, and rewarding DIY project. Such systems combine advanced technologies in laser alignment, motion detection, and video surveillance, offering a great way to secure specific areas or enhance existing security systems. In this article, I will guide you on how to create your own laser security camera system step by step. This will help you better understand the underlying mechanisms while implementing a functional project to improve your property’s safety.
Understanding the Basics
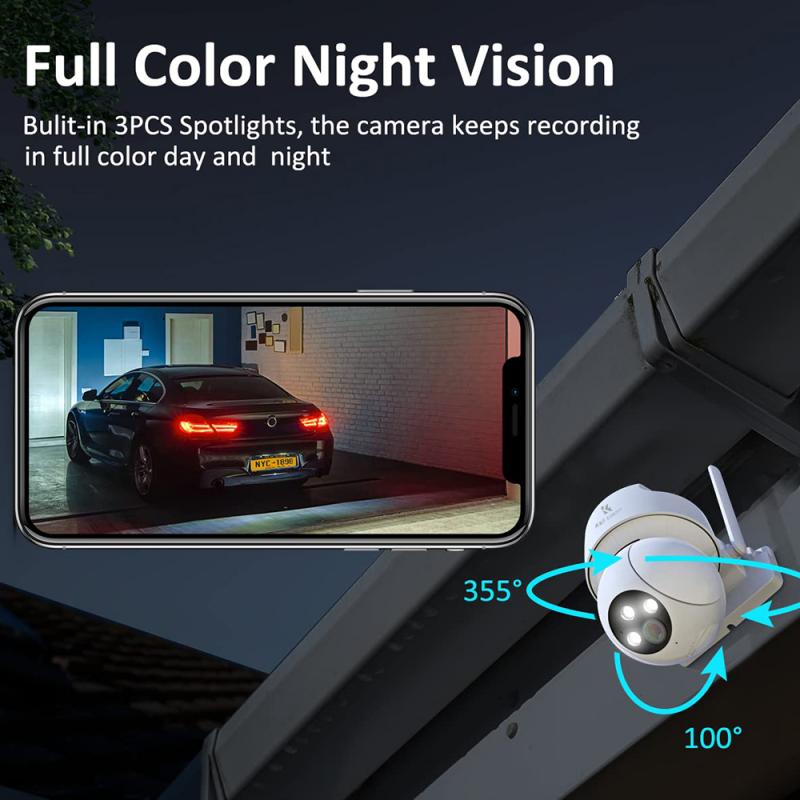
Before diving into the construction process, let’s break down what a laser security camera is. In simple terms, it is a system that uses a laser beam as a motion detection trigger. When the laser beam is interrupted by movement, a signal is sent to a connected camera to record the scene and potentially alert you through alarms or notifications.
Laser-based systems are especially precise because the beam is direct and narrow, ensuring accuracy in detecting interruptions within a marked perimeter or specific space. Combining this technology with a security camera can enhance surveillance capabilities, particularly in restricted areas where you want to detect unauthorized entry.
To make a laser security camera, you will connect and program the following components:
1. Laser module to emit the beam.
2. A receiver or sensor unit to detect when the beam is interrupted.
3. A security camera to record video footage triggered by beam interruption.
4. Control system (microcontroller like Arduino or Raspberry Pi) to process sensor data and activate the camera.
By working through this guide step by step, anyone with basic knowledge of DIY electronics and programming can create a functional laser security camera.
---
Materials You’ll Need
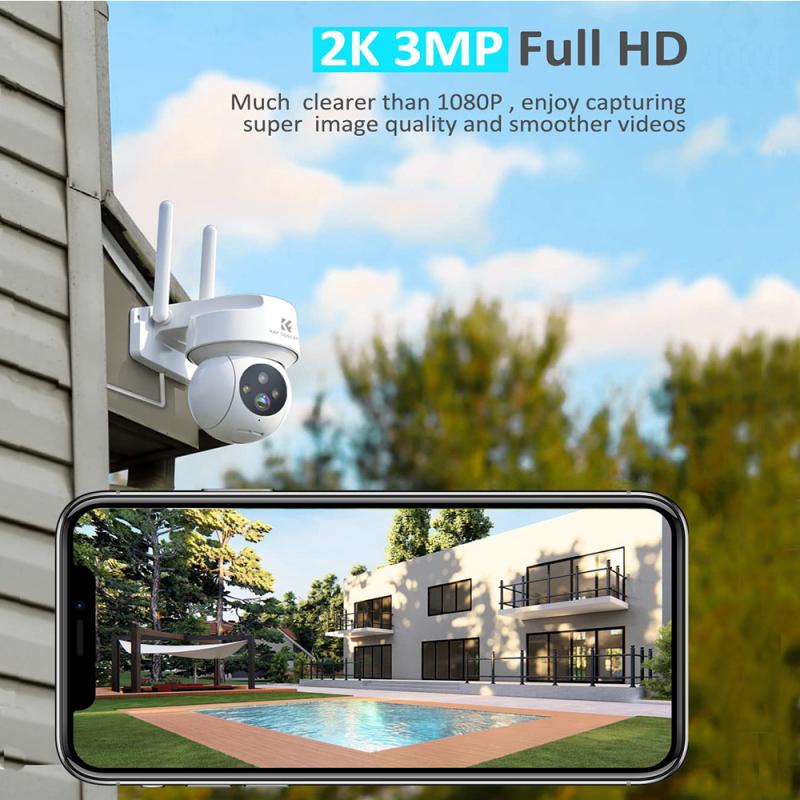
1. Laser Module or Laser Pointer: Produces the laser beam.
2. Light-Sensitive Sensor (Photoresistor or Photodiode): Detects changes in the laser’s reception and triggers the system.
3. Microcontroller (Arduino, Raspberry Pi, or similar): Processes the input from the sensor and relays commands to the camera.
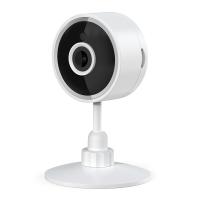
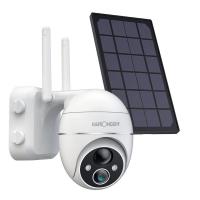
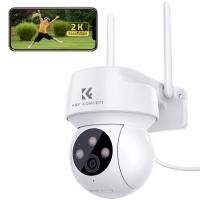
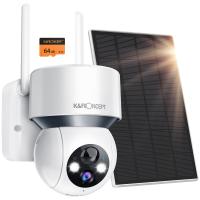
4. Security Camera with Connectivity: A Wi-Fi camera or similar device with motion-activated recording capability.
5. Wires and Resistors: For connecting the components.
6. Breadboard/PCB (Printed Circuit Board): To assemble your circuit.
7. Power Supply or Batteries: To power the system.
8. Laser Mount/Holder: To stabilize the laser beam.
9. Basic Programming Software: Like Arduino IDE or Python for Raspberry Pi.
Optional components include:
- Alarm system for audible notifications.
- Relays or IoT modules for remote alerts.
---
Steps to Build the Laser Security Camera
1. Plan and Design the System

Begin by deciding the location where the laser security system will be deployed. Consider these factors:
- The area requiring coverage (e.g., doorways, corridors, driveways).
- The pathway of the laser, ensuring it reaches the sensor.
- Placement of the camera to ensure full visibility of the area.
Sketch the placement of each device and draw a simple circuit diagram to understand how components interact.
2. Assemble the Laser Light Module
Use a laser pointer or module and mount it securely so the beam consistently points towards your sensor. You'll also need a sturdy base to avoid misalignment due to external factors like vibration.
3. Install the Light Sensor
On the receiving end of the laser beam, set up a photodiode or photoresistor. This sensor detects light intensity and can recognize when the laser beam is interrupted. Ensure precise alignment between the laser and sensor.
- If a photoresistor is used, connect it to the microcontroller via a voltage divider circuit.
- For a photodiode, set up the necessary connections based on the datasheet.
4. Program Your Microcontroller
Write a program that processes data from the light sensor. The code should detect unusual changes in light intensity (beam disruption) and trigger the connected camera to record. Here's a simple process outline:
1. Calibrate the sensor: Define normal light intensity thresholds when the laser beam is uninterrupted.
2. Detect interruptions: Code the microcontroller to constantly monitor the sensor and recognize significant drops in light levels.
3. Trigger Action: Activate the camera recording system when an interruption is detected.
If you're using Arduino, you can develop the system logic using its IDE. For Raspberry Pi, you can use Python. Here's a generalized code example for Arduino:
```cpp
const int sensorPin = A0; // Input from light sensor
const int cameraPin = 2; // Output to camera
void setup() {
pinMode(sensorPin, INPUT);
pinMode(cameraPin, OUTPUT);
Serial.begin(9600);
}
void loop() {
int sensorValue = analogRead(sensorPin); // Read sensor value
Serial.println(sensorValue);
// Check if light beam is broken
if (sensorValue < thresholdValue) { // Define your threshold value
digitalWrite(cameraPin, HIGH); // Turn on the camera
delay(5000); // Record for 5 seconds
digitalWrite(cameraPin, LOW); // Turn off the camera
}
delay(50); // Short delay between readings
}
```
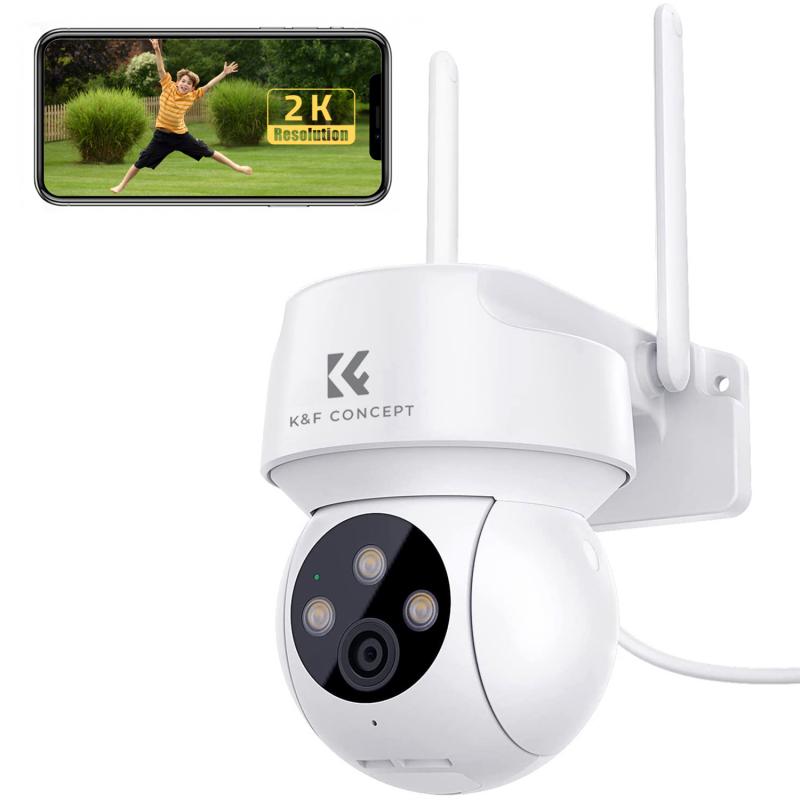
5. Set Up the Camera
Connect your security camera to the microcontroller. Many modern cameras allow connectivity via relays or GPIO outputs. If you are using a smart or network camera, some can be set up to start recording based on Wi-Fi triggers from your system.
Ensure the camera points in the correct direction and has no obstructions to view the desired area. Test its recording feature manually before integrating it with your laser module.
6. Test and Adjust
Align the laser module so the beam strikes the light sensor accurately. Perform tests by interrupting the beam to ensure the sensor reacts as expected. Fine-tune the sensitivity of the sensor and adjust the programming thresholds to minimize false triggers.
Run the entire system to ensure that when the laser beam is broken, the camera starts recording seamlessly.
7. Add Advanced Features
To enhance the functionality of your laser security camera, consider adding the following:
- Alarm or Notification System: Use a buzzer or IoT service like IFTTT to send alerts to your smartphone in case of intrusion.
- Night Vision Capabilities: Use an infrared-sensitive camera for better visibility at night.
- Cloud Storage: Configure your camera to upload footage to the cloud for safekeeping.
---
Practical Tips for Implementation
1. Alignment is Key: Misalignment between the laser and sensor can cause false alarms or system failure. Use precise tools to ensure stability.
2. Weatherproof Setup for Outdoor Use: If the system will be used outside, protect your components with weatherproof enclosures.
3. Optimize Power Usage: Use efficient components and power management systems, especially for battery-operated setups.
4. Minimize False Positives: Place the system in controlled environments to avoid accidental triggers caused by pets, falling objects, or passing vehicles.
5. Secure Your System: Hide or protect the laser and sensors from tampering by intruders.
---
Frequently Asked Questions
1. Can I use a commercial laser pointer for this system?
Yes. However, ensure the laser is safe for both human exposure and the environment. Avoid high-power Class III or IV lasers for safety reasons.
2. What kind of power supply should I use?
You can use rechargeable batteries, USB power banks, or plug-in adapters depending on your setup. Ensure the voltage matches the requirements of your system components.
3. Do I need advanced programming skills to complete this project?
No. Basic knowledge of Arduino or Python programming is sufficient. You can find many tutorials and libraries to assist in writing the code.
---
Building your laser security camera is an exciting DIY project that combines creativity, engineering, and technology to solve real-world problems. Whether you want to secure a single entrance or enhance an existing surveillance system, this solution offers precision and reliability.
By following the steps above, you’ll not only create a functional security tool but also expand your understanding of several fields, including electronics, programming, and automation. With some experimenting and fine-tuning, you can tailor this system to fit your specific needs while gaining valuable hands-on experience in designing security systems.














There are no comments for this blog.