How To Make Camera Flash?
How to Make a Camera Flash: A Comprehensive Guide for Photography Enthusiasts
Whether you're an aspiring photographer, a tech hobbyist, or simply someone curious about the mechanics behind photography equipment, creating your own camera flash can be a fascinating and rewarding project. The flash is an essential component of photography, enabling photographers to capture well-lit images in dim or dark environments or create dramatic effects. Developing one yourself not only deepens your understanding of lighting but can also be a cost-effective alternative to purchasing expensive equipment. This article will delve into how camera flashes work, the components you'll need to build one, safety considerations, and potential applications.
---
Understanding the Basics: What is a Camera Flash?
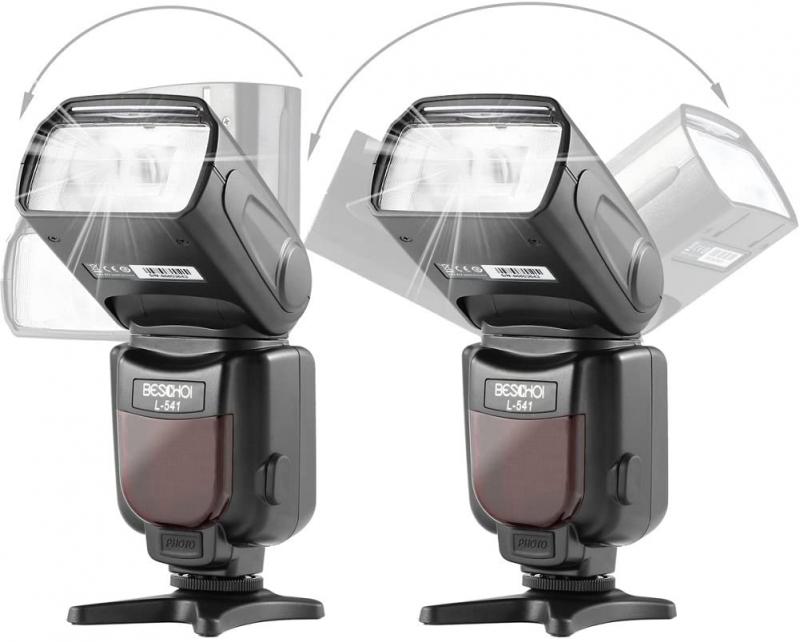
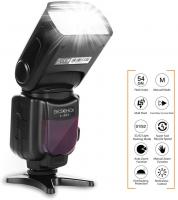
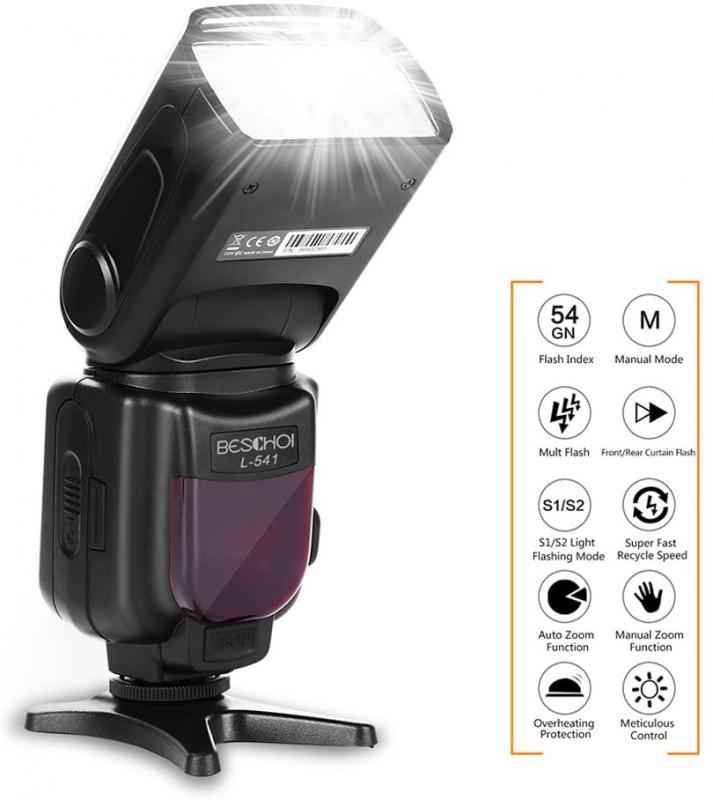
A camera flash is a device that emits a burst of light to illuminate a scene. The fundamental purpose is to provide sufficient lighting when the natural or ambient light is inadequate. The flash typically lasts only milliseconds, ensuring sharp, properly exposed images without significant motion blur. A standard camera flash has four key components:
1. Power Source: Typically batteries, used to generate the electrical energy required to produce light.
2. Capacitor: Stores electrical charge and releases a quick burst of high voltage to energize the bulb.
3. Flash Tube: A glass or quartz tube filled with xenon gas, which emits light when ionized by an electrical current.
4. Trigger Mechanism: Activates the flash at the correct moment, synchronized with the camera's shutter.
---
Components You’ll Need to Build a DIY Flash
To make your own camera flash, you’ll require basic electrical components that you can source easily. Here’s a list of the primary materials:
- Xenon Flash Tube: These are the key elements in professional flashes. You can salvage one from an old disposable camera or purchase it online.
- Capacitor: A large capacitor (rated around 100–300 microfarads and capable of handling a few hundred volts) is needed to store the energy required for the flash burst.
- Power Source: A battery pack or rechargeable batteries. Disposable camera circuits can often reuse their existing battery setup.
- Trigger Circuit: A trigger transformer or circuit is essential for creating the high-voltage pulse that excites the xenon flash tube, enabling it to fire.
- Resistors and Diodes: These help limit excessive current and ensure the longevity of the components.
- Switch or Button: To trigger the flash manually.
- Plastic or Metal Housing: To encase the components safely and make it portable.
- Optional Add-ons:
- Reflectors and diffusion panels to shape and soften the light.
- A hot shoe adapter or wireless connection to sync the flash with your camera.
---
How to Assemble the Camera Flash
1. Understand the Circuit Design
The basic circuit design for a camera flash involves three main sections:
- The power section, which charges the capacitor.
- The trigger section, which generates the high-voltage pulse.
- The discharge section, which sends the stored energy through the flash tube.
Simple circuit schematics are widely available online and serve as useful guides. If you're salvaging parts from devices like disposable cameras, they often already have a pre-built flash circuit.
2. Build or Reuse the Power Circuit
Start by assembling the power supply and charging circuit. If you're salvaging parts from a disposable camera, you’ll find that these typically include a battery-powered circuit that steps up the voltage to a level capable of charging the capacitor. Test the power circuit carefully with a multimeter to confirm the capacitor charges correctly.
3. Install the Flash Tube
Secure the xenon flash tube into place. Ensure you use insulated clamps or mounts to hold it securely, as it will generate high voltage during operation. Align it with your reflector or diffuser if you are using one.
4. Create the Trigger Circuit
A piezoelectric trigger circuit or a specialized transformer is used to create the high-voltage pulse necessary to ionize the xenon gas in the tube. This circuit is activated by a switch or button. Ensure this component is isolated from other parts to avoid accidental triggering or electrical accidents.
5. Assemble the Enclosure
Once all components are connected, test the flash in an open setup. After confirming functionality, place the components inside a protective housing to shield users from accidental shocks. Use non-conductive material to build the outer shell and add ventilation if the flash will be used frequently.
---
Safety Considerations
Building a camera flash involves handling high-voltage components, which can be dangerous if mishandled. Following these safety precautions is vital:
1. Always discharge the capacitor before working on the circuit, as it can retain a dangerous charge even when the device is powered off. Use a resistor to safely bleed off stored energy.
2. Work in a well-ventilated area and away from flammable materials, as the flash tube can become very hot.
3. Wear insulated gloves and avoid touching exposed wires or terminals while the flash is powered on.
4. Use a multimeter to check for voltage at multiple points in the circuit before handling any components.
---
Optimizing the Flash for Your Needs
Once your basic DIY flash is operational, you can incorporate enhancements to improve performance and usability. For example:
1. Add Reflectors and Diffusers: A reflector can direct and concentrate the flash, while a diffuser softens the light, reducing harsh shadows.
2. Sync with Your Camera: Using an optical or wired trigger, you can synchronize the flash with your camera's shutter for precise timing. Add-on modules like hot shoe adapters or IR receivers can facilitate this.
3. Adjustable Power Settings: While basic flashes operate at full power all the time, you can modify your circuit to allow variable capacitor charging levels for adjustable flash intensity.
4. Portability: Think about ergonomics and portability. Lightweight materials, compact designs, and detachable batteries can make your DIY flash more practical.
---
Applications of DIY Camera Flashes
Building your own camera flash unlocks several creative opportunities:
- Studio Photography: A homemade flash can be a cost-effective solution for tabletop product photography or portrait sessions.
- Experimental Photography: Create unique stroboscopic lighting effects or ultra-short exposures with modifications to your flash circuit.
- Education and Learning: Understanding how flashes work provides valuable insights into electronics and lighting principles.
- Hobby Electronics Projects: Building a flash can pave the way for diving deeper into advanced circuitry and DIY photography tools like light meters and triggers.
---
Troubleshooting Common Issues
When creating a DIY flash, you may encounter some hurdles. Here’s how to address them:
- Flash Isn’t Firing: Double-check the trigger circuit. Ensure proper wiring and verify that the capacitor is charging adequately.
- Light Output is Weak: This may indicate an undercharged capacitor or a worn-out xenon tube. Try increasing the voltage or replacing the flash tube.
- Components Overheating: Excessive heat is often a sign of poor insulation or excessive load. Add heat sinks or improve the ventilation system.
---
Building a camera flash from scratch is an excellent way to blend artistry and engineering. While creating your own flash unit might initially seem daunting, the project provides invaluable insights into the interplay between light, electricity, and photography. With the right tools, materials, and precautions, you can design a functional flash that fits your needs and budget. Moreover, diving into this process can ignite new creative possibilities, whether you're capturing better-lit images, exploring unique lighting designs, or satisfying your technical curiosity.
Remember to respect the safety measures mentioned above, experiment carefully, and let your creativity shine. Whether you're a professional photographer or an electronics hobbyist, constructing a DIY camera flash will undoubtedly be a bright idea (pun intended)!

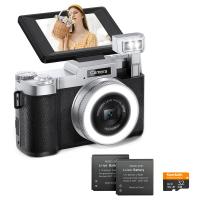
![4K Digital Camera for Photography & Video [Autofocus and Stabilisation] 48MP 16X Digital Zoom 3” 180° Flip Screen Vlog Camera with 32G SD Card, Flash 4K Digital Camera for Photography & Video [Autofocus and Stabilisation] 48MP 16X Digital Zoom 3” 180° Flip Screen Vlog Camera with 32G SD Card, Flash](https://img.kentfaith.com/cache/catalog/products/us/GW41.0065/GW41.0065-1-200x200.jpg)

