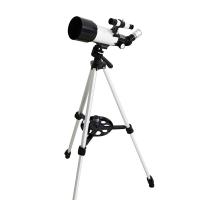
How To Make A Telescope Using Camera Lenses?
Amateur astronomy is a fascinating hobby that allows people to explore the wonders of the universe from their own backyard. While commercial telescopes often come with high price tags, many DIY enthusiasts prefer to create their own telescopes, either for the love of tinkering or to learn the science behind these instruments. Surprisingly, you can construct a simple yet functional telescope using items as accessible as camera lenses. This guide delves into the basics of building a telescope using camera lenses, offering practical instructions and explanations grounded in optical physics. Let’s get started!
---
Why Use Camera Lenses for a Homemade Telescope?
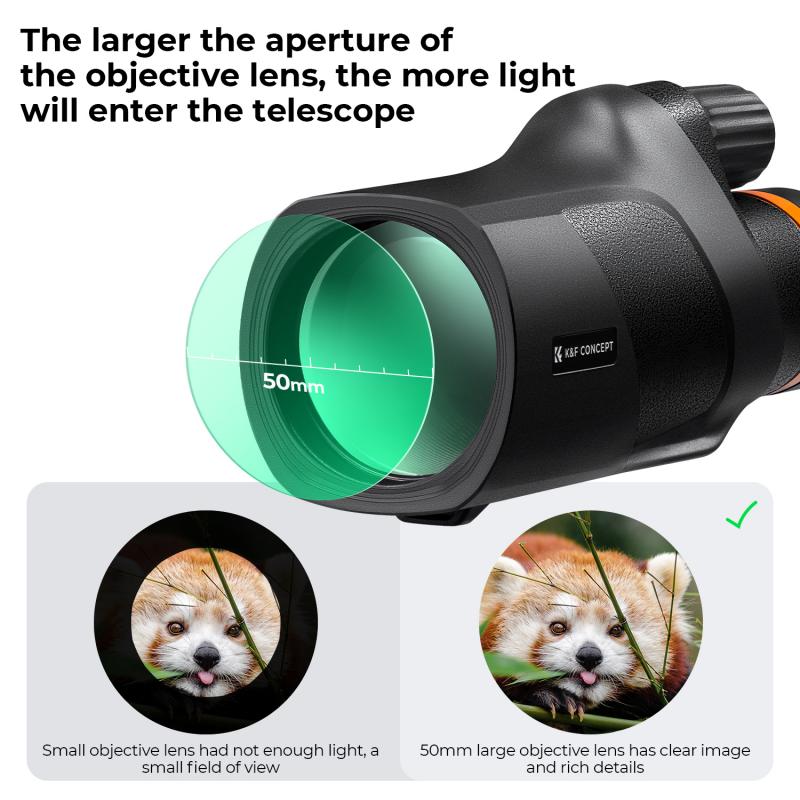
Camera lenses are designed to focus light with precision, making them an excellent choice for building telescopes. The principles of optics that govern camera lenses—capturing light, focusing it, and optimizing clarity—are the same as those in traditional telescopes. Moreover, using camera lenses can be cost-effective, especially if you already have unused or spare lenses lying around.
The idea revolves around assembling two lenses with complementary properties: an objective lens (the lens for gathering light and creating an image) and an eyepiece lens (the lens you will use to magnify the image created by the first lens). Together, they work to magnify distant objects like planets or stars.
---
Materials Required

The first step is gathering the necessary materials. For ease of construction, all components should be accessible and manageable:
1. Camera lenses:
- A camera lens with a long focal length to act as the objective lens.
- Another camera lens with a shorter focal length to function as the eyepiece lens.
2. PVC pipes or tubes that fit the lenses:
- These will serve as the telescope body.
3. Couplers or adapters:
- Used to adjust the fit between the lenses and tubes.
4. Black paint or duct tape:
- To prevent internal reflections and stray light interference by darkening the interior of the telescope tube.
5. Tripod or stabilizing mount (optional):
- To provide stability for sharper viewing.
6. Fine-thread screws, nuts, and bolts (optional):
- For adjustments, if required.
7. Measuring tape and tools:
- To align lenses and ensure proper spacing.
---
How a Telescope Works: A Quick Explanation
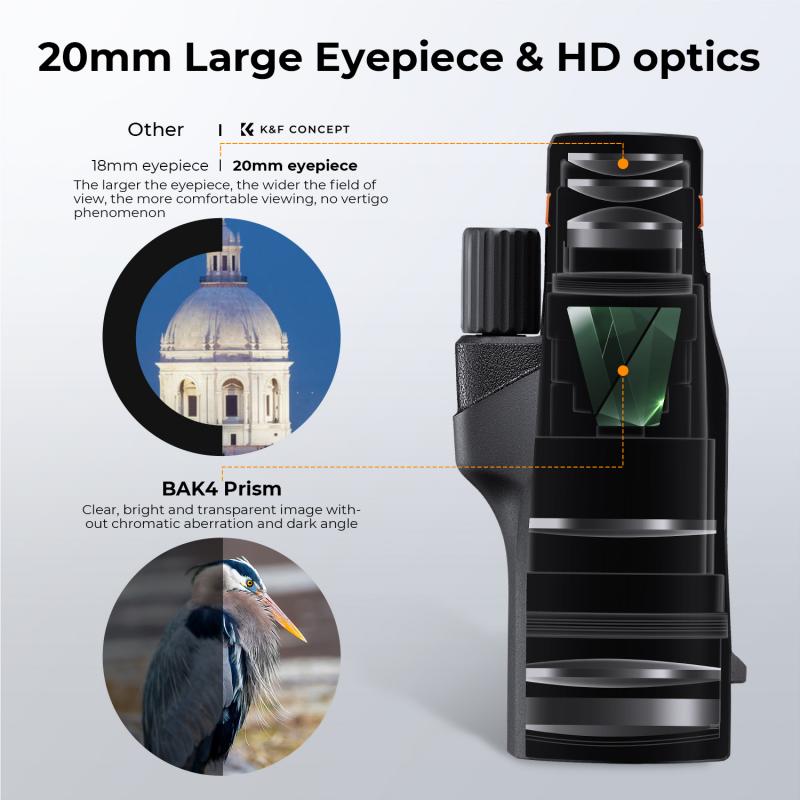
Before we dive into assembly, it’s important to understand the basic optical principles at play. A telescope primarily works by combining two lenses of different focal lengths:
- The objective lens gathers a large amount of light from the object (e.g., a distant star) and brings it to focus, creating an intermediate image.
- The eyepiece lens then magnifies this intermediate image, allowing you to observe the object in greater detail.
The magnification (or power) of the telescope is determined by the ratio of the focal lengths of the two lenses:
\[ \text{Magnification} = \frac{\text{Focal length of the objective lens}}{\text{Focal length of the eyepiece lens}} \]
For example, if the objective lens has a focal length of 300 mm and the eyepiece lens has a focal length of 25 mm, the telescope would provide a magnification of:
\[ 300 \div 25 = 12x \text{ magnification} \]
---
Step-by-Step Assembly of a Telescope Using Camera Lenses
1. Select Your Lenses
- Choose an objective lens with a large aperture and long focal length (e.g., 200–300 mm). This will gather and focus light more effectively, ideal for astronomical observations.
- Select an eyepiece lens with a shorter focal length (e.g., 20–50 mm) to serve as the magnifying lens.
Make sure the lenses are clean and free from scratches for optimal clarity. You can repurpose old DSLR camera lenses, prime lenses, or any suitable convex lens with appropriate focal lengths.
---
2. Prepare the Telescope Tube
- Cut PVC pipes or other cylindrical materials to the desired lengths. One tube will house the objective lens, and the other will house the eyepiece lens.
- Paint the insides of the tubes with matte black paint or line them with black tape. This step minimizes internal reflection, reduces glare, and enhances image clarity.
- Ensure that both tubes are long enough so that the combined focal lengths of the lenses fit comfortably within the structure.
---
3. Align and Mount the Objective Lens
- Insert the objective lens into one end of the larger tube. If it is not a snug fit, use couplers, rubber gaskets, or tape to secure it in place.
- Ensure the lens is aligned perpendicular to the axis of the tube for consistent light gathering and image quality.
---
4. Position the Eyepiece Lens
- Insert the eyepiece lens into a smaller tube, which can slide into or attach to the larger tube. Ensure this tube is adjustable so that you can experiment with the focal distance.
- The eyepiece lens should be mounted at a distance equal to the summed focal lengths of the objective and eyepiece lenses. This allows the system to focus images properly and achieve magnification.
---
5. Adjust the Focusing Distance
- The focusing distance between the two lenses is critical to obtaining clear images. Use a measuring tape to calculate the approximate distance based on the focal lengths of your lenses.
- Slide the smaller tube (with the eyepiece lens) in or out of the larger tube until the image comes into focus. This step requires patience.
---
6. Test the Telescope During Daylight
- Before trying the telescope at night, test it during the day by fixing it on distant objects like trees or buildings.
- Look through the eyepiece while adjusting the focusing distance to capture a sharp and clear image.
---
7. Stabilize the Telescope
- To maximize its functionality, mount the telescope on a tripod. A stabilized telescope minimizes vibrations, which blur images and make observing celestial objects difficult.
- If a tripod is unavailable, improvise with a steady surface or build a simple mount using household materials.
---
8. Astronomical Observations
Once your telescope is aligned and functioning as intended, take it outside on a clear night and point it at the stars. Start with the Moon—it’s large and bright, making it the easiest celestial object to observe. From there, try spotting planets like Jupiter or Saturn, and perhaps even the occasional galaxy or nebula if light pollution isn’t an issue in your area.
---
Practical Tips for Success
1. Lens Combination: Experiment with different lens combinations to optimize magnification and clarity. Higher magnification isn’t always better; it may result in a dimmer and more distorted image.
2. Light Pollution: Avoid areas with excessive city lights. Darker skies yield better views of fainter celestial objects.
3. Maintenance: Keep your lenses clean and store the telescope in a dry, safe place to prevent dust or damage.
4. Trial and Error: DIY telescope-building often involves trial and error. Don’t be discouraged if the first attempt doesn’t work perfectly.
---
Advantages of Building Your Own Telescope
A telescope built with camera lenses is an entry point into both astronomy and the fascinating world of optics. Here are a few advantages:
- Cost-Effectiveness: Repurposing old camera lenses is far cheaper than purchasing a professional-grade telescope.
- Learning Opportunity: The process cultivates hands-on problem-solving skills and deepens your understanding of optical physics.
- Customization: A DIY telescope offers more room to modify and adjust components, tailoring the device to your preferences.
---
Creating a telescope using camera lenses is not only a rewarding DIY project but also a gateway to discovering the cosmos. By understanding the fundamental principles of optics and carefully following the steps outlined above, you can construct a functional and cost-effective telescope. With a clear sky and a bit of patience, your homemade telescope can reveal stunning views of distant worlds, bridging the gap between simple curiosity and profound discovery. Whether you're gazing at the Moon or marveling at Saturn's rings, you'll find a sense of achievement in saying, “I built this telescope myself!”

