How To Make A Security Camera From Scratch?
Building a security camera from scratch is an exciting and rewarding project for enthusiasts looking to learn more about electronics, software, and surveillance technology. Whether you’re motivated by curiosity or practical needs, such as securing your home or businesses, creating a DIY security camera can save you money while teaching valuable skills in engineering and software development. In this guide, I will walk you through the critical components, considerations, and step-by-step instructions to create a functional security camera system.
---
Introduction to a DIY Security Camera
Before diving into the process of building a security camera, it’s important to understand its components and the functionality it must provide. At its core, a security camera system typically consists of a camera, processing hardware, communication modules (to send and receive data), and software to store and display the footage. The three essential goals for your DIY security camera project are as follows:
1. Capture Video: Using a camera sensor, the system should be able to record video with acceptable resolution and frame rate.
2. Process and Store Footage: The recorded video must be processed and either stored locally or streamed to a remote server/cloud location for later review.
3. Remote Monitoring: A security camera is only beneficial if you’re able to monitor it remotely in real-time or retrieve footage on demand.
Here’s how you can achieve these goals from scratch.
---
Step 1: Gathering Components
The first step is to accumulate all the necessary hardware and software tools for the project. While it might be tempting to repurpose old devices like smartphones or webcams, building from scratch gives you complete customizability. Here’s what you’ll need:
Hardware:
1. Camera Sensor:
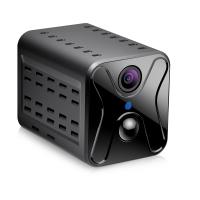
A core component of the system, the camera sensor (like the Raspberry Pi Camera Module or a USB camera) will capture the video feed. Select one that suits your resolution and field-of-view requirements.
2. Microcontroller or Single-Board Computer (SBC):
A single-board computer, such as a Raspberry Pi (recommended) or Arduino with compatible sensors, will process the video and handle power, connectivity, and storage.
3. Power Supply:
A reliable power source is necessary. Use an AC/DC adapter for a stationary setup or a battery pack for mobile installations.
4. Storage:
A microSD card or external hard drive will act as the primary storage solution for recorded video.
5. Connectivity Components:
To enable remote monitoring, you’ll need to ensure your SBC supports networking via Wi-Fi or Ethernet. USB dongles or onboard network modules can serve this purpose.
6. Housing and Mounts:
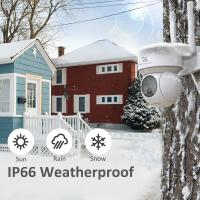
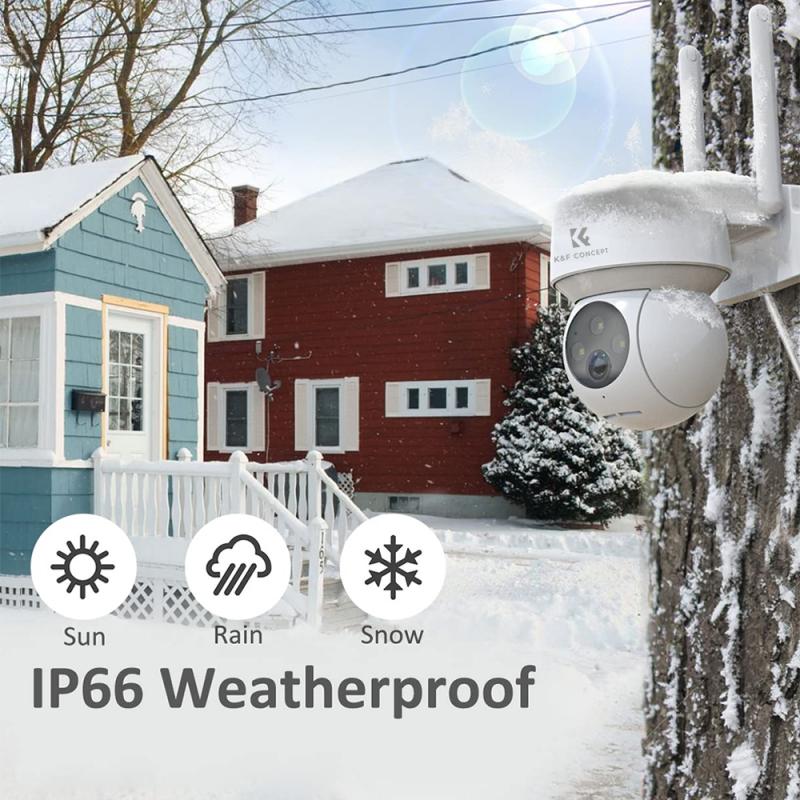
For outdoor or indoor use, the camera needs protective housing to shield it from weather, dust, or mechanical damage. You can 3D-print a custom case or reuse waterproof housings.
7. Optional Sensors:
For a feature-rich system, consider adding motion sensors or infrared sensors to detect activity even in low-light conditions.
Software:
1. Open-Source Camera Software:
Use tools such as Motion, ZoneMinder, or Python-based libraries like OpenCV to process and analyze the video feed.
2. Cloud Service (Optional):
For remote storage or real-time video accessibility, integrate platforms such as AWS, Google Cloud, or other third-party services.
3. Custom Code:
Write scripts to handle tasks like motion detection, video compression, and user notifications.
---
Step 2: Assembling the Camera System
With components in hand, follow these steps to assemble your DIY security camera:
1. Set Up the Camera Sensor
- If you’re using a Raspberry Pi camera module, follow the manufacturer’s guide to connect it. Many camera modules connect directly to the SBC via ribbon cables.
- Adjust the camera’s orientation for your intended use—wide-angle for overall surveillance or a narrow field for focusing on specific areas.
2. Connect and Configure the SBC
- Install the operating system (e.g., Raspbian OS for Raspberry Pi) on the microSD card.
- Set up a stable power source and boot up the SBC.
- Use SSH to remotely access the SBC if you intend to place it somewhere inaccessible.
3. Install Video Processing Software
- Install open-source software to process the video. For instance:
- On Raspberry Pi, software like Motion can enable recording, live streaming, and motion-triggered functionalities.
- Python developers can use OpenCV to build a highly customized surveillance system.
4. Integrate Connectivity
- If your SBC supports Wi-Fi, connect it to your home network. For wired setups, connect an Ethernet cable.
- Configure a static IP address so you can easily access the camera feed remotely.
5. Connect Storage
- Decide between local storage (using the SBC’s microSD card or an external drive) and cloud storage for recorded videos. Configure the system to save video files in a suitable format (e.g., MP4 or AVI) with timestamps.
6. Test Motion Detection (Optional)
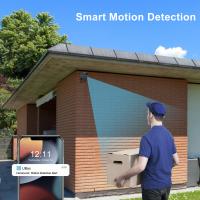
- If incorporating motion sensing, integrate motion sensors with GPIO pins on the Raspberry Pi or microcontroller. Write a script to activate video recording or alert the user when motion is detected.
---
Step 3: Building the Remote Monitoring Interface
The core feature of a security camera is its ability to be monitored remotely. Here’s how to create a simple interface for viewing your footage:
1. Use IP-Based Streaming
You can enable IP camera functionality by streaming the video feed over your home network. Software like VLC Media Player or web-based applications can display the feed in a browser. Tools like FFmpeg make it easier to handle live streaming.
2. Create a Web Interface
- Host a basic web server on the SBC using Flask (Python) or Node.js.
- Use HTML and CSS to present the video feed and create buttons for pausing, starting, or downloading the footage.
3. Enable Notifications
Integrate notifications for real-time alerts. For example:
- Use email services or SMS APIs to send alerts when motion is detected.
- Tools like Pushbullet or IFTTT can automate notifications on your smartphone.
4. Secure Your System
Since security is paramount, ensure your camera feed is encrypted to prevent unauthorized access. Set strong passwords, configure firewall rules on your SBC, and use HTTPS for web-based access.
---
Step 4: Enhancing and Personalizing the Security Camera
Once your basic security camera is operational, consider adding advanced features to enhance its utility:
Night Vision
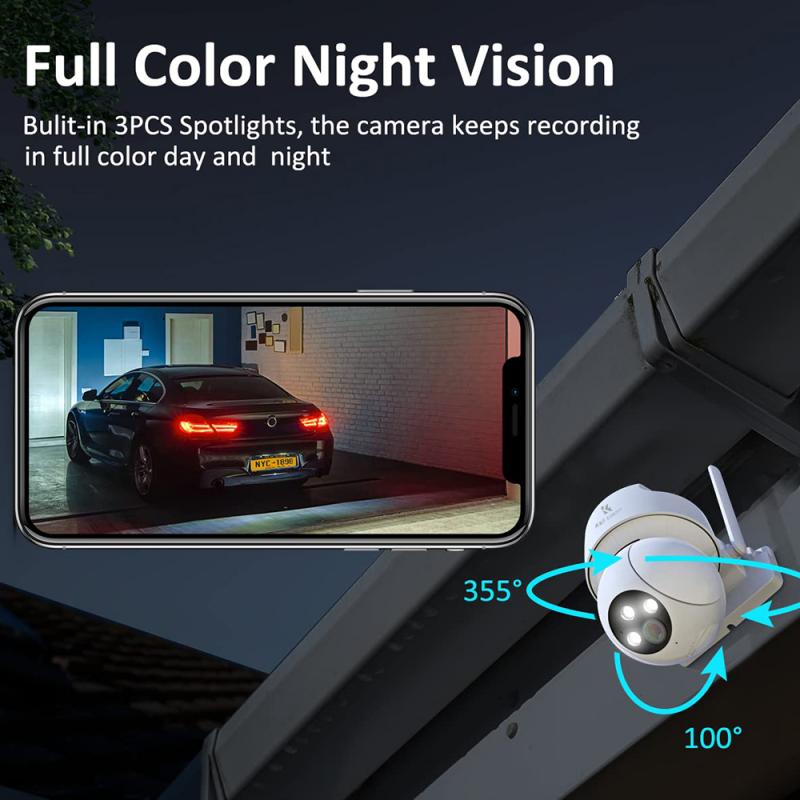
Install infrared (IR) LEDs or select a camera sensor with built-in night vision capability to ensure visibility in low-light areas.
Artificial Intelligence (AI)
Integrate computer vision tools to add AI-based features like facial recognition, person detection, or license plate recognition. Python libraries such as TensorFlow or YOLO (You Only Look Once) can be used for this purpose.
Cloud Integration
For on-the-go video retrieval, write scripts to upload footage to cloud storage services like AWS S3 or Google Drive using their APIs.
User-Friendly Mobile App
Develop a mobile application for live streaming, reviewing footage, and receiving alerts. Use popular cross-platform frameworks like Flutter or React Native.
---
Challenges to Expect
Despite following a step-by-step guide, developing a DIY security camera can pose challenges:
1. Hardware Compatibility: Some components might not be directly compatible, requiring custom wiring or adapters.
2. Latency: Internet bandwidth or low-power SBCs can introduce feed lag.
3. Weatherproofing: Outdoor usage requires adequate protection against environmental factors.
---
Benefits of Building Your Own Security Camera
By constructing your own security camera, not only do you gain deep insights into electronics and networking, but you also gain control over customization. Unlike off-the-shelf solutions, your DIY project allows you to add specific features or omit unnecessary ones. Moreover, self-built systems aren’t tied to proprietary software or services, which often demand additional subscriptions.
---
Final Thoughts
Creating a security camera from scratch is a comprehensive project that advances your technical skillset while providing a tangible security solution. By dedicating time to planning and executing the project, you can design a reliable, efficient, and personalized system. From selecting components to configuring the software and implementing enhancements, every step in the journey is an opportunity to learn and grow as an innovator.
Whether you’re


