How To Make A Powerful Metal Detector?
Metal detectors are fascinating and practical devices used in various fields such as archaeology, security, and treasure hunting. The process of making a powerful metal detector can be intimidating for first-timers, but with the right approach and understanding of its key components, success is achievable. In this guide, we will delve into the fundamental aspects of building a powerful metal detector, breaking the process into manageable steps, and explaining the principles behind its operation. By the end, you’ll have a clear roadmap for crafting your own device.
Understanding the Basics of a Metal Detector

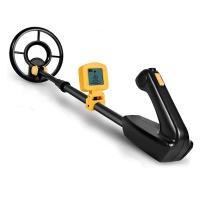
A metal detector works by generating and detecting electromagnetic fields. It identifies metallic objects by the changes they cause in its electromagnetic field. The device typically consists of the following components:
1. Search Coil (Antenna): This is responsible for generating and receiving electromagnetic waves.
2. Oscillator: Produces the alternating current (AC) that drives the search coil.
3. Receiver Circuit: Detects the disruptions in the electromagnetic field caused by metal objects.
4. Amplifier: Strengthens the weak signals detected by the receiver for easier interpretation.
5. Control Box: Houses the components such as batteries, controls to adjust sensitivity, and output systems (audio or visual).
By understanding how these components interact, you can tailor your metal detector to be more powerful and better aligned with your intended purpose.
Factors That Influence the Power of a Metal Detector

To make your metal detector more powerful, you need to focus on certain key factors:
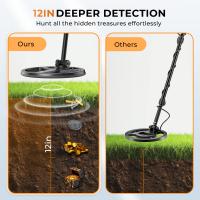
1. Search Coil Design and Size: Larger coils can detect objects deeper underground, but they may lose sensitivity to smaller objects. The coil shape and type (e.g., concentric vs. double-D) also play a role in sensitivity and depth.
2. Frequency Selection: Lower frequencies (below 10 kHz) generally provide better depth penetration, ideal for finding large objects buried deep. On the other hand, higher frequencies (above 10 kHz) are more sensitive to small objects near the surface.
3. Signal Amplification: A powerful amplifier circuit can enhance the sensitivity of the detector, making it easier to detect subtle changes in the electromagnetic field caused by metals.
4. Reducing Interference: External electromagnetic interference can impact a detector's performance. Shielding critical components and fine-tuning the circuit for stability can significantly improve its reliability and depth penetration.
By optimizing these variables, you can design a metal detector that surpasses the performance of basic, commercially available models.
Step-By-Step Guide to Building a Powerful Metal Detector
Step 1: Create a Blueprint and Gather Materials
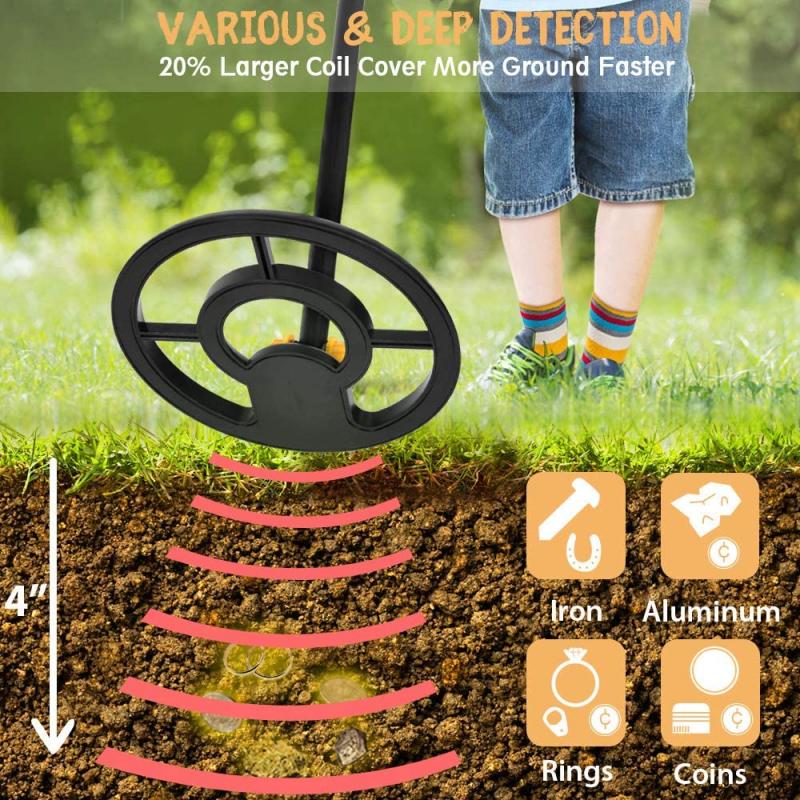
Before diving into construction, make a detailed plan of the metal detector, specifying component placement and expected functionality. Pre-select components based on your design requirements. Here's a list of essential materials:
- A circular or elliptical coil (can be wound with enamel-coated copper wire)
- Microcontroller (such as Arduino or Raspberry Pi for advanced functionality)
- Operational amplifiers (e.g., LM741 or TL081)
- Capacitors, resistors, and diodes
- A power supply (batteries)
- Headphones or a speaker (for audio output)
- Soldering tools and a breadboard for prototyping
Step 2: Build the Search Coil
The search coil is perhaps the most critical part of the metal detector. To construct one:
1. Obtain a spool of thin enamel-coated copper wire.
2. Wind the wire into a circular coil, ensuring it has between 20–30 turns. The diameter should be appropriate for your application (6 to 12 inches is a standard range).
3. Secure the windings with electrical tape or cable ties to prevent unraveling.
4. Test the inductance of the coil using an inductance meter to confirm that it matches your circuit design specifications.
For enhanced capability, you can use a double-D (DD) design, which provides better ground coverage and performance in mineralized soil.
Step 3: Design an Oscillator Circuit
The oscillator is responsible for generating a stable AC signal that powers the search coil. A simple Colpitts oscillator or a 555-timer IC circuit can be employed to generate frequencies between 5 kHz and 15 kHz, depending on your intended use. To increase depth penetration, opt for lower frequencies such as 5 kHz.
You can test your oscillator circuit using an oscilloscope to ensure that it generates a stable and continuous waveform.
Step 4: Incorporate a Receiver and Amplifier Circuit
The receiver circuit detects changes in the electromagnetic field caused by metallic objects disturbing the oscillator's signal. This weak signal must be amplified for clarity. Use operational amplifiers or ICs like LM386 for audio amplification.
Your circuit should be sensitive enough to differentiate between the background signal and the subtle disruptions caused by metal objects.
Step 5: Assemble a Detection Indicator
A detection indicator outputs audible or visual signals when a metallic object is detected. You can use:
- Audio Output: Pair a small speaker or headphones with the amplifier. The sound intensity or pitch will change based on the presence of metal.
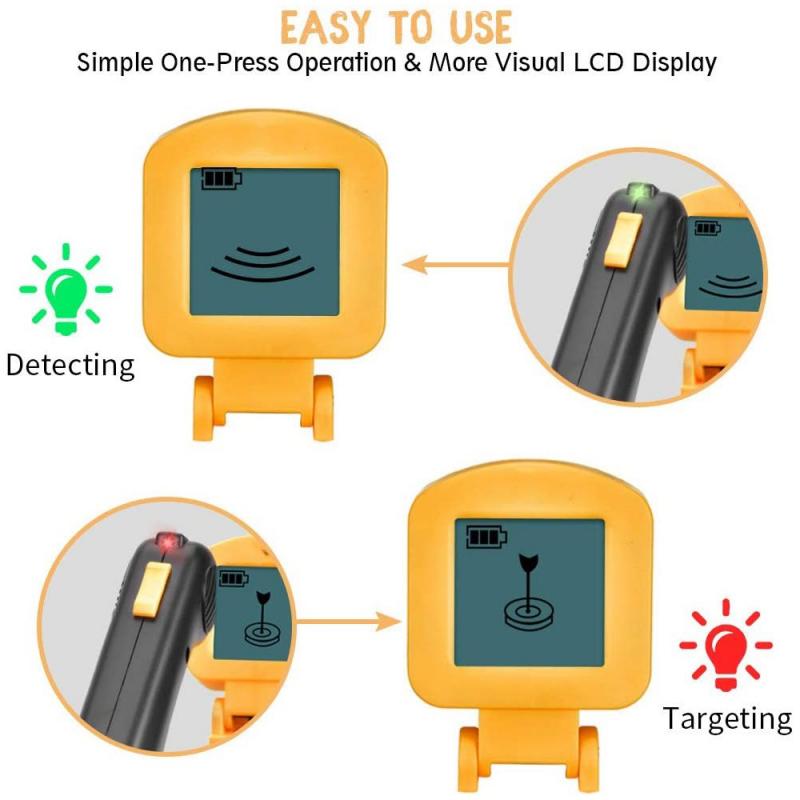
- Visual Display: Use LEDs or an LCD screen to show signal strength or approximate depth. If using a microcontroller, you can program it to provide detailed feedback.
Step 6: Prototype the Circuit
Before final assembly, prototype your circuit on a breadboard. This allows you to make adjustments and test individual components without soldering. Use a test area with known metal samples to check sensitivity and detection depth.
Step 7: Enclosure and Final Assembly
After perfecting your design, enclose the circuitry and battery in a durable and lightweight housing. Mount the search coil on a pole or rod for ease of use. Use an ergonomic handle for comfort during prolonged treasure-hunting sessions.
Step 8: Calibration and Optimization
Calibrate your metal detector by testing it on different types of metals and terrains. Adjust sensitivity, frequency, and gain settings until you achieve stable performance. Strong electromagnetic fields (e.g., from power lines) can cause interference, so consider using shielding materials such as aluminum foil or grounded metallic enclosures for the control box.
Advanced Enhancements for Greater Power
1. Pulse Induction (PI) Technology: Unlike standard VLF (Very Low Frequency) detectors, PI technology can detect objects deeper underground by using delayed pulse reflection, making it immune to mineralized soils.
2. Microcontroller Integration: By incorporating a microcontroller like Arduino, you can enable advanced features such as discrimination (identifying different metals), data logging, or Bluetooth connectivity.
3. Multi-Frequency Capability: Some advanced detectors can operate on multiple frequencies simultaneously, improving versatility and detection capability.
4. Larger or Shielded Coils: Increasing the coil size and shielding it properly can improve depth penetration and reduce interference from surrounding electromagnetic sources.
Practical Tips for Success
- Testing and Debugging: Always test your detector in varied environments, including sandy, rocky, or mineral-rich terrains. Continuously refine its sensitivity and reliability.
- Portable Power Supply: Use lightweight, rechargeable batteries to ensure consistent long-term operation.
- Ergonomics: Design the device to be lightweight and comfortable to carry for extended periods.
Common Challenges and Troubleshooting
- Signal Instability: If your metal detector is prone to false alarms, check for loose connections or inspect the oscillator circuit for stability issues.
- Limited Sensitivity: Ensure your search coil’s inductance and your circuit’s components are correctly matched for the desired frequency and depth.
- Interference: Shield the circuitry and avoid testing near strong electromagnetic sources.
Building a powerful metal detector is a rewarding project that requires a mix of theoretical knowledge, practical skills, and patience. By carefully designing and assembling its core components—search coil, oscillator, receiver circuit, and indicator—you can create a reliable device capable of detecting buried treasures, relics, and other hidden objects. Whether you’re a hobbyist or a metal-detecting enthusiast, this guide serves as a comprehensive introduction to crafting a high-performance metal detector. Test, iterate, and enjoy the thrill of finding what lies beneath the surface!


















There are no comments for this blog.