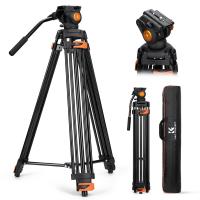
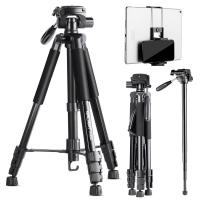
How To Level Tripod?
A tripod is an essential tool for photographers, videographers, and anyone else aiming to capture stable and consistently composed images or videos. However, proper setup — including leveling the tripod — is often overlooked despite its critical role in achieving professional-quality results. For uneven surfaces or when precision is required, a poorly leveled tripod can lead to issues like misaligned horizons, tilted footage, and inaccuracies in stitching for panoramic photography.
For beginners and seasoned professionals alike, understanding how to properly level your tripod can save you significant time in post-production while enhancing the quality of your project. In this article, I’ll walk you through a step-by-step process for leveling your tripod, explore common mistakes, and share tips to improve efficiency in getting your tripod perfectly balanced.
---
Why Is Tripod Leveling Important?
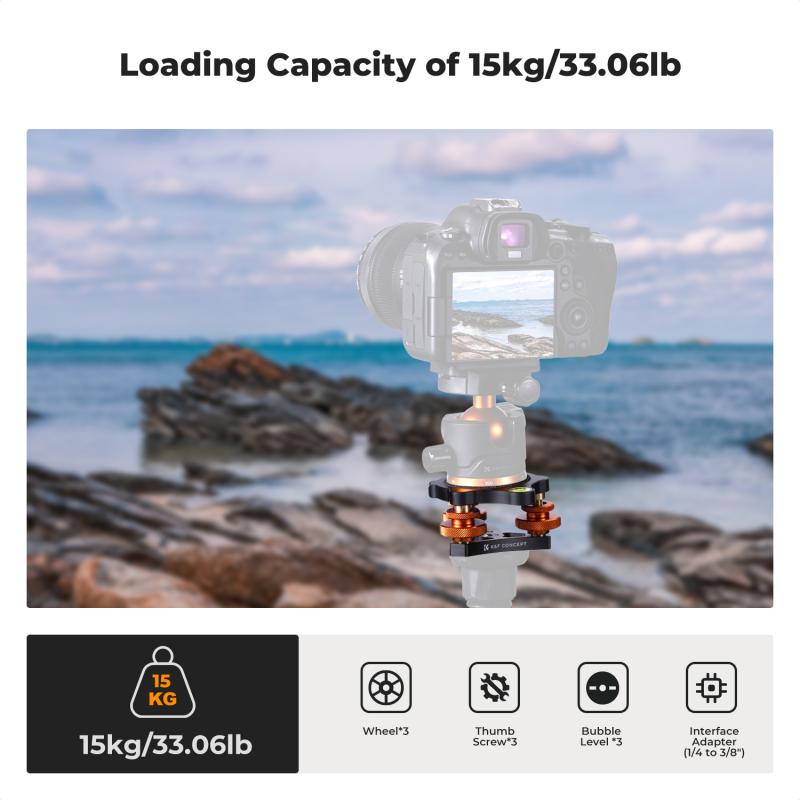
Before diving into the process, let’s briefly touch on why leveling your tripod matters. A level tripod ensures:
1. Straight Horizons: For landscape photography or filming, leveling ensures that horizons remain straight without distortion.
2. Accurate Compositions: Misalignment can result in images or videos that look "off-center" or uneven in a way your audience may subconsciously notice.
3. Smooth Panning: For videographers, an unbalanced tripod can cause jerky or uneven panning movements.
4. Panoramic Accuracy: If you’re capturing a panorama, minor tilts can cause mismatches during stitching.
5. Improved Stability: A level tripod distributes weight evenly, reducing the risk of tipping over and ensuring safety for your gear.
---
Step-by-Step Guide to Leveling a Tripod
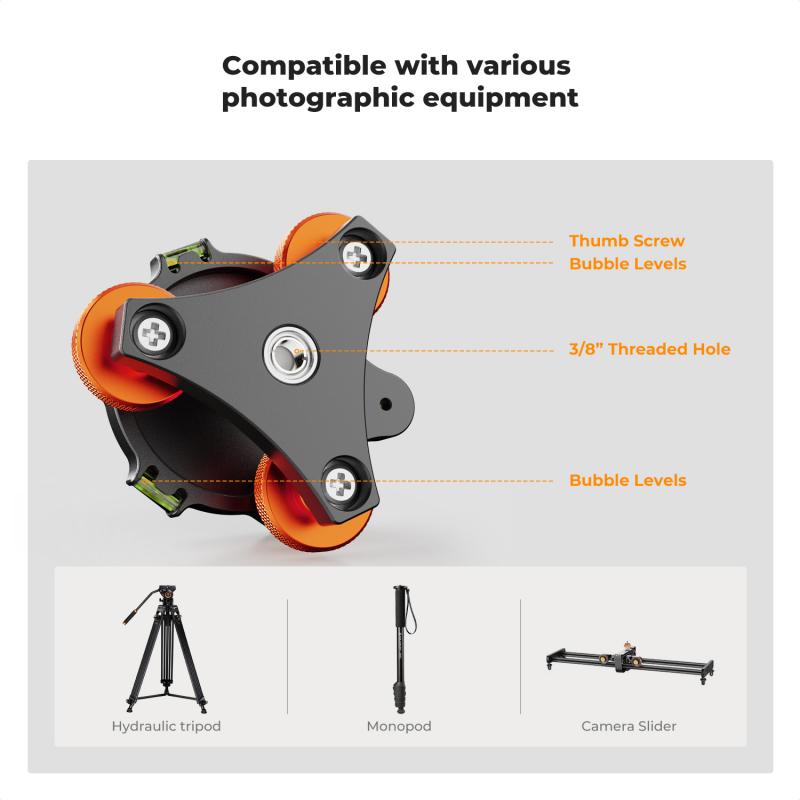
Each phase of leveling a tripod is critical to ensuring a stable, even foundation for your camera or equipment.
1. Choose the Right Ground
Start by selecting a solid, stable surface for your tripod placement. If you’re in a controlled environment (like a studio), this is relatively easy. For outdoor scenarios, avoid unstable areas such as loose sand, rocky patches, or slippery terrain. If uneven terrain cannot be avoided, this is where individual leg adjustments and additional techniques (covered below) will come in handy.
2. Extend the Tripod Legs
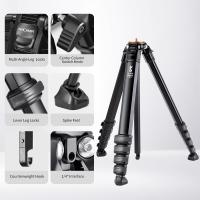
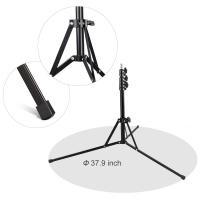
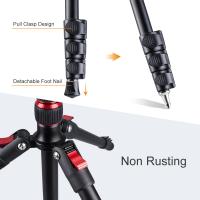
Loosen the locks on your tripod's legs and extend them to a working height. Start from the thickest sections of the legs (usually at the top) to ensure maximum stability. Avoid extending the thinner, lower sections unless absolutely necessary, as they may compromise the tripod’s sturdiness.
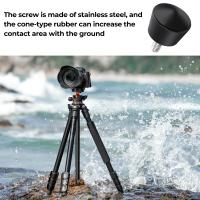
For outdoor settings, make sure that the legs are firmly pressed into the ground. Push them down gently to prevent them from sinking or shifting later.
3. Adjust Individual Legs
The key to leveling on uneven terrain is adjusting each leg independently. Start by flattening one leg first, then adjust the remaining two to create an even plane. Tripods often have angle locks that let you spread each leg to different widths — make use of these locks to stabilize unusual setups such as on steps or slanted terrain.
4. Use the Tripod’s Built-in Bubble Level
Most tripods come with a built-in bubble level, usually located near the tripod’s base plate. The bubble within this level indicates whether the tripod is straight. Adjust the leg lengths until the bubble is centered within the marked circle. If your tripod lacks a bubble level, consider attaching an aftermarket spirit level to your setup or using your camera's built-in leveling tools.
5. Adjust the Tripod Head Separately (If Necessary)
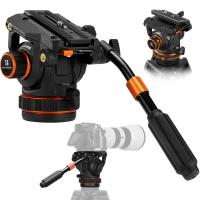
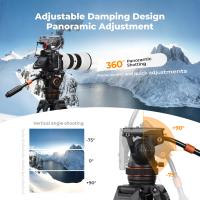
Once the tripod base is level, the next step is to level the tripod head. Many tripod heads — such as ball heads or pan-and-tilt heads — can be adjusted independently of the legs. If the legs are on uneven ground but the tripod head has a leveling function, make finer adjustments using the head until everything is balanced.
6. Recheck Stability
Once everything is leveled, double-check that the tripod is stable:
- Test the weight distribution by gently shaking the tripod.
- Ensure that all locks are securely tightened, including those for extendable legs, angle locks, and the tripod head.
7. Fine-Tune Before Shooting
If the leveling doesn’t look precise enough after the camera is mounted, remove the camera, repeat the leveling process, then remount the equipment. Any minor tilt can quickly add up, so precise re-leveling is worth the time.
---
Pro-Level Tips for Faster Leveling
To simplify and speed up tripod leveling, especially when you’re working under time constraints, incorporate these tips into your process:
1. Invest in a Tripod with Adjustable Features
Some tripods include features like:
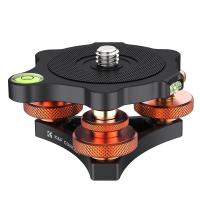
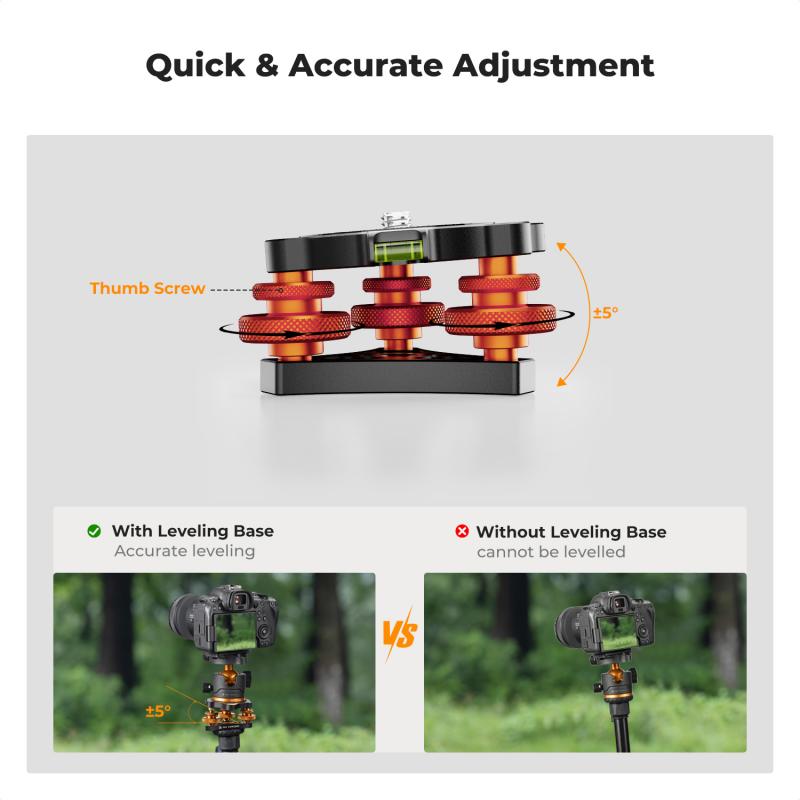
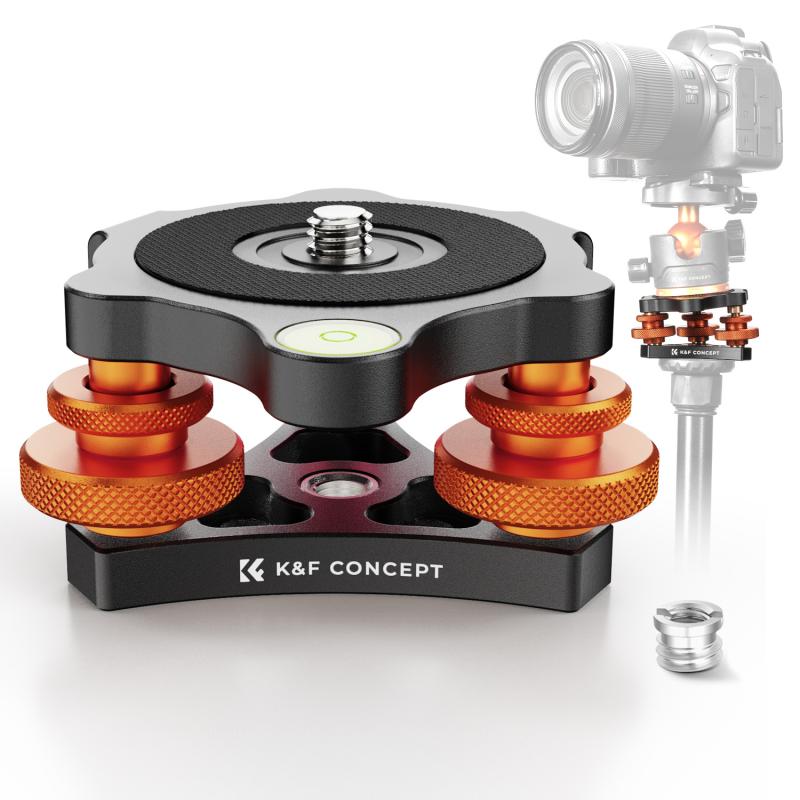
- Leveling Bases: These are specifically designed to adjust the head’s level without touching the legs.
- Self-Leveling Feet: Some high-end tripods come with self-leveling feet that adapt to uneven ground automatically. These are especially useful for outdoor videography.
2. Use a Smartphone App
Nowadays, many smartphones come with apps or built-in tools like the "Level" feature on iPhones. Enable this feature, lay the phone flat on the tripod base, and use it to ensure the surface is even.
3. Carry a Compact Spirit Level
Small, portable bubble levels are inexpensive and highly effective. They can be placed on a tripod head or base plate for quick leveling.
4. Mark Leg Lengths
If you frequently use your tripod in the same setting or terrain, mark preferred leg lengths with tape or a marker. This minimizes repetitive adjustments and speeds up your workflow.
---
Common Mistakes in Tripod Leveling (and How to Avoid Them)
Mistake #1: Ignoring the Terrain
Many photographers and videographers rush to set up their gear without accounting for slopes, soft ground, or uneven surfaces. Always check ground stability first before adjusting the tripod.
Mistake #2: Fully Extending Thin Legs
As mentioned previously, fully extending the thinner sections of tripod legs first can compromise the entire system’s stability. Always extend the thicker sections first to maintain balance.
Mistake #3: Overlooking the Weather
Windy or rainy conditions can destabilize even the sturdiest tripods. Use sandbags to weigh down your setup when facing extreme weather; this will also safeguard your expensive camera gear.
---
Troubleshooting: What If You Can’t Get the Tripod Level?
If, after following these steps, the tripod still isn’t leveling correctly, consider these solutions:
- Upgrade Equipment: If your current tripod lacks features like independent leg adjustments or a bubble level, investing in a higher-quality model may solve these issues long-term.
- Use a Platform: In particularly difficult terrain, place a small, stable platform under the tripod legs. This could be a piece of wood, a flat rock, or a specialized tripod leveling plate.
- Creative Positioning: When all else fails, try experimenting with unusual angles or compositions. For instance, a tilted horizon in photography can sometimes lead to interesting, dynamic results when done intentionally.
---
Leveling your tripod is a critical but often underappreciated part of creating stable, professional-looking photos and videos. Whether you’re shooting on flat surfaces indoors or navigating rugged outdoor terrain, following these steps will ensure that your setup is perfectly balanced, secure, and ready to capture your vision.
Remember, the time you invest in carefully leveling your tripod on-site can save hours of frustration in post-production or even prevent costly equipment accidents. By combining proper techniques with the right tools, you’ll be well-prepared to handle any scenario that requires a steady hand — or in this case, a steady tripod. Happy shooting!

