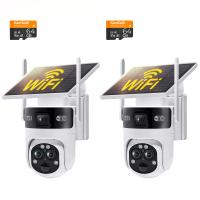
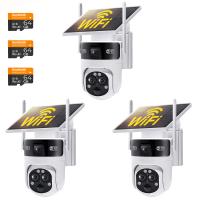
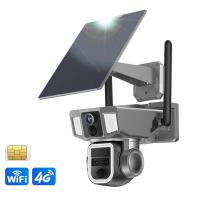
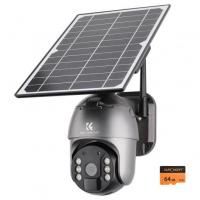
How To Install Wireless Security Cameras Outdoor?
Installing wireless security cameras outdoors is a crucial step in creating a secure environment for your home or property. Wireless technology offers greater flexibility in placement and installation while eliminating the need to run lengthy cables. However, the setup process can still seem daunting if you're unfamiliar with the steps involved or the considerations required for outdoor setups. In this guide, we’ll walk you through the entire process of installing outdoor wireless security cameras, discuss common challenges, and provide actionable tips to help you maximize your camera's effectiveness.
---
Step-by-Step Guide to Installing Outdoor Wireless Security Cameras
1. Choose the Right Camera for Your Needs
Before diving into the installation process, it’s crucial to select a wireless camera that meets your specific requirements:
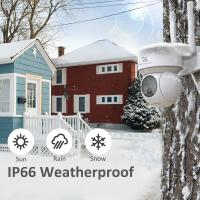
- Weatherproofing: Outdoor cameras should be weather-rated (e.g., IP65 or higher) to withstand rain, snow, and extreme temperatures.
- Video Quality: Look for high-definition (HD) cameras, ideally 1080p or 4K, for crisp footage.
- Night Vision: Ensure the camera offers infrared or color night vision for low-light conditions.
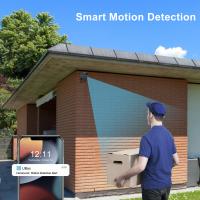
- Motion Detection: Advanced motion sensors can help reduce the number of false alarms.
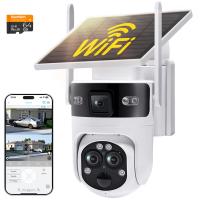
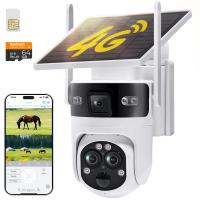
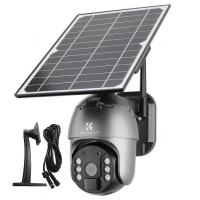
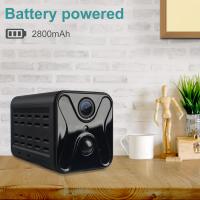
- Power Source: Decide whether to use a rechargeable battery, solar power, or a power outlet for continuous operation.
Once you've identified the right camera, unbox and familiarize yourself with its components, including any mounting equipment, manuals, and accessories.
---
2. Identify the Ideal Placement
The placement of your wireless security camera is critical for achieving maximum coverage and effectiveness. Here are a few key areas to consider:
- Entry Points: Install cameras near front doors, back doors, and ground-level windows to monitor access points.
- Driveways and Garages: Capture activity in high-traffic areas like your driveway or the space in front of your garage.
- Perimeter Areas: Use cameras to cover fences, gates, and the surrounding property for added security.
When selecting placement:
- Position cameras at least 8-10 feet above the ground to prevent tampering.
- Angle the camera downward to cover the area effectively.
- Avoid pointing cameras directly at sunlight or reflective surfaces to prevent glare.
- Check for potential obstructions like tree branches, walls, or power lines.
---
3. Check Your Wi-Fi Signal Strength
Since the camera operates wirelessly, it requires a reliable Wi-Fi connection to function properly. Test the signal strength at your intended installation points using a smartphone or a laptop. A weak signal might result in poor video quality, lag, or interruptions.
If you encounter connectivity issues, consider the following:
- Move your router closer to the camera’s location.
- Add a Wi-Fi extender or mesh system to broaden your network’s reach.
- Use a camera with dual-band Wi-Fi (2.4 GHz and 5 GHz) if available.
---
4. Install the Mounting Bracket
For outdoor installations, cameras typically come with mounting brackets that need to be secured to a surface. Follow these steps to mount the camera:
1. Mark the Drill Holes: Use the mounting template provided in the box to mark holes on the chosen surface.
2. Drill Properly: Use the appropriate drill bit for the surface (e.g., wood, stucco, brick). For masonry walls, use anchors to secure the screws in place.
3. Attach the Bracket: Secure the bracket firmly using screws, ensuring it doesn’t wobble.
4. Snap in the Camera: Most wireless cameras snap into place on the bracket easily. Make sure it clicks securely to prevent it from falling or being dislodged.
---
5. Power Up the Camera
Depending on your choice of power source:
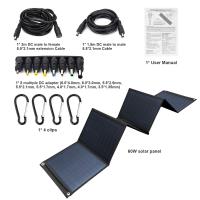
- Battery-Powered Camera: Fully charge the camera’s battery before installation. Some models also allow for on-the-spot charging with solar panels, ideal for outdoor setups.
- Electrical Plug-In Camera: Route your power cable to the nearest outlet, ensuring it’s weatherproofed with protective sealants or conduit piping.
- PoE (Power over Ethernet): While a rare feature for "wireless" cameras, some hybrid models use PoE cables for power and data. Check compatibility with your router or switch.
---
6. Connect the Camera to Your Wi-Fi Network
With the camera in place, use its companion app or web portal to connect it to your home Wi-Fi:
1. Download and install the app (offered by the camera manufacturer) on your smartphone or tablet.
2. Create an account or log in, if required.
3. Follow the on-screen prompts to add a new device.
4. Use your smartphone’s QR scanner or enter the device code to initiate pairing.
5. Select your Wi-Fi network and input the password.
Once connected, verify that the live video feed works as expected. Test the connection range by walking near and far from the camera area while streaming the footage.
---
7. Adjust Camera Angles and Settings
Once the camera is operational, fine-tune its position to optimize coverage:
- Use the Live Feed: Open the app and adjust the camera angle while monitoring the live view.
- Field of View (FOV): Consider the FOV range and decide if you need to tilt the camera to include or exclude certain areas in the frame.
- Motion Zones: Configure motion detection zones to avoid unnecessary notifications from areas of low importance, such as swaying trees or public roads.
---
8. Secure the Installation
Outdoor cameras are vulnerable to theft or tampering. Improve security with the following precautions:
- Use anti-theft brackets, especially for battery-powered models.
- Route power cables inside walls or protective conduits to prevent them from being cut.
- Consider placing a warning sign indicating the presence of security cameras to deter intruders.
---
9. Test for Functionality
Before calling the installation complete, test your system thoroughly:
- Perform motion detection tests by walking into monitored areas.
- Review recorded footage to ensure clarity during the day and at night.
- Trigger other features like two-way audio (if supported) to verify functionality.
---
Tips for Outdoor Camera Maintenance
To ensure optimal performance, routine maintenance is essential:
- Clean the Lens: Dust, rain, and debris can obstruct the camera's view. Use a soft microfiber cloth to clean the lens periodically.
- Inspect Batteries/Solar Panels: Replace or recharge batteries as needed, and ensure solar panels (if used) are free from dirt or snow.
- Firmware Updates: Regularly check for software updates through the app to improve functionality and security features.
- Weatherproof Checks: Periodically inspect seals, casings, and brackets to confirm they are still protecting the camera from the elements.
---
Common Challenges and Troubleshooting
Here are some common problems and how to address them:
1. Connectivity Issues: If the Wi-Fi signal is weak, adjust the router position, or install a range extender.
2. False Alarms: Configure motion detection zones and sensitivity levels to minimize unnecessary alerts.
3. Power Failures: Opt for cameras with backup power sources like batteries to avoid downtime during outages.
4. Camera Lag or Freezing: Restart the device and check for firmware updates to resolve bugs.
---
FAQs
1. Are wireless security cameras completely wireless?
Not always. “Wireless” typically refers to the lack of data cables, as they transmit video through Wi-Fi. However, some models may still require power cables unless battery- or solar-powered.
2. How can I prevent weather damage to my camera?
Ensure the camera has an appropriate weatherproof rating, use protective casings, and routinely inspect for wear or leaks.
3. What happens if my camera gets stolen?
Many manufacturers offer features like cloud storage and tamper alerts. Even if the device is stolen, you can retrieve footage securely stored in the cloud.
---
By following these steps and tips, you can successfully install a wireless outdoor security camera. Proper placement, reliable connectivity, and routine maintenance will ensure your system provides effective and long-term protection. Investing the effort upfront will not only safeguard your property but also give you peace of mind.

