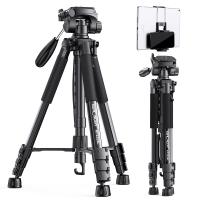
How To Install Wifi Camera At Home?
Installing a WiFi camera at home can greatly enhance your home’s security and convenience. Whether you're using it for surveillance, keeping an eye on pets, or monitoring family members, WiFi cameras are easy to set up with minimal technical expertise. This guide breaks down the process of installing and setting up a WiFi camera step by step and addresses common issues that may arise during the process.
Understanding WiFi Cameras and Their Benefits
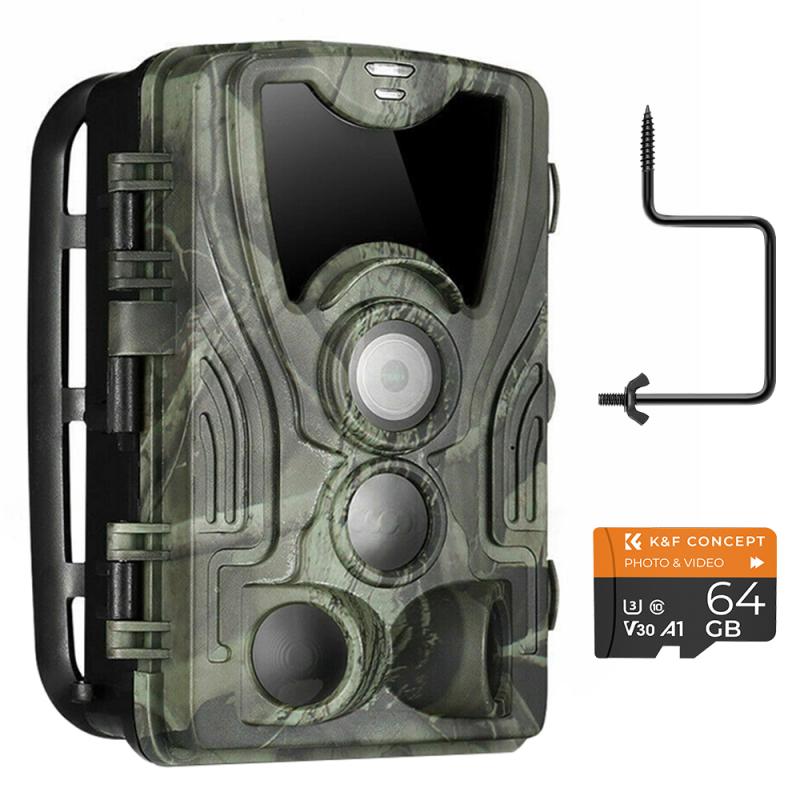
WiFi cameras are small surveillance devices that connect to your home’s wireless internet. Unlike traditional wired security cameras, WiFi cameras don’t require complex installations involving power lines and dedicated DVR equipment. They transmit real-time video feeds via your WiFi network, enabling you to monitor your home through a mobile app, computer, or tablet from virtually anywhere.
Some of the key benefits of WiFi cameras include:
- Remote Accessibility: Access live-stream footage or recorded videos from anywhere with an internet connection.
- Ease of Installation: No professional service is typically needed for setup.
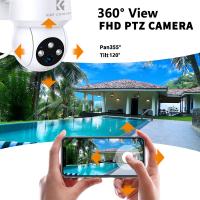
- Customizable Features: Pan/tilt/zoom, motion detection, night vision, and two-way audio are common features.
- Cost-Efficiency: Most WiFi cameras are affordable compared to traditional surveillance systems.
Now that we’ve established the importance of a WiFi camera, let’s walk through the process of setting it up, step by step.
---
Step 1: Choose the Right WiFi Camera
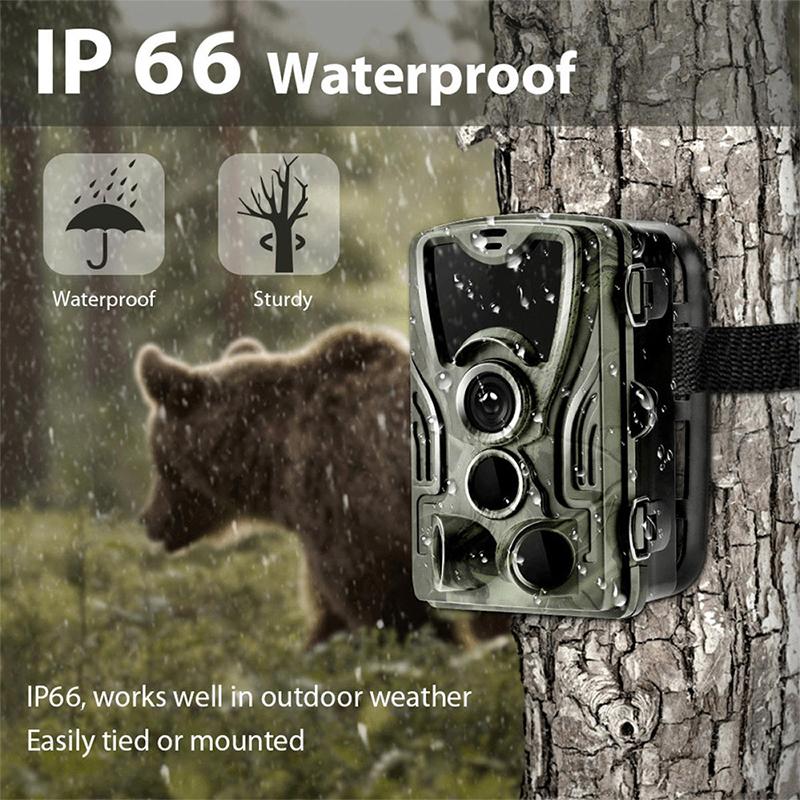
Before installation, ensure you’ve chosen a WiFi camera that suits your specific needs. Here are some considerations to keep in mind:
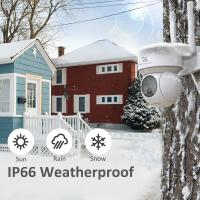
1. Indoor or Outdoor Use: Decide whether the camera will be positioned indoors or outdoors. Outdoor cameras must be weatherproof and designed to withstand the elements.
2. Resolution: Aim for high-definition (HD) cameras (720p or 1080p resolution) for clear image quality.
3. Field of View: A wider field of view ensures better coverage of a room or area.
4. Power Source: Choose between battery-powered cameras or plug-in devices, depending on your preference and placement flexibility.
5. Compatibility: Confirm whether the camera is compatible with your preferred device (smartphones, Alexa, Google Home, etc.).
6. Data Storage: Some cameras offer local storage via SD cards, while others store footage on the cloud.
---
Step 2: Determine the Placement
The success of a WiFi camera depends on its placement. Here are some best practices for selecting the camera location:
1. Maximized Viewing Angle: Mount the camera to cover high-traffic or critical areas, such as entryways, hallways, or living spaces.
2. Proximity to WiFi Signal: Ensure the camera is within range of your wireless router for strong and uninterrupted connectivity. Weak signals cause delays or dropped footage.
3. Height and Accessibility: Place the camera high enough to prevent tampering but low enough to capture useful footage. For outdoor cameras, position them at least 8-10 feet off the ground.
4. Light and Obstructions: Avoid placing the camera in direct sunlight or areas with significant glare. Ensure there are no major obstacles (e.g., walls, metal furniture) that could block the WiFi signal.
5. Power Source Availability: For wired cameras, identify outlets close to the installation spot. If the camera is battery-operated, ensure it’s easily reachable for battery replacements.
---
Step 3: Install the Camera
Once you’ve determined the right placement, follow these general steps for camera installation:
1. Unbox and Assemble: Unpack the camera and attach any necessary antennas or mounting accessories included.
2. Mounting the Camera (Optional):
- If your camera came with a mount, use screws or adhesive strips to secure it to the desired surface. Walls, ceilings, or shelves are common options.
- Some cameras can also be placed on flat surfaces (e.g., bookshelves) without the need for mounting.
3. Power Supply:
- For plug-in cameras, connect the camera to a wall outlet using the provided power adapter.
- For battery-powered cameras, ensure the battery is fully charged or properly inserted.
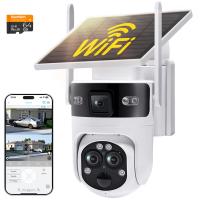
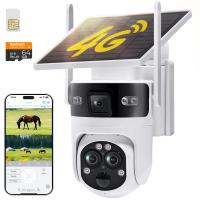
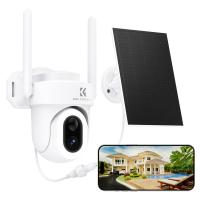
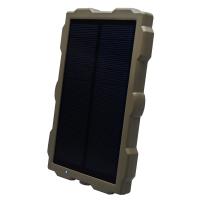
- If your camera supports solar panels, follow the manufacturer’s instructions to set them up.
---
Step 4: Connect the Camera to WiFi
Now it’s time to pair your camera with your home’s WiFi network. While specific steps vary depending on the brand of your camera, here’s a general guide:
1. Download the Camera’s Companion App:
- Most WiFi cameras require a dedicated mobile app for setup. Popular apps include Google Home, Ring, Arlo, or TP-Link Tapo, depending on the brand.
- Download and install the app from the App Store (iOS) or Google Play Store (Android).
2. Create an Account:
- Open the app and create an account if you don’t already have one. You may need to verify your email or phone number as part of the registration process.
3. Turn on the Camera:
- Switch on your WiFi camera. Most cameras come with indicator lights that signal their readiness for pairing.
4. Connect to WiFi:
- Use the app to scan the camera’s QR code (typically found on the device or its packaging). The app will guide you through the WiFi connection process.
- Enter your WiFi network’s name (SSID) and password when prompted. Make sure the camera is connecting to a 2.4GHz band if it doesn’t support 5GHz.
- Wait for the camera to connect; the app will typically display a success notification.
5. Test the Connection:
- Test the camera’s connectivity by checking its live feed via the app. If the video is clear and updates in real time, your connection is successful.
---
Step 5: Configure Camera Settings
A well-functioning camera also requires proper configuration. These settings optimize performance and tailor the system to your needs:
1. Motion Detection:
- Activate motion detection within the app and set the sensitivity level. Too high and you may get alerts for minor movements, while too low may cause you to miss crucial activity.
- Define motion zones to specify which areas within the camera’s frame should trigger alerts.
2. Notifications:
- Enable push notifications to receive real-time alerts whenever the camera detects motion or sound.
- Adjust notification frequency to minimize unnecessary alerts.
3. Two-Way Audio:
- Test the camera’s two-way communication feature, if available. This is useful for interacting with delivery personnel, children, or pets remotely.
4. Storage Options:
- If your camera supports cloud storage, subscribe to a plan that meets your needs.
- For cameras with local storage, insert an SD card and configure the storage settings in the app.
5. Firmware Updates:
- Regularly check the app for firmware updates to enhance security and introduce new features to your camera.
---
Step 6: Test and Secure the System
Once the camera is set up and configured, you’ll need to evaluate its functionality and secure its access.
1. Test the Camera:
- Perform tests at different times of day to ensure the camera produces clear footage during both daylight and nighttime. Test the motion detection range and responsiveness of app notifications.
2. Secure Your WiFi Network:
- To prevent unauthorized access to your WiFi camera, enable strong encryption (WPA2 or WPA3) on your home WiFi network.
- Use a strong and unique password for your WiFi network and camera app accounts.
3. Enable Two-Factor Authentication (2FA):
- Most camera apps now support 2FA for added security. Enable it to protect your account and footage even if someone gains access to your password.
---
Troubleshooting Common Issues
Despite how user-friendly most WiFi cameras are, you may encounter some common problems during installation. Here are simple solutions:
1. Camera Won’t Connect to WiFi:
- Ensure the network name and password are correct.
- Verify that the camera supports your router’s frequency band (e.g., 2.4GHz vs. 5GHz).
- Move the camera closer to the router or consider adding a WiFi extender.
2. Poor Video Quality:

