How To Install Security Camera On Computer?
Installing a security camera on your computer can seem somewhat intimidating if you've never done it before, but in reality, it’s a straightforward process. Whether you're setting up a security camera system for home monitoring or professional purposes, many different types of cameras are available today, ranging from simple USB webcams to sophisticated IP cameras. This guide will take you through the fundamental steps and considerations to help you seamlessly install and operate a security camera on your computer.
---
Step 1: Understand Your Security Camera Type

Before you begin, it’s essential to identify the type of security camera you plan to install. Security cameras broadly fall into two categories:
1. USB Cameras/Webcams: These cameras connect directly to your computer via a USB port. They are easy to set up and typically don’t require additional hardware or complex configurations.
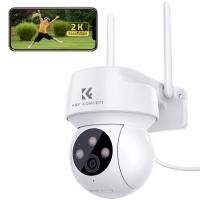
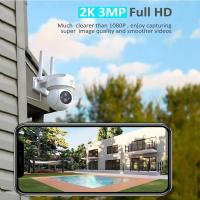
2. IP (Internet Protocol) Cameras: These are more advanced cameras that connect to your network through Wi-Fi or Ethernet and can be accessed via your computer. They are ideal for more robust security needs, such as monitoring multiple areas remotely.
Identifying your camera type will determine the setup process you'll follow and the additional software or hardware requirements.
---
Step 2: Gather the Necessary Equipment and Software
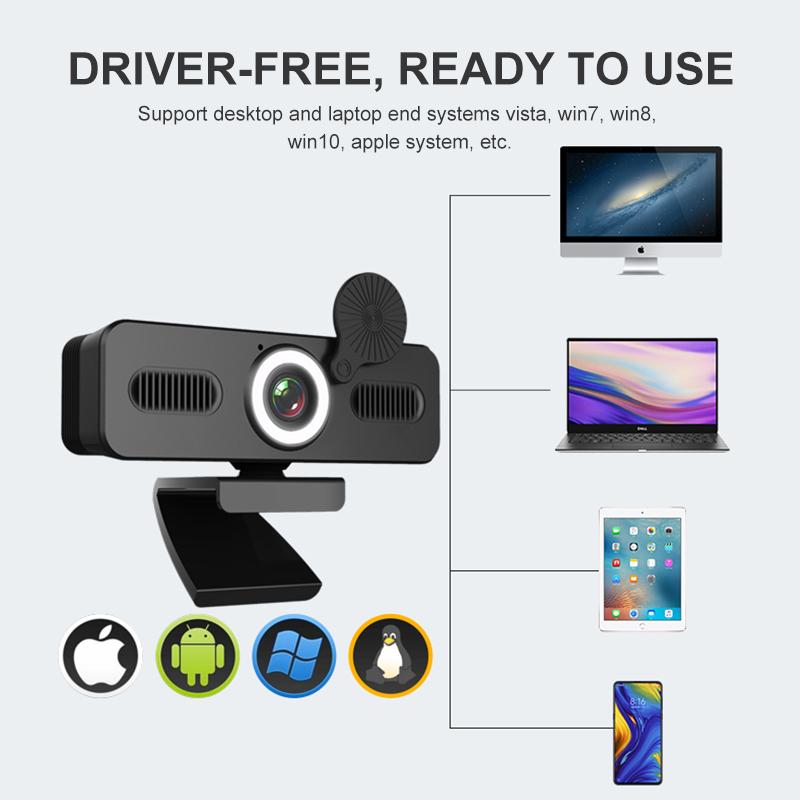
Once you’ve identified the camera type, gather everything you need for installation. This typically includes:
- Camera hardware: Your security camera should come with necessary accessories, such as a power adapter, mounting brackets (if needed), cables, or a user manual.
- Connection accessories: For USB cameras, ensure you have an available USB port on your computer. For IP cameras, you'll need either an Ethernet cable (if wired) or access to a Wi-Fi network (if wireless).
- Relevant Software: Download the software recommended by the camera manufacturer. For example, USB cameras often work with basic webcam applications, while IP cameras usually require specialized software for setup and remote access.
- Monitor: If you’re setting up a live security feed, your computer’s monitor will serve as the display device.
- Power Supply: Some advanced cameras come with power-over-Ethernet (PoE) technology to draw power through their network cables, but many still require a dedicated power source.
---
Step 3: Install the Software or App
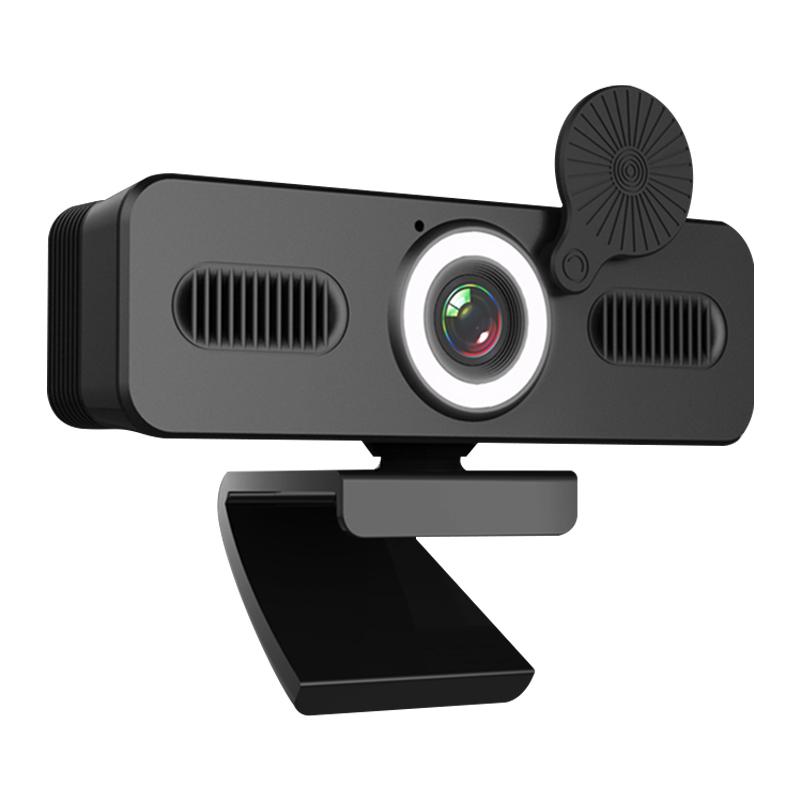
For your camera to communicate with your computer, you’ll need to install the appropriate software. Manufacturers typically provide drivers or applications required for setting up and accessing the camera.
- USB Cameras: Insert the disk that came with the camera into your computer or download the driver software from the manufacturer’s website. During installation, follow the prompts to complete setup, and restart your computer if needed.
- IP Cameras: Most IP cameras ship with a software disk or downloadable app. Install this software on your computer, as it is typically required to configure the camera and manage video feeds. Make sure you write down or save credentials such as the camera’s IP address, username, and password, as this information will be critical later.
---
Step 4: Position and Mount the Camera

Decide on where you want to position the camera. The placement depends largely on what you want to monitor. Some considerations include:
- Ensure that the camera provides a clear, unobstructed view of the area you wish to record.
- For indoor cameras, place them discreetly to avoid tampering.
- For outdoor cameras, look for a position that is weatherproof, elevated, and less accessible to strangers.
If your security camera is designed to be mounted, attach the mounting brackets (if included) and securely affix the camera. Many models come with adjustable hardware to fine-tune the angle and direction.
---
Step 5: Connect Your Camera to the Computer
- Connecting a USB Camera: Plug the USB cable from the camera directly into an available USB port on your computer. USB is plug-and-play, which means your computer should recognize the camera automatically. In most cases, you can start using the camera immediately after the necessary drivers are installed.
- Connecting an IP Camera: If you are using a wired IP camera, connect it to your router using an Ethernet cable. For wireless IP cameras, configure the Wi-Fi settings through the accompanying software. Ensure your camera is powered on and connected correctly to the network.
---
Step 6: Configure the Camera via Software
Once you’ve physically installed the camera and connected it, you’ll need to configure it to ensure everything works properly. This step will largely depend on the type of camera and the software you’ve installed.
- For USB Cameras: Open the webcam application and test your camera. Follow the software instructions to adjust brightness, contrast, or resolution as desired. In some cases, your webcam may offer additional features like motion detection or audio recording that you can set up.
- For IP Cameras: Use the camera’s software to locate the camera on your network. In many cases, running the setup wizard within the software will detect the camera automatically. You may need to manually enter the camera's IP address or MAC address if detection fails. Configure the camera’s settings, such as frame rate, resolution, password security, and storage options.
---
Step 7: Test the Camera
Before considering the installation complete, it’s crucial to test the setup to verify that everything works as intended.
- Ensure the camera is providing clear video footage at the desired resolution.
- Test audio functionality if the camera includes a microphone.
- For IP cameras, test remote access by attempting to view the camera feed from another computer or mobile device using the camera's app or associated web interface.
- Double-check other features, such as motion detection or low-light (night vision) performance.
---
Step 8: Optimize Storage Options
Unless you're dealing with a live monitoring-only setup, a significant part of a security camera installation is ensuring proper storage for recorded footage.
- Local Storage: Many security cameras support local recording on a hard drive, flash drive, or SD card. Configure the storage settings to save video files automatically and overwrite old footage when space runs out.
- Cloud Storage: If your IP camera supports cloud storage, you might need to subscribe to a plan. Cloud storage allows you to access recorded footage remotely without worrying about physical storage devices.
---
Step 9: Implement Security Measures
Cameras connected to the internet can be vulnerable to hacking if not properly secured. Take these precautions:
- Change the default username and password immediately.
- Use strong, unique passwords.
- Enable encryption if supported.
- Regularly update the camera’s firmware.
- Limit remote access to trusted devices only.
---
Troubleshooting Common Issues
If you encounter issues during installation, consider these tips to troubleshoot:
- Camera Not Detected: Verify that the camera is properly connected and powered. Reinstall the software or restart the computer if necessary.
- Poor Video Quality: Adjust the resolution settings in the camera software and check if the lens is clean and unblocked.
- Connection Problems with an IP Camera: Ensure the camera is connected to the same network as your computer. Check for IP address conflicts.
- No Audio: Confirm that the camera has a built-in microphone and that the software settings for audio are enabled.
---
Installing a security camera on your computer doesn’t have to be a complicated process. By selecting the right type of camera, gathering the appropriate tools, and carefully following the steps outlined above, you can create an efficient and effective security setup for your home or workplace. Remember that the success of your installation doesn’t just rest on the hardware—you’ll also need to configure software correctly, ensure strong security practices, and regularly test your camera system to guarantee optimal performance. With a bit of patience and attention to detail, you can confidently set up a security camera network tailored to your specific needs.

