How To Install Macro Led Ring Light?
Installing a macro LED ring light can significantly enhance your photography, videography, or detailed visual work by providing consistent and even lighting. A proper installation of such a device ensures that you can focus on quality output without worrying about shadows, uneven illumination, or other hindrances. Whether you're a professional photographer, a content creator, or someone who frequently engages in high-detail tasks like makeup application or product reviews, correctly installing and using your macro LED ring light is crucial.
In this article, we’ll break down the process step-by-step, discuss common mistakes to avoid, and highlight key considerations to get the most out of your LED ring light setup. By the end of this guide, you’ll be ready to use your ring light effectively and seamlessly in your projects.
---
1. Understanding Your Macro LED Ring Light
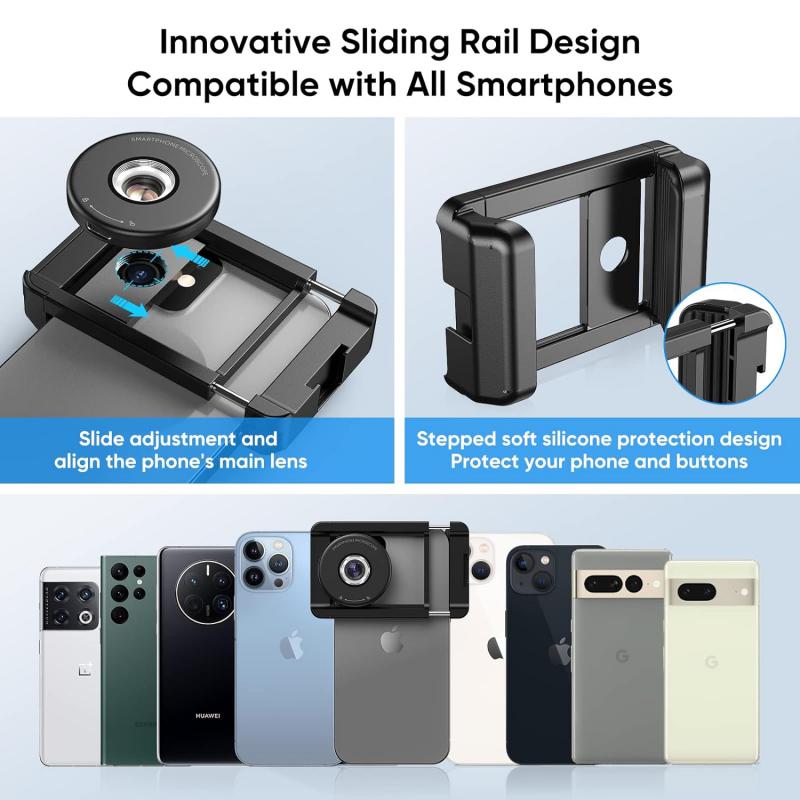
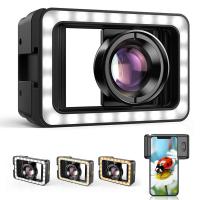
Before diving into the installation process, it’s important to familiarize yourself with the main components of your macro LED ring light. Here’s what a typical setup includes:
- The Ring Light: This is the circular LED device that provides the actual light. It may include an adjustable brightness or color temperature dial.
- The Mounting Hardware: Most macro LED ring lights come with hardware to help attach the light to a camera, tripod, or even directly to a lens.
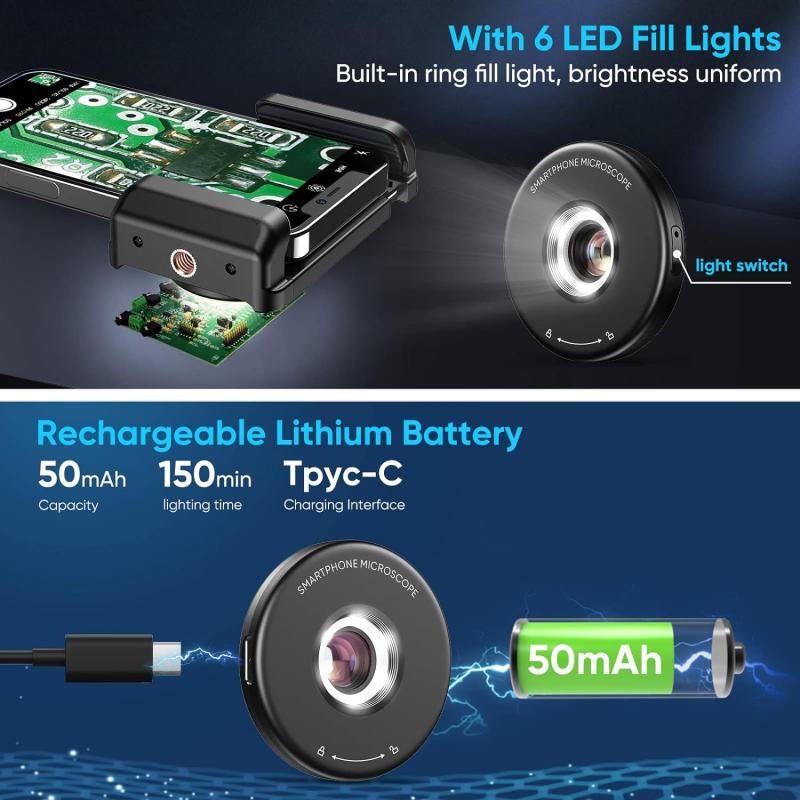
- Power Source: Your ring light may be powered via batteries, USB, or AC power. Understanding your specific model’s power requirements is essential.
- Accessories: Some kits come with filters, diffusers, or adjustable mounting brackets that enhance light quality and attachment flexibility.
Take a moment to identify these components and read the included manual for model-specific details. This initial understanding will ensure a smoother installation process.
---
2. Preparation Before Setup

Proper preparation not only saves time but also avoids potential damage to your equipment. Ensure you complete the following steps:
a. Identify Compatible Equipment
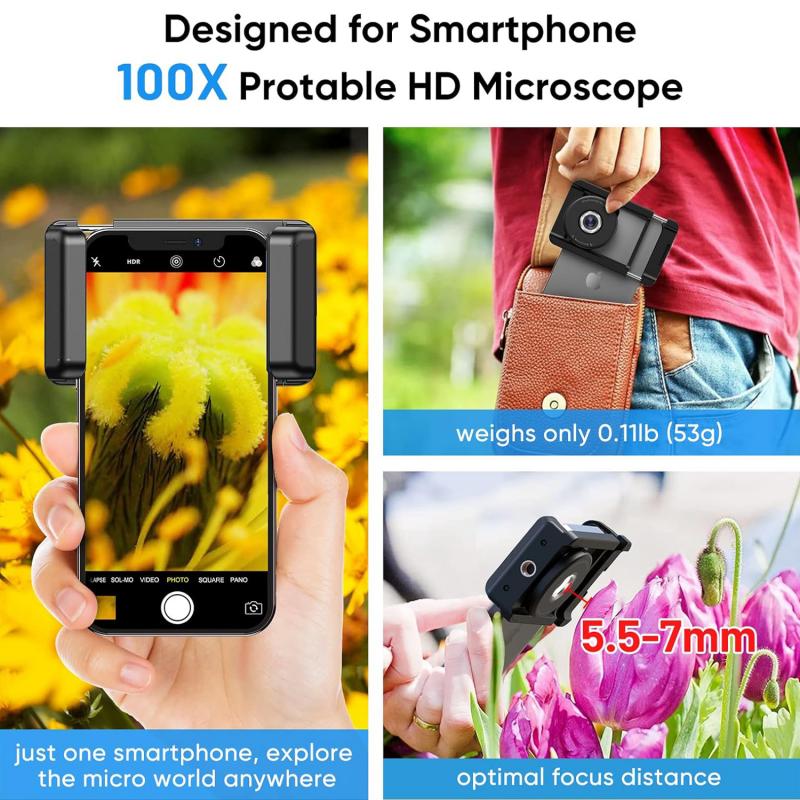
Check whether the ring light is compatible with your camera model or lens size. Some macro LED ring lights need a specific thread size or lens adapter to fit snugly. For non-camera uses, ensure the ring light is compatible with your chosen tripod or mounting stand.
b. Choose the Right Work Area
Whether you’re setting up for photography or a detailed task, choose an area that’s clear of clutter. If the ring light requires a power outlet, make sure one is accessible nearby.
c. Check the Power Supply
If your ring light is USB-powered, confirm that you have a USB power bank or an adapter for plugging into the wall. For battery-powered models, ensure you have fresh or fully charged batteries on hand to avoid interruptions.
d. Assemble Necessary Tools
Some setups may require basic tools like a small screwdriver for mounting. Check your user manual for any specific installation instructions before getting started.
---
3. Installing Your Macro LED Ring Light
Now that you're prepared, it's time to install your macro LED ring light. Below is a step-by-step guide tailored for several possible usage scenarios.
a. Attaching the Ring Light to a Camera
If you’re using the ring light for macro photography, follow this method:
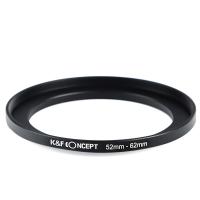
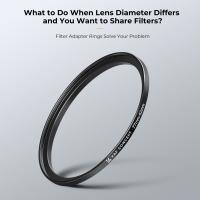
1. Mount the Lens Adapter: Many macro ring lights come with lens adapters in common sizes like 49mm, 52mm, or 58mm. Select the adapter that fits your camera lens and screw it onto the lens securely. Be careful not to overtighten, as this could damage the threads.
2. Attach the Ring Light: Once the adapter is in place, snap or screw the ring light onto the adapter. Ensure it is secure but not overly tightened.
3. Connect the Power: Plug in the power cable to the ring light. If it's USB-powered, connect it to your camera's USB port, an external power bank, or a wall adapter. For battery-powered lights, insert the batteries into the power compartment.
4. Adjust Angle and Position: Most ring lights allow small adjustments in angle and tilt. Ensure it lines up correctly with your lens and subject for precise focus and even lighting.
5. Test the Brightness Settings: Turn on the ring light and adjust the brightness or color temperature to match the lighting environment and subject.
b. Mounting the Ring Light on a Tripod
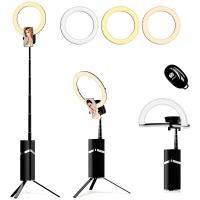
For non-camera use, or if you need the ring light to function as your primary light source, a tripod installation is common:
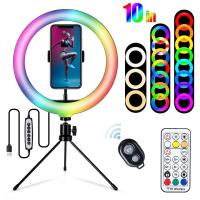
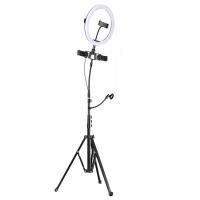
1. Attach the Compact Mount: If your ring light comes with an adjustable mount (usually a ball-joint mount), connect it to the central opening in the light.
2. Secure the Ring Light to the Tripod: Thread the tripod’s screw into the base of the mount or adapter. Tighten until the light is securely fixed in place.
3. Position the Light: Adjust the tripod height and angle to illuminate your subject evenly. Ring lights are generally best placed directly in front of the subject for shadowless lighting.
4. Power On and Test: Similar to the camera installation, power on the light, adjust brightness and warmth settings, and test it on your subject. Make any necessary angle adjustments.
c. Using the Ring Light for Stationary Tasks
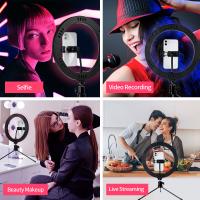
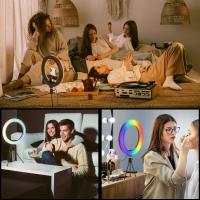
Macro LED ring lights are increasingly popular for stationary tasks like makeup, crafting, or filming tutorials. Here’s how to set them up:
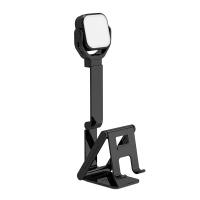
1. Choose a Stable Surface: If you don’t have a tripod, place your ring light on a flat, stable surface. Some desk-based models come with their own supporting stands.
2. Adjust the Height: Ensure the light is positioned at eye level or slightly above, depending on the type of task or aesthetic you are going for.
3. Connect Power Supply: Like all other setups, connect the power adapter or batteries. Given the stationary nature of this use, long-term power options (e.g., AC adapters) are often preferred.
4. Test the Light Direction: Adjust the light so the illumination is consistent and even across the subject or work area.
---
4. Fine-Tuning and Optimization
Once installed, don’t forget to fine-tune your setup for optimal results. Here are some useful tips:
- Experiment with Brightness and Color: Many LED ring lights have dimming and color modes. Warmer light settings often work well for portraits, while cool white is ideal for detailed shots like product photography.
- Add Diffusers: If the light feels harsh on your subject, use a diffuser attachment or place a sheet of soft fabric over the LED panel to create a smoother and more natural appearance.
- Consider Placement: A common rule is to position the ring light so the light source is at the same distance and angle as your subject. Experiment with placement to eliminate undesired glare or shadows.
---
5. Troubleshooting Common Issues
If you encounter difficulties during installation, refer to the following solutions:
- Loose Connection to the Lens: Ensure that the lens adapter is the correct size for your lens. Double-check all threaded connections to make sure they’re properly aligned.
- Light Won’t Turn On: Verify that the batteries are installed correctly or that the power supply is properly connected. Test alternate power sources if available.
- Uneven Light Distribution: Adjust the angle and position of the ring light. A poor setup angle can result in shadows or glare, particularly for macro photography.
---
6. Routine Maintenance for Longevity
To ensure your macro LED ring light functions optimally for years, consider these maintenance practices:
- Clean the LED surface with a microfiber cloth to remove dust or fingerprints.
- Inspect the power cords and connections regularly to avoid damage or wear.
- Store the ring light in a padded case when not in use to protect it from impacts.
---
A macro LED ring light is an invaluable tool for anyone seeking professional-quality lighting in photography, video production, or close-detail tasks. With a straightforward installation process and some thoughtful adjustments, you can set up your ring light to enhance your projects effectively. Pay close attention during installation to ensure compatibility and stability, and test your setup before diving into your work.
By following the guidelines discussed in this article, you'll be able to enjoy the benefits of shadow-free, even lighting, ensuring that your photos, videos, or detailed work achieve the polished, professional appeal you aim for. Whether you’re capturing the intricate details of a flower in macro photography or filming a makeup tutorial, a correctly installed ring light makes all the difference in showcasing your skills

