How To Install Carbon Monoxide Detectors?
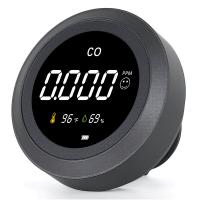
Every homeowner should prioritize the safety of their household, and installing carbon monoxide detectors is an essential part of that safety. Carbon monoxide (CO) is a colorless, odorless, and tasteless gas. It’s a byproduct of burning fuel in cars, stoves, grills, fireplaces, and furnaces, making it virtually undetectable without proper equipment. If CO builds up in enclosed spaces, it can threaten your health and even become fatal. For this reason, CO detectors are vital as they alert you early to dangerous levels of the gas in your home.
If you’ve decided to install carbon monoxide detectors in your home, you’ve made an excellent decision. This guide will provide you with all the information you need to select, position, and install these life-saving devices effectively.
Why Carbon Monoxide Detectors are Crucial

Before discussing the installation process, it’s worth understanding why these devices are so important. Carbon monoxide poisoning can cause symptoms that mimic the flu, such as headache, dizziness, nausea, confusion, and fatigue. In severe cases, exposure can lead to unconsciousness or even death. Because CO is undetectable through smell or sight, a detector is often the first line of defense and one of the only ways to protect your household against this invisible threat.
What to Consider Before Installing Carbon Monoxide Detectors
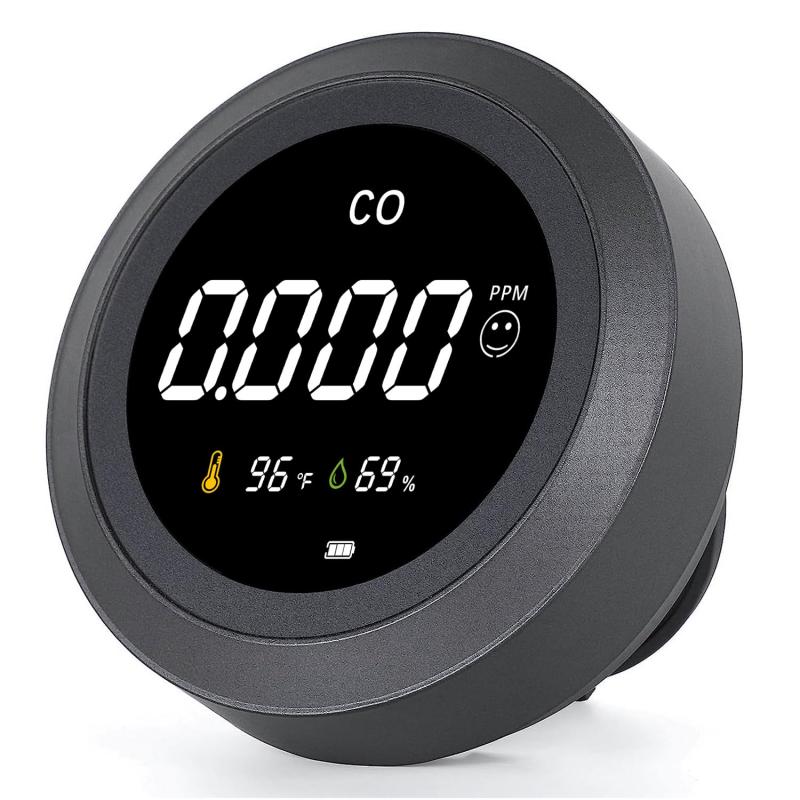
Before purchasing and installing your devices, you should consider these factors to ensure maximum protection for your household:
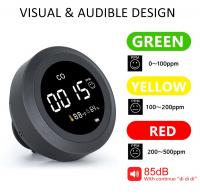
- Choose the Right Detector Type: Carbon monoxide detectors come in three main types: standalone battery-operated models, plug-in versions, and hardwired systems connected to your home’s electrical wiring. While battery-operated or plug-in detectors are easier to install, hardwired options may integrate with other home safety systems.
- Built-in Alarms vs. Combo Detectors: Some detectors only sense carbon monoxide, while others are combination units that also detect smoke. If you're seeking consolidated safety solutions, combination units might be a good choice.
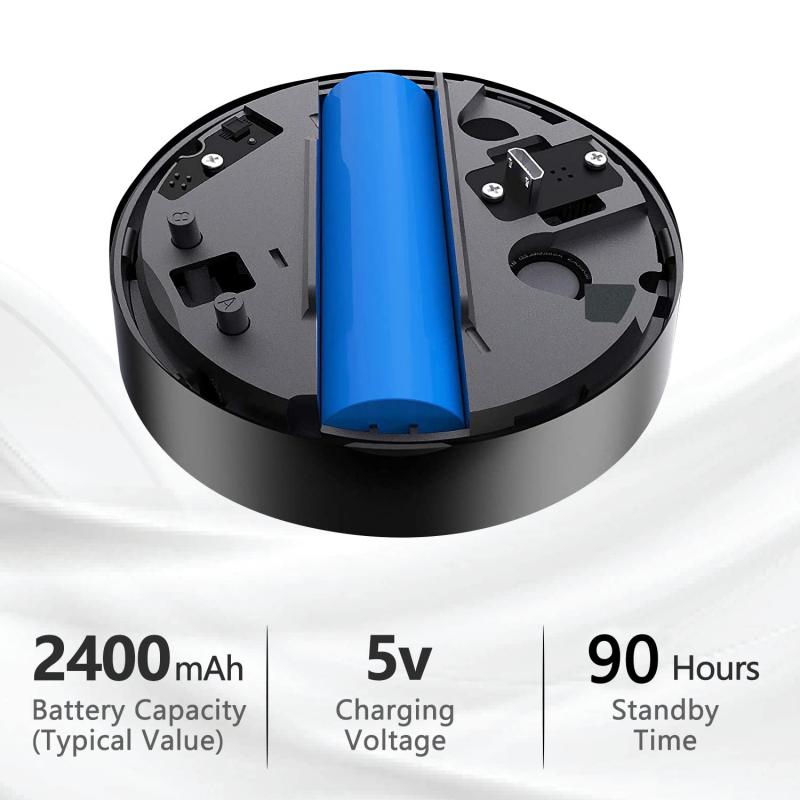
- Battery Backups: If you choose hardwired or plug-in devices, ensure there is a battery backup feature. This guarantees operation during a power outage, when CO exposure might still occur.
- Certification and Standards: Always look for a model that is tested and certified by credible safety organizations such as UL (Underwriters Laboratories). Certified devices meet rigorous safety standards.
- Replace Old Detectors: CO detectors do not last forever. Most models have a lifespan of 5–7 years, after which you'll need to replace them.
Ideal Placement of Carbon Monoxide Detectors

Proper placement of CO detectors is key to ensuring they can effectively monitor your home and alert you to any carbon monoxide leaks. Improper positioning could cause them to fail when you need them most or result in false alarms. Follow these recommendations for strategic placement:
1. Install on Every Level of the Home: The National Fire Protection Association (NFPA) recommends having at least one CO detector on every level of your home, including the basement and any habitable attic spaces.
2. Near Sleeping Areas: Place detectors close to bedrooms, ensuring the alarm will wake occupants if it sounds during the night.
3. Keep Within 10 Feet of Potential CO Sources:
- Install detectors near fuel-burning appliances: this includes furnaces, water heaters, stoves, fireplaces, or garages.
- Ensure devices are far enough away to avoid nuisance tripping caused by normal appliance operation.
4. Avoid Corners and Dead Air Spaces: Install detectors a few feet below the ceiling or in an area where air can circulate. Avoid placing them in corners, behind doors, or in areas with little airflow.
5. Garage Area: If your house has an attached garage, it’s wise to install a detector near the door leading to the garage. Vehicle exhaust can easily introduce CO into your home.
6. Avoid the Kitchen or Bathroom: Steam, humidity, and certain cooking fumes can cause false alarms, so avoid placing detectors in these areas.
Required Tools and Materials for Installation
You don’t need to call a professional if you’re comfortable with basic DIY installations. With the right tools and supplies, you can install your CO detectors efficiently on your own. Here’s what you’ll need:
- The carbon monoxide detector(s) of your choice
- A ladder or step stool
- Screwdriver or power drill
- Mounting screws and anchors (usually supplied with the detector)
- A pencil for marking positions
- Batteries (if required by your device)
Step-by-Step Installation Instructions
1. Read the User Manual:
Before beginning, carefully review the manufacturer’s instructions. Different models may have unique specifications, and the user manual will provide guidance on installation and maintenance.
2. Select the Ideal Location:
Use the placement recommendations discussed above. Walk through your house and identify the best locations. Mark these spots lightly with a pencil.
3. Prepare the Wall or Ceiling:
Using the mounting template provided by the manufacturer, drill small pilot holes and insert wall anchors if necessary. This ensures the detector will remain securely attached over time.
4. Install the Mounting Bracket:
Affix the mounting bracket or base plate to the wall or ceiling using screws. Tighten the screws so the bracket is firmly secured.
5. Attach the Detector:
Depending on the model, you may need to twist the detector onto the bracket, snap it into place, or secure it with screws. Once attached, check the alignment to make sure it’s level and secure.
6. Power It Up:
Insert the batteries if the unit requires them, or plug in the device for models with AC power. If you’re installing a hardwired detector, you may need to turn the power off at the circuit breaker before connecting the wires as per the manufacturer’s guidelines.
7. Test the Device:
Press the "Test" button on the detector to ensure that the alarm is functioning properly. You should hear a loud alert sound. If not, check that it’s receiving power and try again. Refer to the manual for troubleshooting tips.
8. Label and Record Install Date:
Write the installation date on the detector as a reminder for when it will need maintenance or replacement. For most models, this will be 5–7 years from the installation date.
Post-Installation Maintenance Tips
After installation, maintain your detectors to ensure they remain fully functional:
- Test Monthly: Press the test button at least once a month to confirm the alarm is working.
- Replace Batteries Regularly: Change the batteries once or twice a year, or whenever the device signals a low-battery warning. Tip: Do this during daylight saving time clock changes.
- Vacuum the Detector: Gently vacuum the device’s exterior vents periodically to remove dust and debris.
- Pay Attention to End-of-Life Warnings: Many modern detectors will signal when they’ve reached the end of their functional life. Don’t ignore this warning; replace the device promptly.
Common Mistakes to Avoid
- Neglecting Detector Placement: Installing detectors too far from sleeping areas or potential CO sources reduces their effectiveness.
- Failing to Replace Batteries on Time: A non-functioning detector is as good as having none at all.
- Ignoring Maintenance: Dust and debris can interfere with sensors, which may lead to faulty readings.
- Relying on a Single Detector: A single CO detector for an entire home is inadequate. Ensure coverage throughout the house.
- Not Replacing Outdated Units: Always adhere to the replacement timeline provided by the manufacturer.
Final Thoughts
Installing carbon monoxide detectors is one of the simplest yet most effective ways to protect your family from a potentially deadly hazard. Whether you’ve opted for standalone units or integrated systems, proper placement and installation are critical for these devices to function correctly. By following the guidance provided here and staying diligent about maintenance, you can ensure your household remains safe and secure against carbon monoxide exposure.
Above all, remember that CO detectors are a complement to, not a replacement for, regular inspection and maintenance of your fuel-burning appliances. Address potential problems at their source by having heating systems, water heaters, and other appliances serviced annually by a qualified technician. With a few simple steps, you can create a safer living environment for your loved ones.



















There are no comments for this blog.