How To Install A Co2 Detector?
Installing a carbon dioxide (CO2) detector is an essential step in ensuring the safety and health of your household or workspace. CO2 detectors are valuable tools to monitor air quality, especially in environments where high carbon dioxide levels can pose risks to health. In this guide, I'll walk you through everything you need to know about installing a CO2 detector, from selecting the right one to proper placement and maintenance. By the end of this article, you'll be equipped with practical insights to make your space safer for everyone who uses it.
---
Why Install a CO2 Detector?
Before diving into the installation process, let’s consider why it’s necessary in the first place. CO2 levels can rise in poorly ventilated spaces, particularly in homes, offices, greenhouses, laboratories, and industrial locations. An excess of CO2 can cause symptoms such as dizziness, shortness of breath, headaches, nausea, or serious long-term health effects if not addressed. In extreme cases, high CO2 levels can be life-threatening.
Properly installed CO2 detectors provide peace of mind and offer real-time data to help guide adjustments to ventilation systems or notify about rising risks promptly.
---
Step 1: Choosing the Right CO2 Detector

There are various types and models of CO2 detectors on the market. Selecting the right one requires consideration of several factors:
1. Category of Detector:
- Standalone detectors: These are suitable for residential or small office spaces.
- Interconnected or network-enabled detectors: These are typically used in larger commercial buildings or industrial environments.
2. Power Source:
- Battery-powered detectors offer flexibility and ensure functionality during power outages, but they require periodic battery replacements.
- Hardwired detectors are connected to a power supply, which ensures consistent operation but limits placement flexibility.
3. Features:
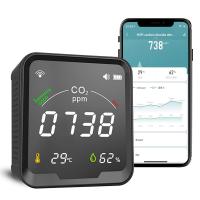
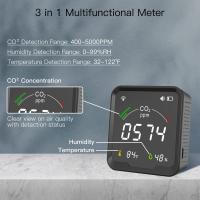
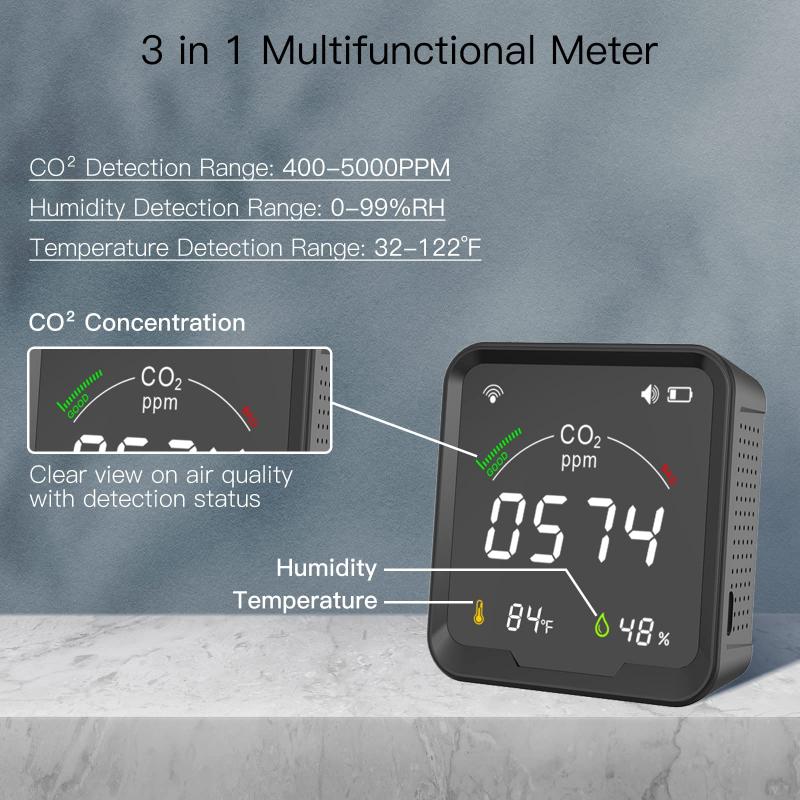
- Look for detectors with digital displays that show CO2 concentration levels in parts per million (ppm).
- Some models come equipped with Wi-Fi connectivity and send alerts via a mobile app.
- Models with audible alarms are essential for immediate awareness in dangerous situations.
Consider your unique needs—whether you’re installing in a single room or an industrial setting—and ensure the detector complies with safety standards relevant to your region.
---
Step 2: Determining Placement

Proper placement is critical for effective monitoring of CO2 levels. Improper installation can lead to false readings or missed detections.
Here are general guidelines to follow:
1. Location:
- Place the CO2 detector in a room where carbon dioxide levels are likely to rise. Examples include kitchens, living rooms, offices, or enclosed spaces with limited ventilation.
- For workplaces or industrial setups, position detectors near equipment that generates CO2, such as machinery.
2. Height:
- CO2 is slightly heavier than air, so it tends to settle in lower portions of a room. Position the detector at breathing level for most accurate readings—roughly 4-6 feet off the ground. This height corresponds to human respiratory zones in typical settings.
3. Proximity to Potential Sources of CO2:
- Detectors should generally be placed near the most significant sources of CO2 (e.g., HVAC systems, heaters) but not directly next to them as this can create skewed readings.
- Avoid placing detectors in areas with heavy airflow (e.g., near fans or vents) as this can dilute the CO2 concentration in the immediate area and affect accuracy.
4. Ventilation Zones:
- In poorly ventilated spaces or airtight rooms, CO2 detectors should be more evenly distributed. Multiple detectors may be necessary for larger spaces.
5. Avoid Obstructions:
- Do not install CO2 detectors behind furniture, curtains, or large appliances, as this could block the sensor and prevent accurate readings.
---
Step 3: Installation Instructions
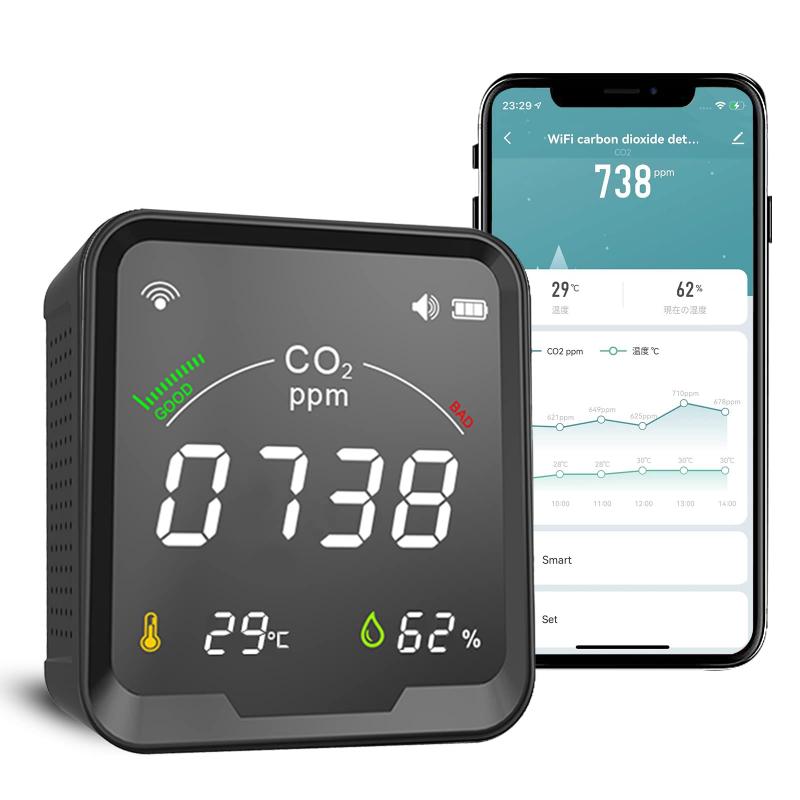
Once you’ve selected the right detector and identified the ideal location, installing it is relatively simple. Follow these steps:
1. Read the Manufacturer’s Instructions:
- Before you begin, refer to the product’s user manual for specific requirements and installation guidance. Each model may have slight variations.
2. Gather Necessary Tools:
- Depending on whether your detector is battery-powered or hardwired, you may need screws, wall anchors, a screwdriver, a drill, or adhesive strips.
3. Wall Mount or Free-Standing:
- For wall-mounted models:
- Use a level to ensure the device will be mounted evenly.
- Mark where you’ll drill the holes.
- Drill pilot holes and secure the mounting plate using screws or wall anchors (as provided).
- Attach the detector to the mounting plate.
- For free-standing models:
- Place the detector on a stable surface elevated to the recommended height.
- Ensure that it won’t be knocked over or exposed to direct sunlight, extreme temperatures, or excessive moisture.
4. Power Up:
- For battery-powered detectors:
- Insert fresh batteries (often included) as per the instructions.
- For hardwired detectors:
- If you are not familiar with electrical wiring, consider hiring a professional electrician. Ensure the device is linked to your power system and test its function once connected.
5. Test the Detector:
- Most detectors feature a "Test" button to verify that the unit is working properly. Press the button and listen for the alarm sound or observe the display screen for confirmation.
- Take time to review any included calibration instructions.
---
Step 4: Regular Maintenance and Testing
Installing the detector is just the first step. Routine maintenance is essential to ensure the detector remains operational.
1. Weekly or Monthly Testing:
- Press the "Test" button at least once a month to ensure the alarm chirps or the display operates correctly.
2. Cleaning:
- Periodically clean the exterior of the detector with a soft, dry cloth to keep dust and debris away from the sensor. Avoid using harsh chemicals.
3. Battery Replacement:
- If you’re using a battery-powered model, replace the batteries once per year or when the device signals a low-battery warning (often indicated by chirping sounds).
- Use high-quality batteries as recommended by the manufacturer.
4. Recalibration:
- Some advanced detectors may need recalibration over time to maintain accuracy. Consult the manual for specific recalibration methods or seek professional support if required.
5. Device Lifespan:
- Most CO2 detectors have a lifespan of 5-10 years. Check the user manual to confirm its end-of-life indicator and plan for a replacement when necessary.
---
Common Mistakes to Avoid
Even with the best intentions, errors in installation or maintenance can compromise the effectiveness of your CO2 detector. Be mindful of these pitfalls:
1. Incorrect Placement:
- Avoid installing the detector too high or too low, where it may fail to measure CO2 levels accurately.
2. Ignoring the Alarm:
- If an alarm goes off, take appropriate action immediately rather than ignoring it. Resetting the device without resolving the issue increases risks.
3. Neglecting Maintenance:
- Skipping routine checks, cleaning, or recalibrations can result in equipment failure over time.
4. Relying Solely on a Detector:
- A CO2 detector is a monitoring device, not a substitute for proper ventilation. Take corrective measures to improve air circulation when high CO2 levels are detected.
---
Conclusion: Prioritizing Indoor Air Safety
A well-installed and properly maintained CO2 detector is not just a piece of equipment, but a vital investment in safety. By carefully selecting the right detector, ensuring optimal placement, and adhering to regular testing and maintenance practices, you can create an environment that is healthy and secure for all occupants.
Properly functioning CO2 detectors provide early warnings in case of excessive CO2 levels, allowing for timely corrective actions. Whether you’re safeguarding your family or employees, committing a little time and attention to ensure proper installation and upkeep can go a long way in preventing accidents and protecting health.

