How To Insert Memory Card Into Switch?
The Nintendo Switch is one of the most popular gaming consoles in the world, renowned for its portability and versatile gameplay options. As gaming evolves, so do the demands for more storage space, especially when you consider the increasing size of digital downloads. One of the most efficient ways to expand the storage capacity of your Nintendo Switch is by inserting a microSD card. This simple process allows you to download more games, save larger files, and avoid running out of storage. But how exactly do you go about inserting a memory card into your Nintendo Switch? In this article, we’ll walk you through the process, address common concerns, and provide tips for ensuring a smooth experience.
Why Use a MicroSD Card with the Nintendo Switch?

Before diving into the details of inserting a microSD card, let’s discuss why it is essential. The Nintendo Switch comes with a relatively modest amount of internal storage—32 GB in the original model and the OLED model, while the Lite version offers the same amount. After accounting for the system files and software, the usable storage is significantly reduced, leaving little room for games, updates, and downloadable content (DLC).
Given many modern games require several gigabytes of storage, it's easy to see why the built-in storage may not suffice. Upgrading your console’s storage with a microSD card allows you to enjoy more games without having to delete older titles to make space. It’s a small investment that unlocks a much larger world of gaming possibilities.
What Kind of Memory Card Is Compatible?

Before attempting to insert a microSD card, it’s crucial to ensure compatibility. The Nintendo Switch supports the following types of microSD cards:
1. microSD: Up to 2 GB (least commonly used due to low capacity).
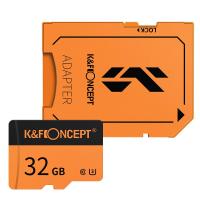
2. microSDHC (High Capacity): 4 GB to 32 GB (often sufficient for occasional gamers).
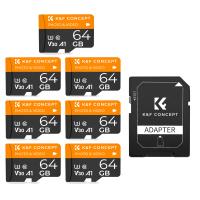
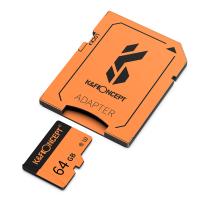
3. microSDXC (Extended Capacity): 64 GB and larger (ideal for gaming enthusiasts).
The microSDXC cards are generally recommended because they offer significantly more storage space and can accommodate the growing needs of your game library. Keep in mind that you may need to update your Switch to enable support for microSDXC cards if you haven’t done so already. Additionally, aim for a memory card with fast read and write speeds (UHS-I cards are typically sufficient) to ensure smooth loading times and overall performance.
Step-by-Step Guide to Insert a MicroSD Card into Your Nintendo Switch
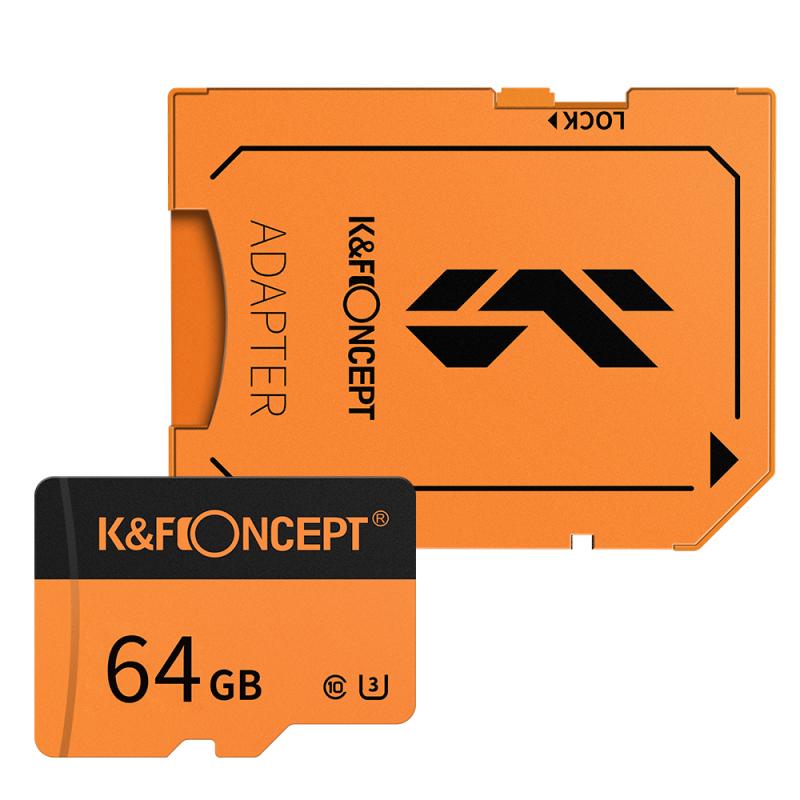
Let’s get to the main task: inserting the memory card into your Nintendo Switch. Follow these steps carefully to ensure you don’t run into any issues.
Step 1: Power Off the Console Completely
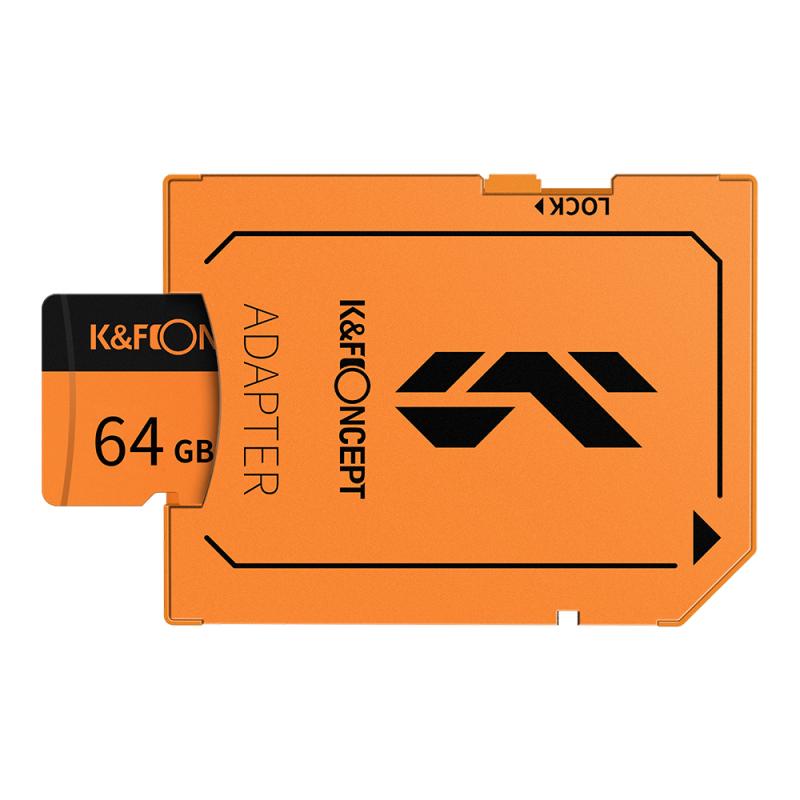
Before starting, make sure your Nintendo Switch is powered off completely. Holding down the power button for at least three seconds brings up the Power Options menu. Select “Power Off” to shut down the console safely. Avoid inserting or removing the microSD card while the console is powered on, as this can cause data corruption or hardware damage.
Step 2: Locate the MicroSD Card Slot
The microSD card slot is not immediately visible to users. For standard Nintendo Switch and Switch OLED models, the slot is located under the kickstand on the back of the console. Gently flip open the kickstand to reveal a small slot with a microSD label.
If you own the Nintendo Switch Lite, the card slot is located on the back of the console as well, but without a kickstand. You’ll find a small external cover that can be flipped open to access the slot.
Step 3: Insert the MicroSD Card
Hold the microSD card with the label side facing out and the gold contact pins facing downward. Gently push the card into the slot until you feel a slight “click,” which ensures that the card is properly seated. Avoid using excessive force, as the card should slide in smoothly if aligned correctly.
Step 4: Close the Kickstand or Cover
After successfully inserting the microSD card, close the kickstand (or the external cover for the Lite version) to secure it in place. Make sure the cover is properly sealed to protect the microSD card from dust or accidental movement.
Step 5: Power on Your Nintendo Switch
Turn your Nintendo Switch back on by holding down the power button for a few seconds. Upon startup, the system should recognize the microSD card automatically. You can confirm this by navigating to the System Settings, selecting “Data Management,” and reviewing the available storage space. If the console does not recognize the card, you may need to format it (explained in the troubleshooting section below).
Troubleshooting Common Issues
Although the process of inserting a microSD card is straightforward, you may encounter some issues along the way. Below are common problems and their solutions:
1. The Console Doesn’t Recognize the MicroSD Card:
If the Nintendo Switch fails to detect the microSD card, it may need formatting. Go to System Settings > System > Formatting Options > Format microSD Card, and follow the prompts. Note that formatting will erase all data on the card, so back up any important files beforehand.
2. Difficulty Inserting the Card:
Ensure you’re holding the card the correct way, with the label facing outward and the contact pins facing down. If it still doesn’t fit, double-check that the card is a compatible type (e.g., microSD, microSDHC, or microSDXC).
3. Slow Performance:
If games load slowly or experience lag, your microSD card may have insufficient read/write speeds. Consider using a higher-speed card (U3-rated cards are excellent for gaming) to improve overall performance.
4. Data Corruption Issues:
Never remove or insert the microSD card while the system is powered on. Always power down the console completely to ensure data integrity.
5. Insufficient Space Despite Upgrading:
If you find you’re still running out of space, double-check your microSD card’s capacity. Ensure it meets your storage requirements, or invest in a larger-capacity card to avoid repetitive upgrades.
Tips for Choosing the Right MicroSD Card
Selecting the right microSD card is imperative for a seamless gaming experience. Here are a few tips:
- Opt for Trusted Brands: Stick to reputable manufacturers like SanDisk, Samsung, or Kingston to ensure quality and durability.
- Account for Future Needs: While a 64 GB or 128 GB card may suffice initially, consider investing in a 256 GB or 512 GB card to future-proof your setup.
- Check for UHS Speed Ratings: Cards with a UHS-I or U3 rating offer better performance and faster load times.
Organizing Your Storage
Once you’ve installed the microSD card, you may want to manage your storage effectively. By default, the Nintendo Switch saves new software data on the microSD card when one is available. However, any data already stored on the console’s internal storage will remain there unless manually transferred.
To move software between the system and the microSD card, navigate to System Settings > Data Management, and choose "Move Data Between System / microSD Card." This is especially useful for optimizing storage distribution.
Final Thoughts
Upgrading your Nintendo Switch with a microSD card is one of the easiest and most efficient ways to expand its storage capacity. Whether you’re a casual gamer or a hardcore enthusiast, the additional storage ensures you can enjoy a vast library of games without the constant need to delete or redownload files.
By following the steps outlined in this article, you’ll be able to insert your memory card correctly and address any issues that may arise. Once your system is up and running, you can focus on what really matters: playing your favorite games with ease. If you haven’t already upgraded your storage, there’s no time like the present. Expand your possibilities today with a microSD card for your Nintendo Switch, and never worry about running out of space again.















There are no comments for this blog.