How To Hide A Trail Camera?
Trail cameras are an indispensable tool for wildlife observation, security monitoring, and even hunting logistics. However, the effectiveness of a trail camera can be significantly diminished if its presence is easily detectable. The fundamental goal of using a trail camera is discreetly capturing information, and this can be compromised if the camera is discovered by people or animals. Whether you are seeking to protect your camera from theft or merely ensure that it blends seamlessly into its environment, hiding a trail camera is a practical concern for many outdoor enthusiasts.
This article delves into actionable strategies to hide a trail camera effectively and protect it from detection. From leveraging natural cover to employing advanced accessories, we’ll explore ways to maximize the camera’s efficacy while ensuring its safety, all while addressing practical challenges that many users face in these scenarios.
Selecting the Right Location
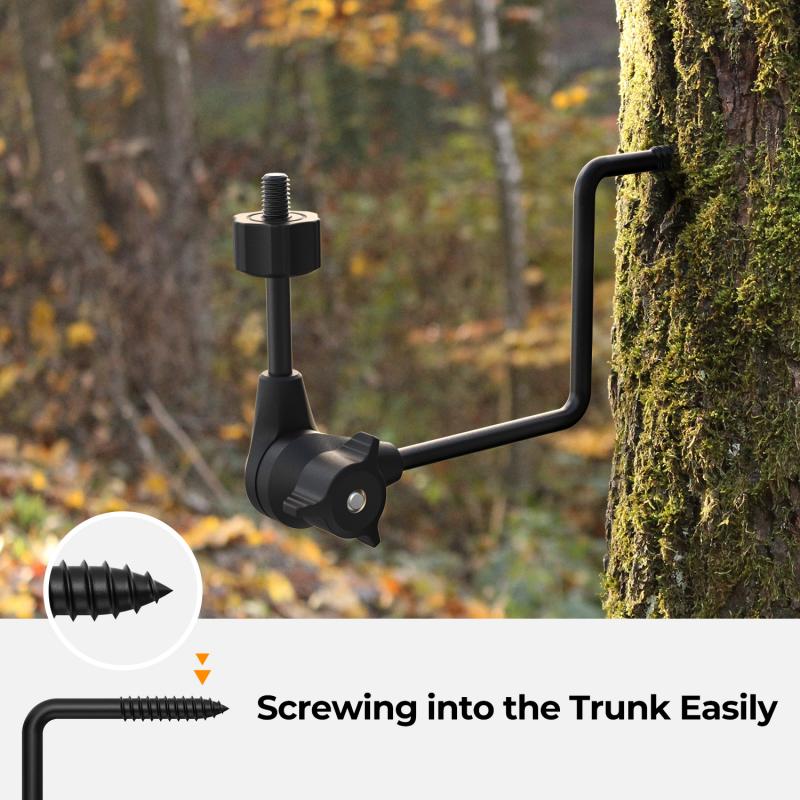
The starting point for hiding a trail camera is selecting a location that naturally complements its concealment. The placement of your camera dictates how conspicuous it will appear to both human eyes and wildlife.
- Opt for High-Traffic Areas: Despite the need to conceal it, the effectiveness of a trail camera still relies on proper placement in areas where targets are likely to pass. Choose trails, watering holes, feeding zones, or choke points where the likelihood of activity is high. Once you’ve identified such areas, look for ways to integrate the camera into the existing terrain or surroundings.
- Avoid Eye-Level Placement: One of the simplest ways trail cameras are discovered is because they’re mounted at eye level. Humans and larger animals are far more likely to notice objects that align with their natural line of sight. Instead, consider placing your camera either higher up (e.g., eight to ten feet above the ground on a tree) and angling it downward or closer to the ground in low, inconspicuous spots.
- Leverage Natural Barriers: Trees, bushes, or rock formations provide excellent opportunities for camouflage. Position the camera behind leaves or branches, ensuring the lens and sensor are unobstructed while reducing its detectable surface.
Using Camouflage for Seamless Integration
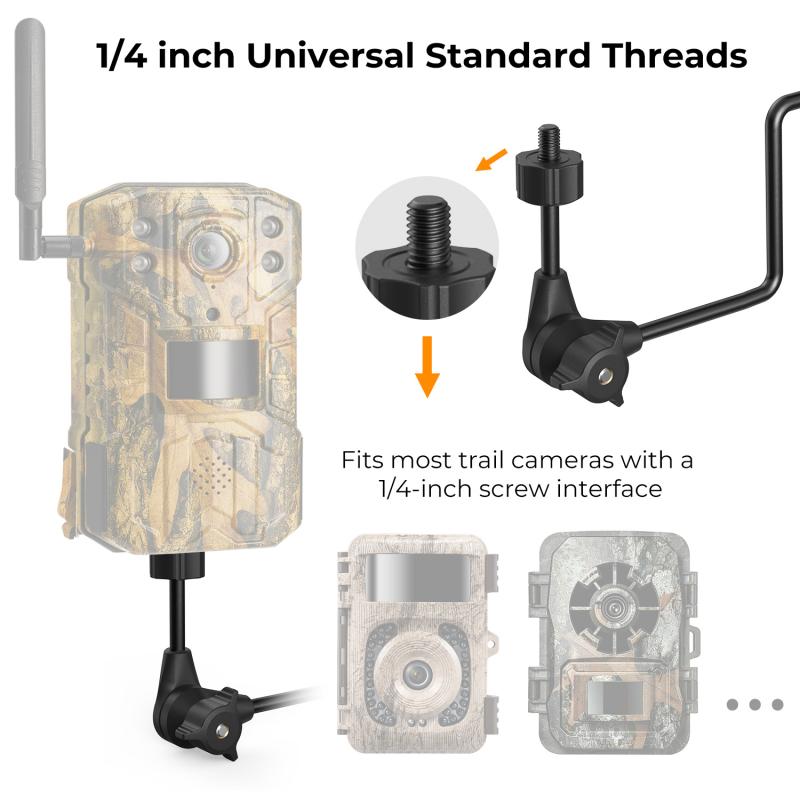
Camouflaging your trail camera is the next crucial step to ensuring it remains hidden. By making the camera indistinguishable from its surroundings, even a trained eye is less likely to detect its presence.
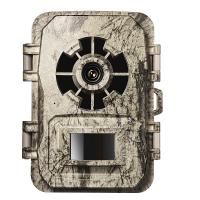
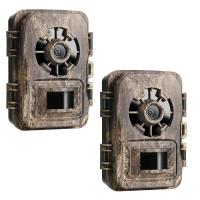
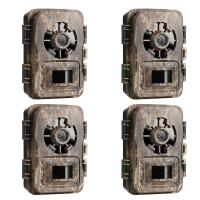
- Trail Camera Skins: Many manufacturers sell cameras with a camouflage design, but if yours doesn’t come with one, consider investing in aftermarket skins. These wraps or coatings imitate the textures and colors found in forested, rocky, or grassy environments.
- DIY Camouflage: Beyond factory-produced options, you can also modify your trail camera using accessible materials. For example, use non-reflective paint in earth tones to cover exposed plastic surfaces. Alternatively, adhere moss, bark, or leaves around the device, taking care not to obstruct vital components like the lens, motion detector, or infrared sensor.
- Use Natural Materials: To further minimize visibility, gather items from the immediate surroundings – such as branches, dead leaves, or small rocks – for a more authentic blend. You can drape these materials loosely over the camera or nearby to break up its outline, avoiding a boxy or artificial-looking fixture.
Mitigating Detection From Animals
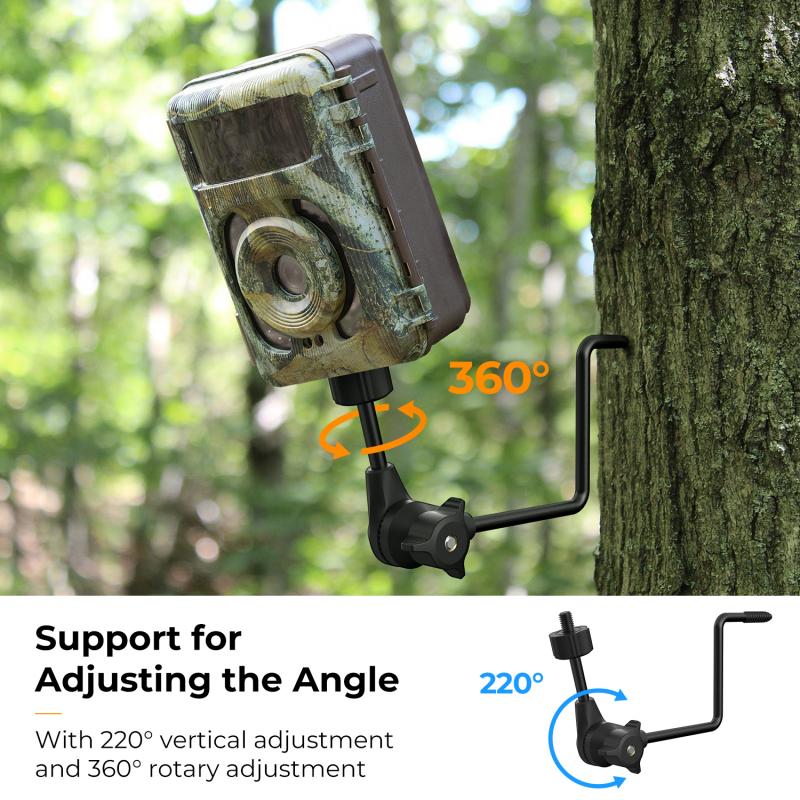
Surprisingly, animals are more prone to detecting trail cameras than many people realize. This is largely because cameras emit smells, lights, or noises that are foreign to their environment, alerting wildlife to their presence.
- Scent Control: Animals, especially deer, have incredibly acute noses. New trail cameras, particularly those out of the factory packaging, may carry a distinct chemical or plastic odor. Wipe down the camera with scent-free wipes and leave it outdoors for several hours—or even days—before installation to dissipate odors. You can also use scent-eliminating sprays designed for hunters to reduce the chances of an animal noticing your camera.
- Address IR Flash Visibility: Many trail cameras use infrared (IR) flash to capture images in low-light conditions, but even IR can emit a faint glow that animals may notice. Opt for a camera with a "blackout" or "low-glow" IR flash, which significantly reduces visibility compared to standard trail cameras.
- Eliminate Noise: Ensure that the camera’s housing or mounting mechanism doesn’t make noise when wind or movement occurs. Secure mounts tightly, and check for any loose fittings that could cause sound.
Protecting Against Human Discovery
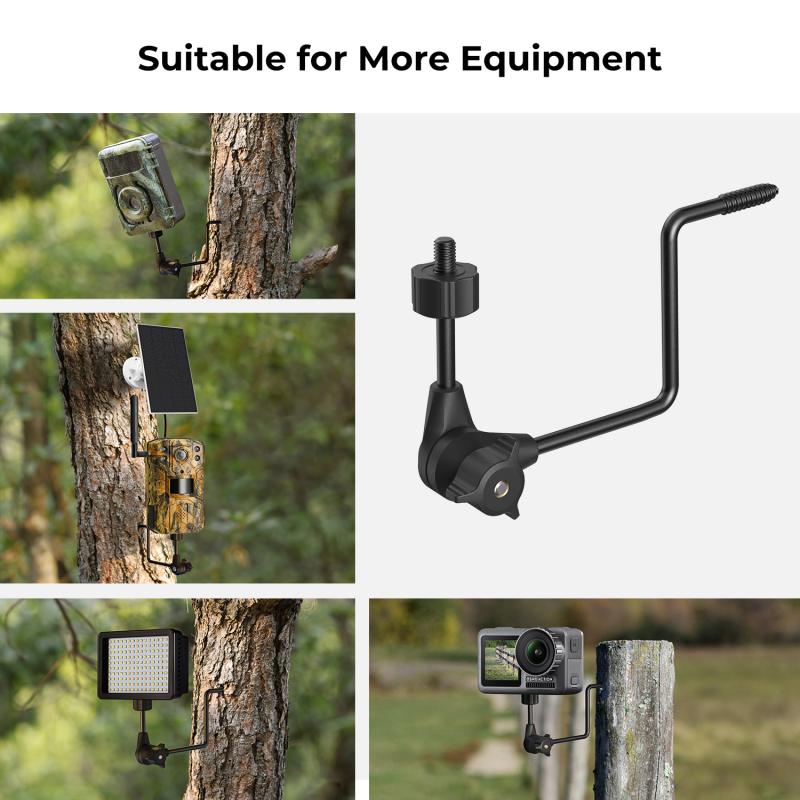
Hiding a trail camera from people poses its own set of challenges. Thieves or vandals who stumble upon a camera may take or damage it, especially if its placement suggests it’s monitoring a valuable area.
- Use Locking Mechanisms: Many trail cameras are compatible with padlocks or locking cases designed to safeguard them against theft. These mechanisms not only secure the device but also act as deterrents to would-be intruders.
- Choose a Low-Traffic Area: While it’s important to place your camera in a high-activity zone for its intended purpose, you should also try to avoid publicly visible or high-foot-traffic areas. The less accessible the area is to people, the safer your camera will be from theft or tampering.
- Hone the Art of Concealment: Hide your camera in less expected places. For example, instead of mounting it on a clearly visible tree trunk, you could conceal it in a hollow or wrap it in foliage. You could even place it inside an empty birdhouse or faux rock with a small hole for the lens.
- Use Decoy Cameras: As a last resort, consider using decoy cameras as a distraction. You can place an inexpensive, visible trail camera in a more obvious spot to draw attention away from your well-hidden primary device.
Mounting Techniques for Advanced Concealment
The way you physically mount your trail camera is critical to achieving inconspicuous surveillance. Your placement strategy should focus on maximizing the balance between efficacy and stealth.
- Elevated Mounting: Installing the camera high above ground level reduces the chance of detection. Use climbing gear, a ladder, or a pole to mount the camera at an angle pointing downward along a game trail or toward a specific target area.
- Mounting From Uncommon Angles: Most people expect trail cameras to be positioned facing directly toward known paths or trails. Consider creative angles, such as mounting the camera perpendicular to a trail or in a concealed vantage point.
- Integration With Wildlife Structures: If your area permits, you could integrate the trail camera into man-made structures like birdhouses, feeder boxes, or nesting areas. These are less likely to draw suspicion and can offer excellent disguise.
Regular Maintenance and Monitoring
Your efforts to hide a trail camera could go to waste if the area is disturbed during frequent monitoring. To reduce the risk of detection, use these strategies to maintain the camera discreetly:
- Use a Memory Card With Large Storage Capacity: Larger memory cards allow the trail camera to store more photos and videos, minimizing the need to visit the site frequently for retrieval.
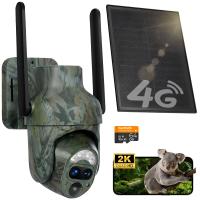
- Opt for Wireless Trail Cameras: Modern trail cameras equipped with Wi-Fi or cellular capabilities allow you to access imagery remotely. This eliminates the need to physically visit the camera, thereby reducing the chances of being spotted while checking it.
- Check During Off-Peak Hours: If you do need to visit your trail camera, plan your trips during times when human or animal activity in the area is at its lowest—such as midday or late at night, depending on the location.
Common Mistakes to Avoid
Many users fail to adequately hide their trail cameras because of simple oversights. By addressing these potential pitfalls, you can ensure your efforts to conceal the camera are effective:
- Neglecting the Lens and Sensor: In your efforts to camouflage the camera, make sure you don’t accidentally obstruct the lens, IR flash, or motion detector, as this will render the device ineffective.
- Ignoring Sun and Lighting: Position your camera to avoid direct exposure to sunlight or reflective surfaces, which could cause glare that makes it easier to spot.
- Underestimating Detection Range: Consider the angle and range of your camera’s detection zone. Improper placement could result in missed opportunities.
Final Thoughts
Hiding a trail camera effectively requires careful planning, creative thinking, and ongoing maintenance. Your objective isn’t only to protect the device but also to ensure it collects valuable data without interference. By selecting ideal locations, leveraging natural cover, and taking

