How To Get Voice In Screen Recording?
The ability to capture sound alongside video during a screen recording is an increasingly important feature for creators, educators, gamers, and professionals alike. Whether you’re creating a tutorial, recording gameplay, or capturing a virtual meeting, having audio as part of your recording greatly enhances its value. However, many individuals face challenges when trying to enable or improve voice capture during a screen recording. This article delves into the best methods, tools, and tips to successfully include voice in your screen recordings, ensuring that your final output is both clear and engaging.
1. Understanding Audio Input in Screen Recording

Before diving into specifics, it’s important to understand how audio input works in relation to screen recording. When you record your screen, most recording tools offer multiple audio options, such as:
- Selecting Internal Audio: Audio that comes directly from your computer or mobile device, such as sounds from applications, music, or media files.
- Selecting Microphone Audio: Voice that is captured through an integrated or external microphone, such as your narration or external commentary.
Sometimes, you may need to enable one or both options depending on your use case, as some tools default to video-only recording.
2. Built-In Screen Recording Tools
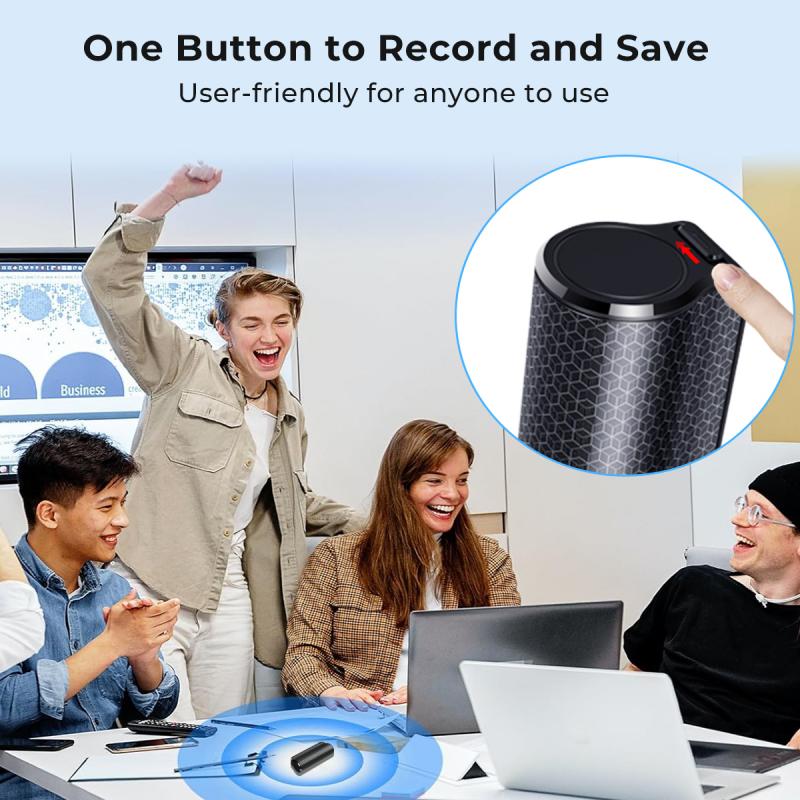
Many devices (both computers and mobile phones) have built-in screen recording functionality with the option to record audio. These tools are often straightforward to use but may require a few settings adjustments to enable voice capture.
For iOS Devices (iPhone or iPad):
Apple devices offer a built-in screen recording feature that supports voice capture. To ensure your voice is recorded:
1. Open the Control Center by swiping down (or up, depending on your iOS version).
2. Tap and hold the Screen Recording button to reveal additional audio options.
3. Turn on Microphone Audio by tapping the microphone icon until it turns red.
4. Begin recording by tapping Start Recording.
By enabling the microphone, you’ll record both the screen’s content and your live narration or voice commentary.
For Android Devices:
Many recent Android versions include a built-in screen recording option. To include voice or external audio:
1. Access the quick settings menu (usually by swiping down) and tap Screen Recorder.
2. A settings menu will appear; choose the option to record with audio.
3. Select Microphone if you want to record your voice.
4. Start recording as usual.
It’s worth noting that Android device brands may have slightly different methods, so checking the manufacturer’s documentation can help ensure the process is smooth.
For Mac Users:
Mac devices use the built-in QuickTime Player for screen recordings. Here’s the process for including your voice:
1. Open QuickTime Player and select File > New Screen Recording.
2. Click the down arrow next to the record button to access audio options.
3. Select Built-In Microphone or any connected external microphone.
4. Begin recording.
For Windows Users:
Windows 10 and 11 don’t have a fully integrated screen recorder with voice capturing. However, the Xbox Game Bar, which is pre-installed, can record both screen and microphone audio:
1. Press Windows + G to bring up the Xbox Game Bar interface.
2. Go to settings and ensure the microphone is enabled for recording.
3. Begin recording by pressing the record button within the Game Bar.
3. Third-Party Screen Recording Tools
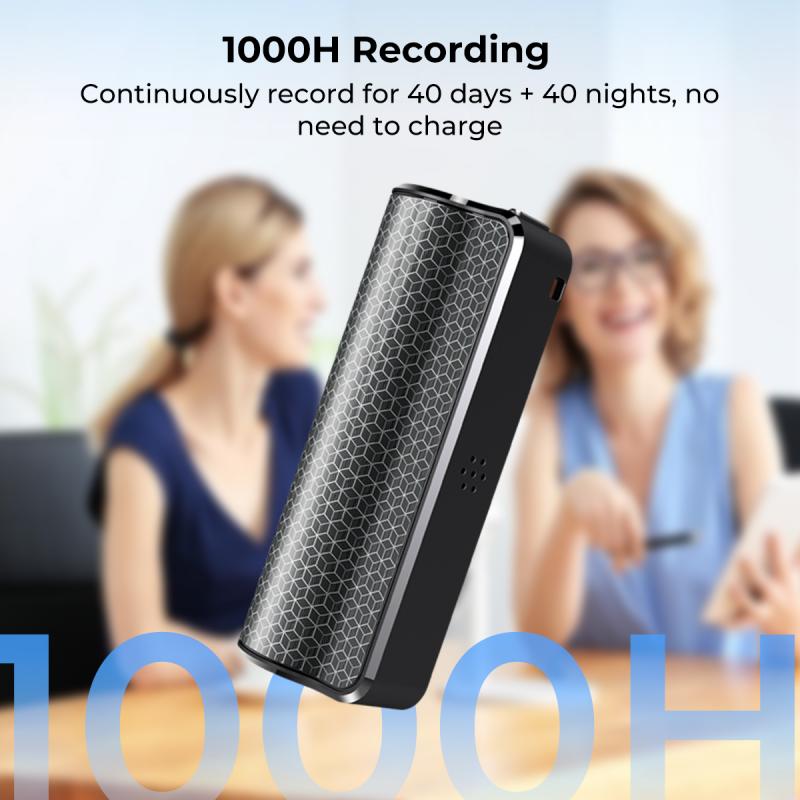
While the built-in tools are useful, they may not be robust enough for complex projects like creating webinars, detailed tutorials, or long-form content. Many third-party applications provide enhanced functionality, including better synchronization of video and audio, higher-quality output, and features like noise suppression or advanced editing.
Here are some excellent third-party options for recording screen with voice input:
OBS Studio (Free):
OBS Studio is a powerful, open-source recording and streaming tool. It allows users to record both internal and external audio alongside video. Here’s how to set it up:
1. Download and install OBS Studio.
2. Set up a new recording scene and add your screen as a video source.
3. Add an audio input source by selecting your computer microphone or any connected external mic.
4. Adjust audio levels in the mixer to ensure adequate voice volume.
5. Start recording.
OBS Studio stands out for its customizable layouts, multi-device support, and professional-grade features.
Camtasia (Paid):
Camtasia is user-friendly software designed for screen recording and editing, making it ideal for professionals and educators. It captures both system and microphone audio, offering easy post-production editing to enhance sound quality.
ScreenFlow (Mac Only, Paid):
ScreenFlow is a premium tool primarily used by Mac users. Its ability to capture video and mix multiple audio inputs—such as a microphone and system audio—is perfect for content creators who desire polished videos.
Other Tools to Explore:
- Loom (great for quick tutorials and sharing feedback)
- Bandicam (popular among gamers)
- Snagit (a simpler alternative for basic screen recording)
4. Choosing the Best Microphone for High-Quality Audio
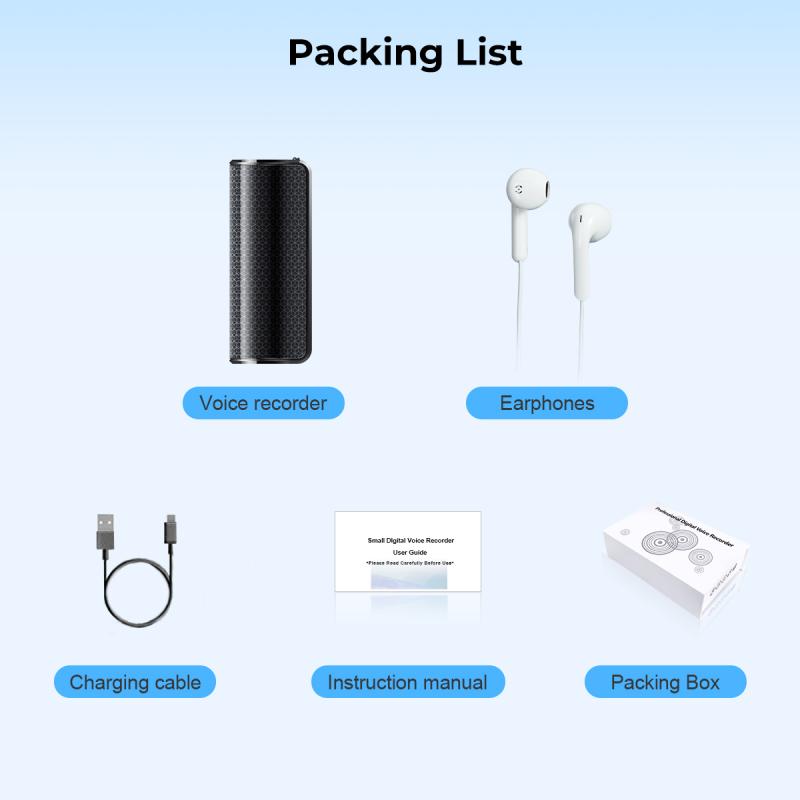
Capturing your voice with clarity can elevate the quality of your screen recordings. While built-in microphones in laptops, desktops, or mobile devices are functional, they often record background noise or inconsistent audio levels. Investing in an external microphone can make a noticeable difference.
Popular Types of Microphones:
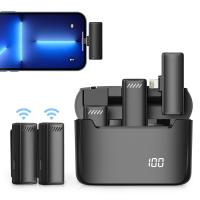
- Lavalier Microphones: Small and clip-on style, ideal for hands-free recording.
- USB Microphones: Plug-and-play mics that provide studio-quality sound, like the Blue Yeti or Audio-Technica AT2020.
- Headset Microphones: Convenient for gaming or multitasking; they combine headphones with a boom mic.
5. Troubleshooting Common Issues
Even with the right tools, some users encounter difficulties capturing voice during screen recording. Here are solutions for some common issues:
1. Microphone Not Detected:
- Ensure the microphone is properly connected to your device.
- Check if your device's privacy settings allow screen recording apps to access the microphone.
- Update your audio drivers or consult the manufacturer’s software if it’s an external mic.
2. Audio Recording is Too Quiet:
- Adjust the microphone’s gain settings to amplify your voice.
- Keep the microphone close to your mouth without distortion.
- Use a noise-canceling microphone or environment (such as a quiet room) to avoid losing voice clarity.
3. Audio Isn’t Synced with Video:
- This issue often arises when using software that struggles to process high-resolution recordings or multi-audio setups. Consider switching to a tool like OBS Studio, which handles synchronization more effectively.
4. Background Noise is Overwhelming:
- Use noise-canceling software (e.g., Krisp) or in-app audio filters to clean up your voice recording.
- Record in a quiet, indoor area, and turn off fans or air conditioning if possible.
6. Advanced Tips for Better Voice Integration
To make your content more professional, consider these advanced techniques:
- Use Headphones: If you’re recording internal audio along with your mic input (e.g., for gaming), wearing headphones prevents internal sounds from bleeding into the mic.
- Post-Production Audio Editing: Use editing software like Audacity or Adobe Audition to fine-tune your audio—eliminating background noise, boosting volume, or applying compression.
- Practice Voice Delivery: Speak clearly and concisely for better audience engagement. Using a script or outline can help maintain a smooth flow.
7. Conclusion
Including your voice in screen recordings is an essential skill for anyone aiming to create impactful video content. Whether you’re working with built-in tools or third-party applications, the ability to effectively integrate audio ensures that your recordings are engaging and informative.
By following the suggestions outlined in this article—understanding your tools, choosing quality microphones, resolving technical issues, and refining your audio workflow—you can confidently elevate the quality of your screen-recorded content. Experiment with settings, test equipment, and practice delivery to discover what works best for your specific projects. In no time, you’ll have professional-grade screen recordings that capture both clear visuals and crisp audio with ease.

