How To Get Flash On Ipad Camera?
The question of how to get flash on an iPad camera is one that frequently arises for Apple users, especially for those accustomed to using flash on other devices like iPhones or traditional cameras. While many Apple devices, such as iPhones, support built-in camera flash for both photos and videos, iPads present a unique case. This guide will clarify whether flash is available on iPad cameras, explore possible workarounds for low-light environments, and provide practical solutions for achieving better lighting when using your iPad’s camera.
Does the iPad Camera Have a Built-In Flash?
First, it’s important to note that not all iPads come with the same set of hardware features. Many iPad models, particularly older generations and entry-level ones, do not have a built-in camera flash. This design decision was likely due to the way iPads are used compared to iPhones. iPads are generally regarded as productivity tools designed for creative work, web browsing, and entertainment—not primarily for photography or videography.
Newer and higher-end iPad models, such as the iPad Pro, may include features like advanced cameras with LiDAR sensors for augmented reality applications, but even these lack a built-in flash. Apple has not incorporated a physical flash component, such as the LED flash found on most iPhones, into their iPad lineup. For users who frequently take photos or videos in low-light conditions, this can pose a limitation.
Workarounds for Using Flash on an iPad Camera
If your iPad does not have a built-in flash, there are several alternative solutions that you can explore to mimic or compensate for the lack of this feature. These options range from leveraging natural light to using external accessories designed for better illumination.
1. Use External Lighting Accessories
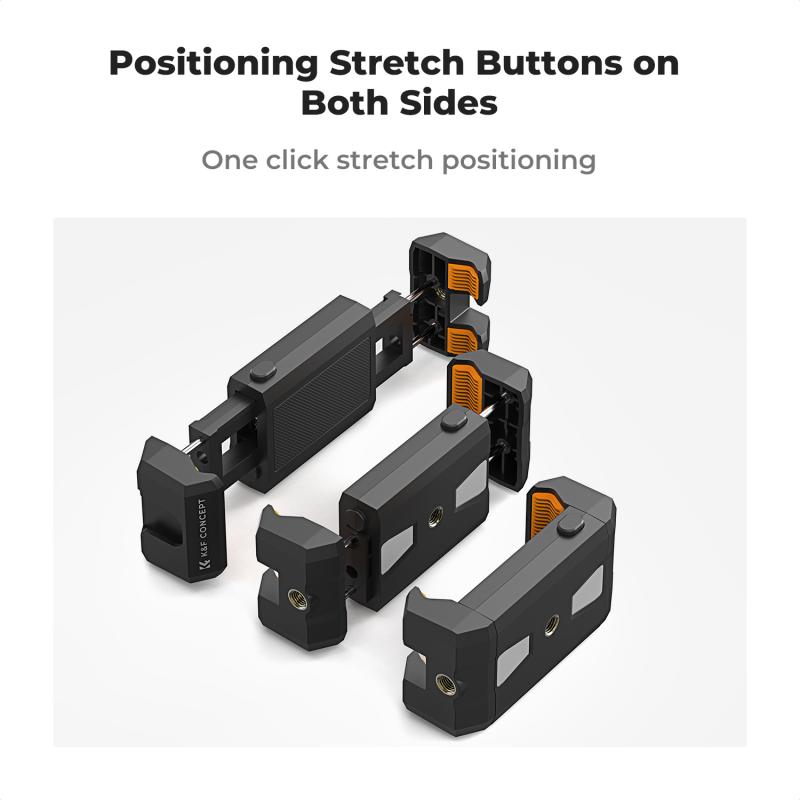
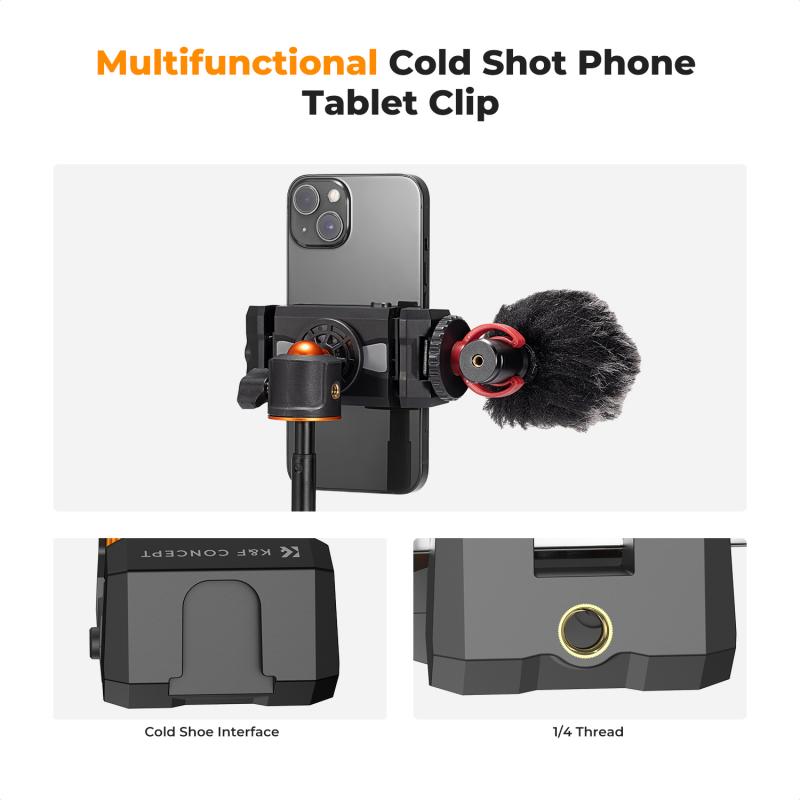
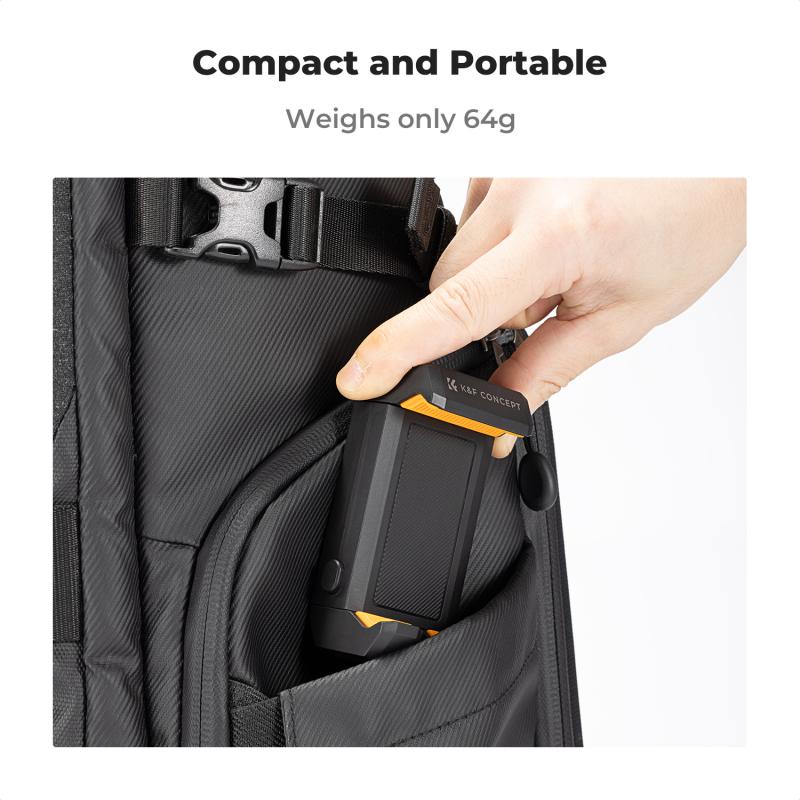
One of the easiest and most effective solutions to achieve flash-like functionality for your iPad is to use external lighting gear. External lighting accessories are small, portable, and can provide consistent illumination for your photos and videos.
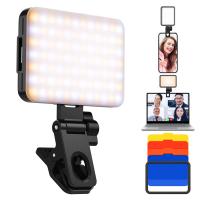
- Clip-On LED Lights: These are small lights that can be clipped onto your iPad or held nearby. Many of these accessories come with adjustable brightness levels and light temperatures, allowing you to customize the lighting for your specific needs. Look for options that are rechargeable and lightweight, as they are more convenient to use with an iPad.
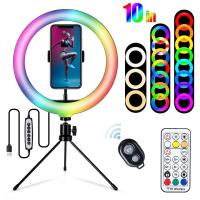
- Ring Lights: Ring lights are a popular choice, particularly for video calls, photography, and content creation. While they are larger and less portable than clip-on lights, they provide even light distribution, which can help reduce shadows and enhance image quality.
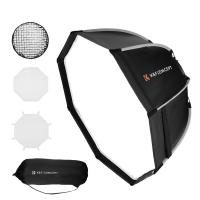
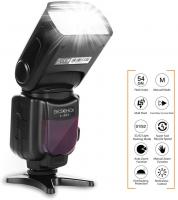
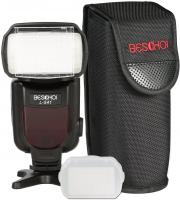
- External Flashes for Photography: If you're looking for a more professional setup, you can use external flash devices. These are separate units that sync with your camera using wireless or Bluetooth technology. They work well for high-quality photography but may require additional equipment like tripods or stands.
2. Use Built-In Features to Improve Low-Light Performance

While the lack of flash on an iPad camera might seem like a limitation, Apple has integrated advanced technologies into its devices to produce better photos and videos in low-light conditions.
- Night Mode (on Certain Models): Certain iPads, particularly newer Pro models, include camera software optimized for low-light conditions. These devices can use computational photography techniques, such as combining multiple exposures, to enhance details in dark environments. Even without a physical flash, this feature can ensure impressive results.
- Exposure Adjustments: Most iPads allow you to manually adjust the exposure in the Camera app. By tapping on the screen where you want to focus, you can then swipe up or down to increase or decrease the overall brightness of the photo.
- Third-Party Camera Apps: Some third-party camera apps offer advanced features like manual control over ISO, shutter speed, and exposure settings. These apps can help you take better low-light photos by optimizing the camera settings more effectively than the default iOS Camera app.
3. Leverage Natural or Ambient Light
If you're in a scenario where external lighting gear isn’t an option, natural or ambient light can serve as an alternative. Here's how to make the most of it:
- Find a Well-Lit Spot: Look for natural light sources, such as windows or outdoor spaces, when taking photos or recording videos. The more light available, the less need there is for a flash.
- Reflect Light: Use reflective surfaces like white boards or aluminum foil to redirect light toward your subject. DIY setups like these can be surprisingly effective for brightening a scene.
- Timing Is Key: For outdoor photography, early morning and late afternoon (the "golden hours") typically provide softer, more flattering light.
4. Use Multi-Device Setups
For those who own multiple Apple devices, such as an iPhone with a built-in flash, there’s an easy workaround: use your iPhone for photography or videography that requires a flash and transfer the files to your iPad for editing or sharing.
Practical Tips for Better iPad Photography Without Flash
Even without a flash, thoughtful consideration of technique and setting can significantly improve your photography and videography outcomes. Here are some tips to help enhance your results:
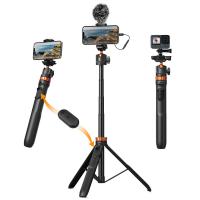
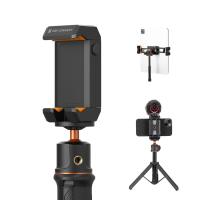
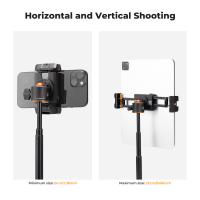
- Stabilize Your Device: Use a tripod or stand to keep your iPad stable while capturing images or videos. This reduces blurriness, which can become more noticeable in low-light conditions.
- Optimize Backgrounds: A cluttered background can detract from your subject, particularly when lighting is limited. Choose simple, well-lit backgrounds to draw attention to your subject.
- Experiment with Angles: Playing with angles can help create dynamic compositions and make use of available light more effectively.
- Edit Your Photos and Videos: Post-processing tools, available on both built-in and third-party apps, can significantly enhance the quality of your media. Apps like Adobe Lightroom or Snapseed are excellent for improving brightness, contrast, and color in your shots.
When the iPad Camera Isn’t Enough
Despite these solutions, there may be scenarios where the iPad’s camera simply isn’t sufficient for your photography or videography needs. In such cases, consider investing in a dedicated camera or using a smartphone with more advanced features. While the iPad boasts powerful applications for photo editing and content creation, its hardware limitations may make it less than ideal for professional-grade photography.
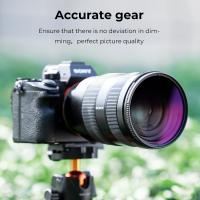
Another viable option is to connect your iPad to an external camera via a USB or wireless connection. Some mirrorless cameras and DSLRs come with companion apps that allow you to control the camera and view images directly on the iPad screen. This setup provides the best of both worlds: the convenience and screen size of the iPad, combined with the superior image quality of a dedicated camera.
Final Thoughts
The absence of a built-in flash on most iPads can be inconvenient for users who often shoot in low-light environments, but it doesn't have to be a deal-breaker. By using external lighting accessories, optimizing available light, or leveraging software features, you can still capture high-quality photos and videos with your iPad. For those who require more advanced lighting solutions, there’s a wide range of external tools and techniques that fill the gap left by the lack of a native flash.
Ultimately, understanding the limitations and strengths of your device allows you to make informed decisions about how best to use it. Whether you’re capturing memories, creating content, or engaging in professional projects, the iPad remains a versatile tool—and with the right approach, you can work around its hardware constraints to achieve excellent results.

