How To Focus Rangefinder Camera?
Mastering the Focus of a Rangefinder Camera: A Comprehensive Guide
Rangefinder cameras hold an old-world charm that mixes elegance with functionality, appealing both to seasoned professionals and those diving into film or manual photography for the first time. Unlike modern-day autofocus digital cameras, rangefinders require a more hands-on approach to capturing sharp, focused images. Their design, grounded in precision mechanics, often attracts photographers who wish to slow down and exercise full control over composition and focus. However, using a rangefinder effectively can initially seem confusing to the uninitiated. This guide is crafted to break it all down, walking you through step by step to help you master the art of focusing with a rangefinder camera.
What is a Rangefinder Camera?
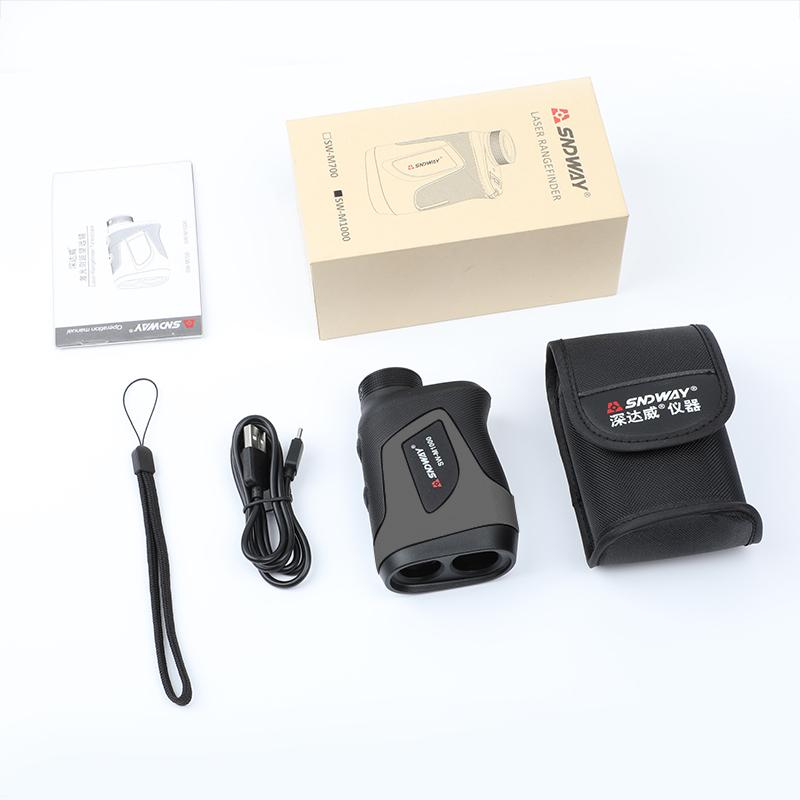
Before exploring how to focus a rangefinder, it’s important to briefly understand what makes this kind of camera unique. Rangefinder cameras, such as the iconic Leica M series or the Canonet QL17 GIII, feature a distinct focusing mechanism that separates the viewfinder from the lens. Unlike a single-lens reflex (SLR) camera, the photographer does not see directly through the lens. Rather, the rangefinder includes a window through which the scene appears. The focusing mechanism overlays a secondary image, or patch, within the viewfinder, which the user aligns manually to achieve correct focus.
Because of this feature, rangefinder cameras are prized for high precision in manual focusing and can especially excel in street photography, portraiture, and photojournalism. However, this unique setup requires a bit of practice and patience to master.
How to Focus a Rangefinder Camera

Focusing with a rangefinder revolves around aligning two superimposed images in the viewfinder’s central patch. Here’s a detailed guide to help you nail the process:
---
1. Understand the Dual-Image Focusing Mechanism
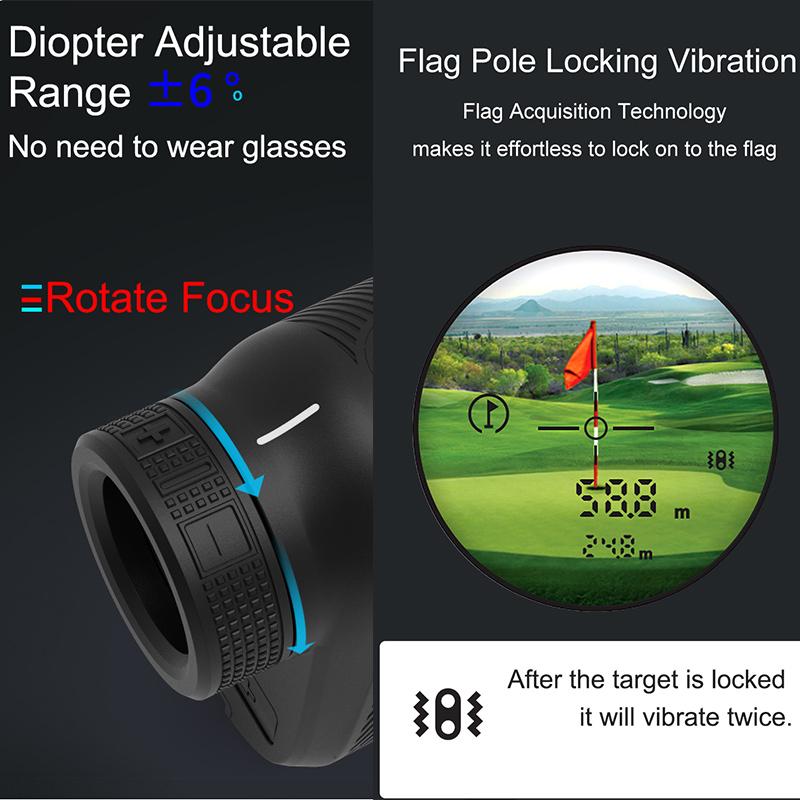
When you look into a rangefinder’s viewfinder, you’ll notice a central focusing patch—a smaller window within the main frame. Inside this patch, the subject appears doubled, or "split." The key to focusing is aligning these two images into one.
For instance, if you are framing a person, the image of their face inside the focusing patch may initially appear disjointed or slightly offset. By adjusting the focus ring on your lens, you’ll gradually merge the split images into one sharp, cohesive image. Once the two images correctly align, your subject is in focus.
---
2. Use the Focusing Ring
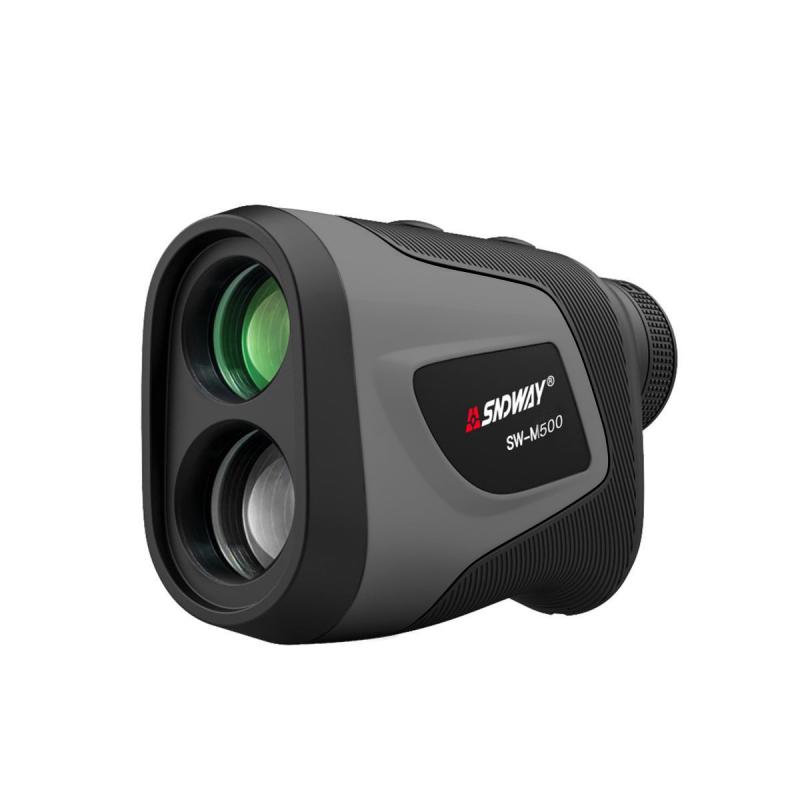
On the lens of your rangefinder camera, you’ll find a focusing ring that you rotate to achieve proper focus. As you turn this ring, the rangefinder mechanism moves the secondary reflected image in the viewfinder’s patch. This mechanical connection allows you to fine-tune the focus until the images converge.
Be deliberate but responsive when turning the focus ring; it is precise and only requires subtle movements to make adjustments. Practice turning the ring smoothly until you find a rhythm with your specific camera model.
---
3. Compose Your Shot Simultaneously
One unique advantage of a rangefinder camera is that its viewfinder shows you the scene beyond the edges of the frame lines, offering a preview of what falls just outside your composition. This is particularly useful for anticipating movement or arranging elements before pressing the shutter.
While aligning the focus, also take time to ensure that your composition is balanced. Because rangefinders don’t rely on a mirror or prism system, you’re always observing the scene live, without the blackout that occurs in SLR systems. Use this to your advantage by integrating focus into your compositional process.
---
4. Zone Focusing for Faster Workflow
Zone focusing is a popular method used by rangefinder enthusiasts, especially for street photographers who focus on capturing fleeting moments. This technique preempts the need to adjust focus dynamically for every shot. Here’s how it works:
- Set your lens to a predetermined focus distance (e.g., 2 meters or 6 feet).
- Adjust your aperture to a higher f-stop (such as f/8 or f/16) to increase the depth of field.
- Use the distance scale on the lens to ensure that your subject will fall within the in-focus zone.
With this approach, you can focus less on precise alignment and concentrate on timing, composition, and interacting with your surroundings.
---
5. Practice with Stationary and Moving Subjects
Achieving accuracy with a rangefinder is a practiced skill. If you’re just starting out, work with stationary subjects to gain confidence in aligning the images within the patch. Look for objects with strong, defined edges (e.g., lampposts, signs, or geometric patterns) which help you detect alignment errors easily.
Once you’re comfortable, test your skills with moving subjects. Track their motion in the viewfinder and practice aligning the focusing patch while following their movement. This will improve your reflexes and prepare you for more challenging shots.
---
6. Leverage Focusing Aids
Some rangefinders, especially vintage models, can have dim focusing patches, making it harder to achieve optimum focus in low-light conditions or bright, contrastless environments. To combat this, consider the following strategies:
- Rangefinder diopters: Match your rangefinder’s optical viewfinder to your vision for increased clarity.
- Focus tabs: Some rangefinder lenses are equipped with tabs on the focusing ring, enabling faster adjustment by touch alone.
- Bright-patch upgrades: Certain services will modify older rangefinders with brighter focusing patches to improve usability.
- External light meters: For cameras lacking built-in meters, external light meters can help you achieve proper exposure, allowing you to focus only on focusing.
---
Common Rangefinder Focusing Myths Debunked
- "Rangefinders can’t focus accurately": While mastering a rangefinder can take practice, skilled photographers often find them leading to sharper focus than SLRs, especially for manual work.
- "Fast lenses are hard to focus on a rangefinder": While wide apertures (e.g., f/1.4) offer a narrow depth of field, the rangefinder mechanism still has a high degree of precision. With experience, accurate focus is achievable even with ultra-fast lenses.
- "Low light makes rangefinders useless": While dim lighting can be challenging, proper techniques (e.g., focusing on contrasty elements) and modern focusing aids help maintain usability.
---
Advantages and Limitations of Rangefinder Focusing
Advantages:
1. Silent operation: Rangefinders lack the noisy mirrors of SLR cameras, making them ideal for candid or stealthy photography.
2. Accurate manual focus: The split-image design is straightforward and precise for manual work.
3. Compact form factor: Many rangefinders are designed to be smaller, lighter, and more portable than their SLR counterparts.
Limitations:
1. Parallax error: Since you’re not looking directly through the lens, there may be a slight difference in what the lens captures versus your viewfinder framing.
2. Bright light struggles: Older viewfinders can suffer in bright outdoor conditions.
3. Difficulty with action: Manually focusing on fast-moving subjects like athletes or wildlife can be challenging compared to autofocus systems.
---
Why Choose a Rangefinder in a Modern Camera World?
Despite the rise of digital photography, rangefinders remain a relevant and beloved tool for their simplicity, durability, and commitment to craftsmanship. Many photographers find rangefinders foster a greater connection to the creative process—requiring you to slow down, think critically, and participate fully in every shot. The tactile experience of manually aligning focus and framing transforms photography from a point-and-click endeavor to an intellectual and artistic pursuit.
Additionally, the level of attention required for rangefinder focusing can lead to a deeper appreciation of the art form and, with practice, sharper results.
---
Final Thoughts
Focusing a rangefinder camera is an art that blends old-fashioned mechanics with a deeply personal touch. By understanding the dual-image mechanism, practicing with both stationary and moving subjects, and experimenting with zone focusing when appropriate, you can master this tool to create sharp, well-composed images. While it may seem intimidating at first, patience and practice ultimately lead to a rewarding experience and images with character and depth.
Exploring rangefinders connects you to the legacy of great photographers such as Henri Cartier-Bresson and Vivian Maier, who used these cameras to capture history effortlessly. By honing your focusing skills and learning

