How To Fix Mobile On Tripod?
When it comes to capturing stable, high-quality photos or videos with your mobile phone, a tripod becomes an essential tool. Whether you're creating professional content, recording a tutorial, or simply taking a group selfie, a tripod ensures your phone stays steady, preventing shaky footage and delivering better results. However, fixing a mobile phone on a tripod isn't always as straightforward as it seems, particularly if you're new to photography or unsure about the type of tripod you own. This guide will explain step-by-step how to fix your mobile securely on a tripod and some troubleshooting tips to enhance your experience.
---
Understanding Tripod Types and Mobile Mounts

Before diving into the process, it’s important to understand that not all tripods are created equal. Tripods generally fall into three main categories: traditional tripod stands, flexible tripods (sometimes called "gorilla tripods"), and mini tripods. While some come with built-in mobile mounts, others require an additional attachment, such as a universal phone holder. Your first step is identifying the type of tripod you’re using and checking whether it’s compatible with your phone.
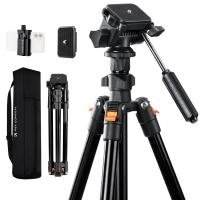
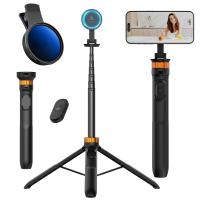
- Traditional Tripod Stands: These are larger tripods with telescoping legs and adjustable heights. They are great for photography or video production and often come equipped with a screw mount or plate system.
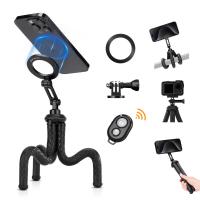
- Flexible or Gorilla Tripods: These are smaller and have bendable legs that can wrap around objects or stand on uneven surfaces. They are great for travel and outdoor shoots.
- Mini Tripods: Small and portable, mini tripods are best suited for desks or flat surfaces. However, due to their size, they may not be ideal for heavy phones or professional setups.
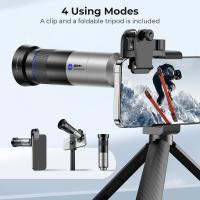
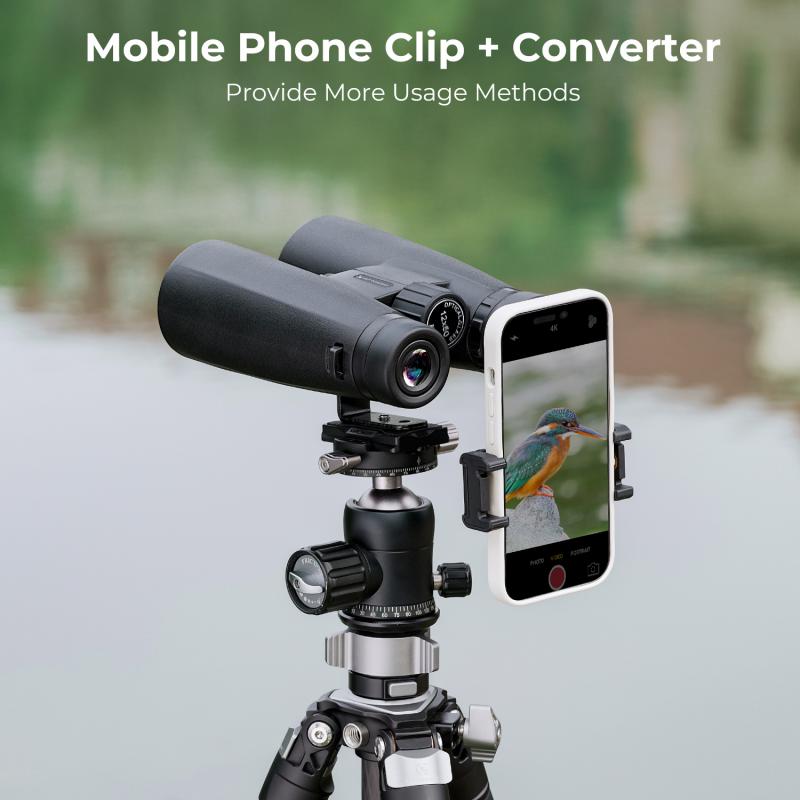
Regardless of the type, most tripod setups require a mobile phone holder or clamp to secure your device. If your tripod doesn’t come with a built-in mobile mount, you can purchase one separately. Opt for a universal mount that is adjustable to fit various phone sizes.
---
Step-by-Step Guide to Fixing Your Mobile on a Tripod
1. Gather the Necessary Components
To begin, make sure you have all the components you’ll need:
- Your tripod
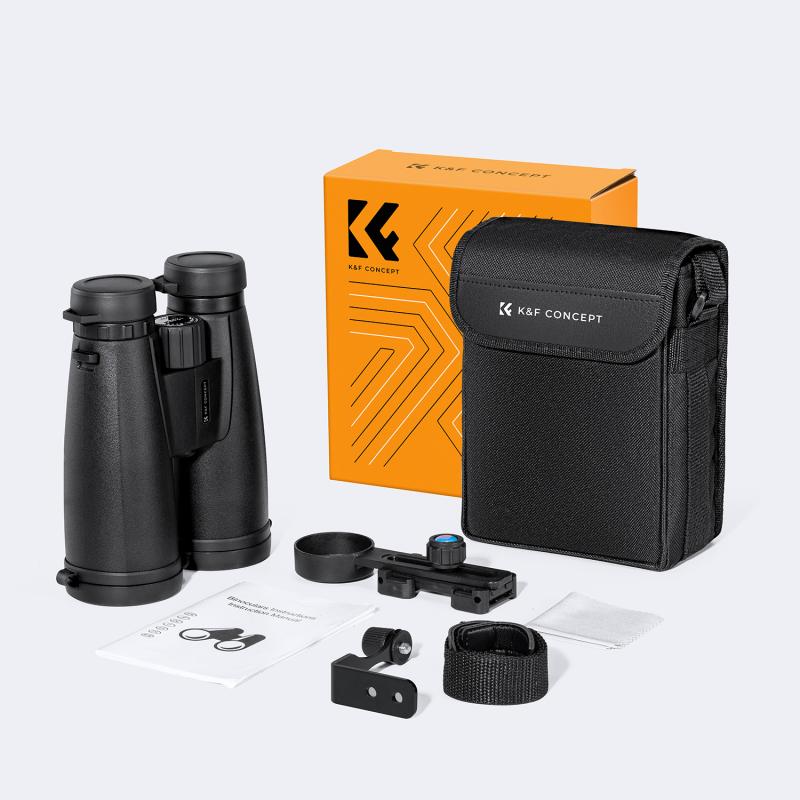
- A compatible mobile phone holder or clamp
- (Optional) A Bluetooth remote or shutter if you’ll be operating your phone remotely
If your tripod already incorporates a built-in clamp, you can skip purchasing a separate mobile mount.
2. Attach the Phone Holder to the Tripod
Most tripods feature a standard 1/4-inch screw mount, which is compatible with universal phone holders. Follow these steps:
- Turn the tripod’s screw clockwise into the base of the phone holder until it is firmly secured. Avoid overtightening as this could damage the holder or tripod.
On some tripods, particularly those designed for DSLRs, you may need to connect the phone holder to a quick-release plate before mounting it on the tripod.
3. Adjust the Phone Holder to Fit Your Device
Phone holders are designed to accommodate a range of phone sizes. They typically feature spring-loaded or screw-based mechanisms to secure your phone.
- Open the clamp by stretching or unscrewing it to match the width of your device.
- Carefully place your phone into the holder, ensuring it aligns with any rubber padding that prevents scratches or slippage.
- Release the clamp tension or tighten it until the phone is securely held in place.
Make sure your phone is centered in the holder to maintain balance. This will reduce strain on your tripod and prevent tipping.
4. Fine-Tune the Tripod
Set up your tripod on a stable surface. For tall tripods, extend the legs evenly to achieve the desired height. For flexible tripods, adjust the bendable legs to grip onto a surface or create a stable base.
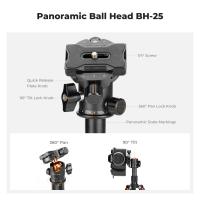
- Adjust the angle using the tripod’s ball head or tilt mechanisms.
- Lock all the adjustment points to keep your phone steady.
If your tripod includes a spirit level, use it to ensure it’s perfectly upright for better framing of your shot.
5. Start Shooting
With your phone securely mounted, open your camera or video app and start capturing content. Many modern tripods come with Bluetooth remotes that allow you to start and stop recording without touching your device. This is especially useful for group photos or long exposures.
---
Troubleshooting Common Issues
Even with proper setup, you might encounter some challenges. Here’s how to address them:
- Phone Slipping Out of the Holder
This can happen if the phone holder isn’t tightened properly or if the rubber grips are worn out. Double-check the tension of the clamp and consider replacing the holder if it’s old or malfunctioning.
- Tripod Leaning or Collapsing
Uneven surfaces or excessive weight can cause tripods to tilt or collapse. Ensure the legs are evenly extended and placed on a stable surface. Avoid overextending lightweight tripods or using heavy phones with mini tripods not designed to handle the extra weight.
- Vibration or Shaking Footage
Shaking can result from flimsy tripods or slight movements on your end. Use a heavier, more stable tripod for demanding shoots, and avoid touching the setup when recording.
- Phone’s Position Blocks Camera or Ports
If your phone mount obstructs the camera lens or charging ports, you may need to reposition it in the holder. Some mobile holders allow horizontal or vertical adjustments to accommodate different setups.
---
Pro Tips for a Smoother Experience
1. Choose the Right Orientation
Depending on your content, you may need to use your phone in landscape (horizontal) or portrait (vertical) mode. Most mobile holders allow you to rotate the phone 90 degrees or adjust its angle. Ensure it is locked securely in the desired position before shooting.
2. Check Stability Before Recording
After setting up, give your tripod a gentle shake to test its stability. This will help you identify and fix any loose connections or unbalanced legs.
3. Invest in Accessories
For added convenience, consider accessories such as attachable lights or external microphones that can be mounted on your tripod or phone holder. These can significantly improve the quality of your content.
4. Protect Your Phone
If you’re shooting outdoors or in precarious environments, use a rugged phone case to safeguard your device against accidental drops. Be mindful of windy conditions that might destabilize lightweight tripods.
5. Use a Remote Shutter
As mentioned earlier, Bluetooth remote shutters eliminate the need to touch your phone while capturing photos or starting a recording. They can reduce vibrations significantly and provide better results.
---
When to Upgrade Your Tripod Setup
While most tripods are adequate for general use, some situations might require more advanced equipment. For example:
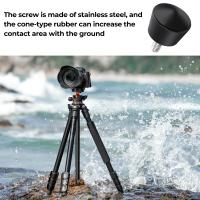
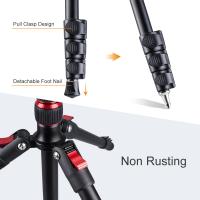
- If you frequently work in outdoor or uneven environments, consider a tripod with grip-enhancing rubber feet or flexible legs.
- For professional content creators, investing in a fluid head tripod will allow smoother pan and tilt movements for video shoots.
- If portability is key, opt for a lightweight tripod made of carbon fiber or aluminum alloy.
---
Fixing your mobile phone on a tripod is a straightforward process that can elevate the quality and professionalism of your photography or videography. With the right tools, careful setup, and attention to detail, you’ll achieve unparalleled stability and versatility in your content creation process.
Whether you're a hobbyist or a professional, this guide should provide a comprehensive strategy for getting the most out of your tripod. By combining basic techniques with troubleshooting tips, you'll be equipped to overcome common challenges and deliver stunning results. Once your phone is securely fixed, you’re free to explore a world of creative possibilities, from time-lapse videos to long-exposure photography and everything in between.

