How To Find A Memory Card On Mac?
When it comes to using external storage devices like memory cards, simplicity and efficiency are key considerations for most users. On a Mac, finding a memory card and accessing its contents should be a straightforward task. However, occasional difficulties may arise due to unfamiliarity with the macOS interface, improper memory card formatting, or technical glitches. If you’ve ever wondered how to find a memory card on your Mac, this article will guide you through the process step by step, explain common troubleshooting steps, and answer practical concerns. Let's explore everything you need to know to access and manage memory cards on macOS successfully.
---
Understanding How macOS Recognizes Memory Cards
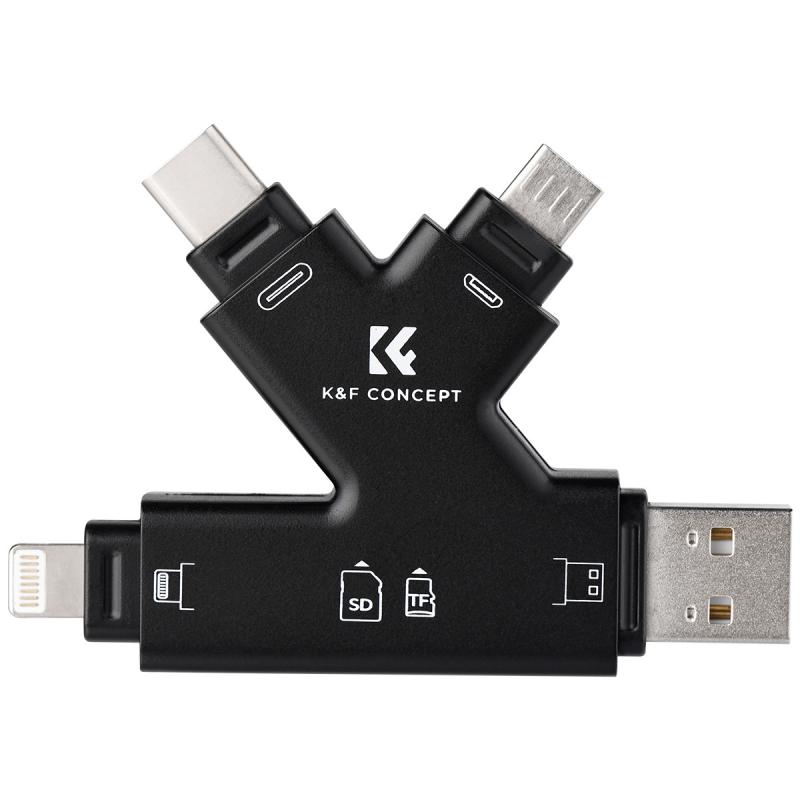
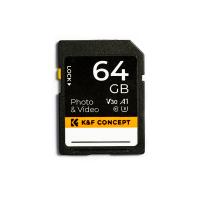
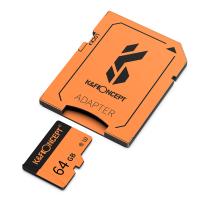
Before we dive into the process of finding and interacting with a memory card on your Mac, let's first understand how macOS interacts with external storage devices. macOS automatically detects most standard memory cards, such as SD cards, microSD cards (with an adapter), and CompactFlash cards, as long as they are correctly inserted into a card reader or a built-in SD card slot. The system immediately assigns a mount point—a virtual space on the desktop or Finder where you can access files.
If your card does not show up, there are usually specific reasons for it, such as improper formatting, hardware compatibility issues, or user permissions. These mechanisms are straightforward, but the real challenge lies in solving visibility issues when a card refuses to appear.
---
Step-by-Step Process: How to Find a Memory Card on Mac
1. Insert the Memory Card Properly
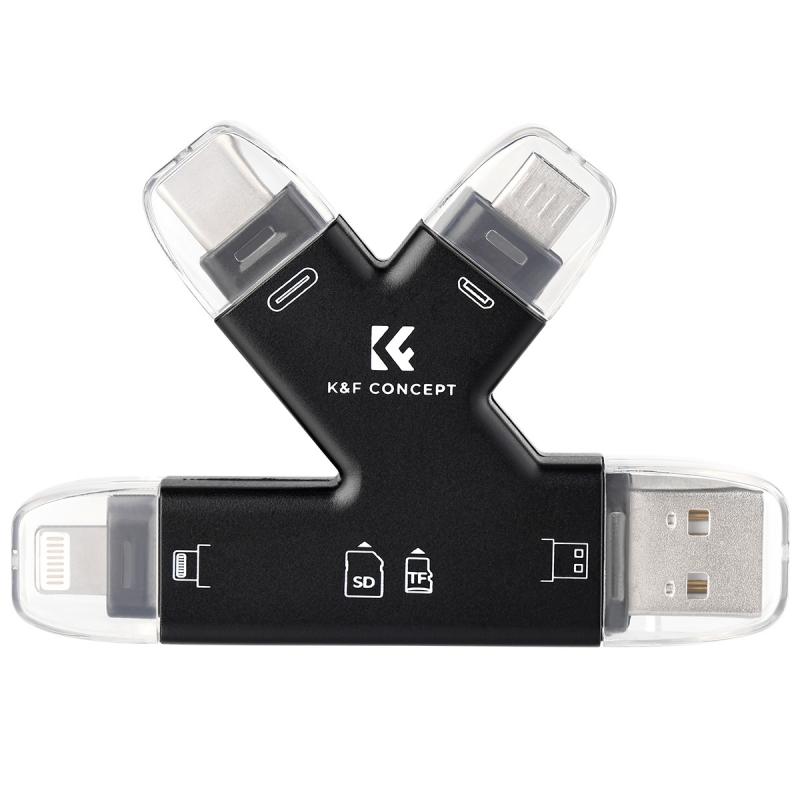
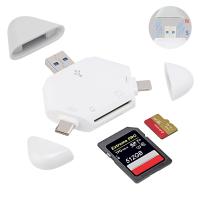
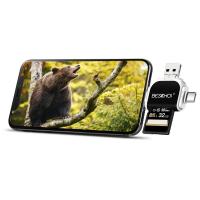
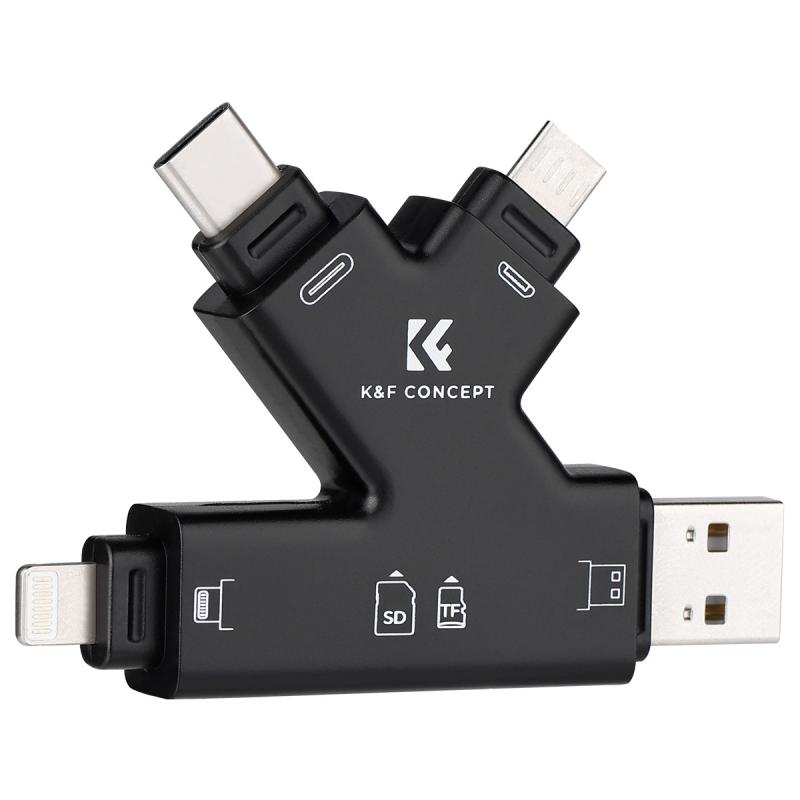
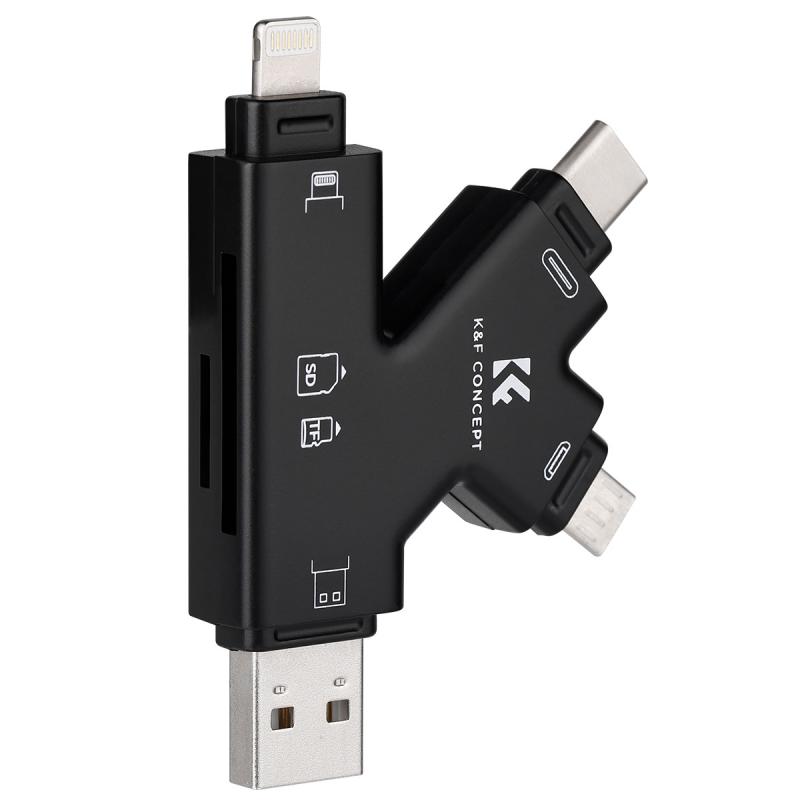
The first step is to ensure that the memory card is properly inserted into your Mac. If your Mac has an SD card reader, insert the card directly into the slot. For Macs that lack an SD card reader (such as the MacBook Air and MacBook Pro models after 2016), you'll need an external USB card reader or adapter. Plug the external reader into your Mac and insert the memory card.
Check that the card is fully seated in the slot or adapter, as an improperly inserted card might not connect with the Mac's operating system.
2. Verify Finder Visibility Settings
One of the most common reasons users cannot locate their memory card is related to Finder's visibility settings. By default, macOS may not display external drives, including memory cards, in Finder or on the desktop. To change these settings:
- Open Finder.
- Go to the menu bar at the top of the screen and select Finder > Preferences.
- Click on the General tab.
- Ensure that the checkbox for "External disks" is selected under "Show these items on the desktop."
- Next, go to the Sidebar tab in the same preferences window.
- Ensure "External disks" is also selected under "Locations."
Once you’ve enabled these options, you should see the memory card appear on either the desktop or in the Finder sidebar under "Locations."
3. Check the Disk Utility Tool
If the memory card still does not appear in Finder or on the desktop, the next step is to check Disk Utility. This built-in macOS tool allows you to see all connected storage devices—whether or not they’re mounted and visible to Finder.
- Open Disk Utility by searching for it in Spotlight (press Command + Space, then type "Disk Utility").
- Look for your memory card in the left-hand sidebar under "External" or "Internal."
- If the memory card is listed but not mounted, right-click (or Control-click) on it and select Mount. This should make it accessible via Finder and the desktop.
4. Check Compatibility and Format Issues
Some memory cards may not be immediately compatible with macOS due to their file system format. For example, cards formatted in formats like NTFS (commonly used by Windows systems) might appear as read-only, or they may not mount at all. In such cases:
- Use Disk Utility to check the file system format. Select the card in the sidebar, and its format will be displayed at the top.
- If the card is formatted in an incompatible format, you may need to reformat it to a macOS-compatible format such as ExFAT, FAT32, or APFS. Be warned, however, that reformatting will erase all data on the card, so back it up on another device first if possible.
To reformat:
1. In Disk Utility, select the memory card.
2. Click Erase in the top menu.
3. Choose a new format—ExFAT is a good choice if you need compatibility with both Windows and Mac systems.
4. Name the drive (optional) and click Erase to proceed.
Once the reformatting is complete, the card should mount and appear in Finder.
---
Troubleshooting When a Memory Card Doesn't Show Up
If you've followed the above steps and your memory card still doesn't show up, you may need to troubleshoot further. Here are some practical solutions:
1. Test the Hardware
- Test the Card on Another Device: Insert the memory card into another computer or device to ensure it’s functioning.
- Try a Different Reader or Port: Test the card using a different external card reader and/or connect it to a different USB port on your Mac.
- Inspect the Memory Card for Damage: Physical damage to the card (such as bent pins or scratches) may make it unreadable.
2. Reset the System Management Controller (SMC)
Occasionally, hardware detection issues are related to macOS system-level glitches. Resetting the SMC can fix unresponsive ports or external devices not mounting correctly. The steps to reset the SMC depend on your Mac model—refer to Apple's official support page for guidelines.
3. Check macOS Permissions
Sometimes, macOS may block access to external devices due to permission settings, particularly on newer systems with increased emphasis on security and privacy. To address this:
- Go to System Settings > Privacy & Security > Files and Folders.
- Confirm that Finder has permission to access external drives.
4. Run First Aid in Disk Utility
If your memory card is visible in Disk Utility but refuses to mount, use the First Aid feature. This scans the card for errors and attempts to repair them. Select the card in Disk Utility and click First Aid to begin this process.
5. Update macOS
Outdated macOS versions may cause compatibility issues with certain external devices. Always make sure you’re running the latest version of macOS by heading to System Settings > General > Software Update.
---
Practical Applications and Tips
Now that you know how to locate and troubleshoot a memory card, let’s briefly address practical usage scenarios and some helpful tips:
1. Transferring Files: When you locate your memory card in Finder, you can drag and drop files between the card and your Mac. Ensure the card has enough free storage for your intended files.
2. Photo and Video Management: Memory cards are commonly used to store images and videos. Use image management tools like Photos or Lightroom to import, organize, and edit your content with ease.
3. Backup Data: Memory cards are a portable option for data backup. However, remember that they have a limited lifespan. Use them alongside other backup solutions like external hard drives or cloud storage for redundancy.
4. Avoid Data Loss: Always eject your memory card safely before removing it. Right-click the card in Finder or on the desktop and select Eject, or drag it to the Trash/Eject icon in the Dock.
---
Finding a memory card on a Mac is typically a simple process, but occasional issues can arise due to visibility settings, compatibility concerns, or technical glitches. By following the step-by-step instructions detailed above, you should be able to quickly locate your memory card, troubleshoot any problems, and manage your files with ease. Whether you’re transferring photos, backing up data, or formatting a card for a specific purpose, your Mac provides robust tools to get the job done. With these tips, you’ll never have to struggle with unrecognized memory cards again!

