How To Display Security Cameras On Tv?
In today’s technologically advanced world, ensuring safety and monitoring your surroundings is easier than ever with security cameras. A common question posed by many homeowners and businesses alike is, "How do I display security camera footage on my TV?" Whether you're a tech-savvy individual or someone new to this area, connecting your security camera feed to a TV can enhance monitoring convenience, especially for those who want real-time surveillance in a larger and clearer display format. In this article, we’ll break down all that's required to connect your security cameras to a TV, including different methods, tools you may need, and practical troubleshooting tips.
---
Why Display Security Cameras on Your TV?
Display monitors for security cameras are often compact and designed for individual feeds, but they may not always be suitable for everyone. TVs, on the other hand, offer a larger, clearer view, perfect for situations where quick decision-making is essential, or when there’s simply a need to monitor high-traffic areas continuously. Whether you're managing a property, keeping an eye on family members, or overseeing a business, having the security camera feed displayed on a television can streamline your entire surveillance workflow.
---
Steps to Display Security Cameras on Your TV
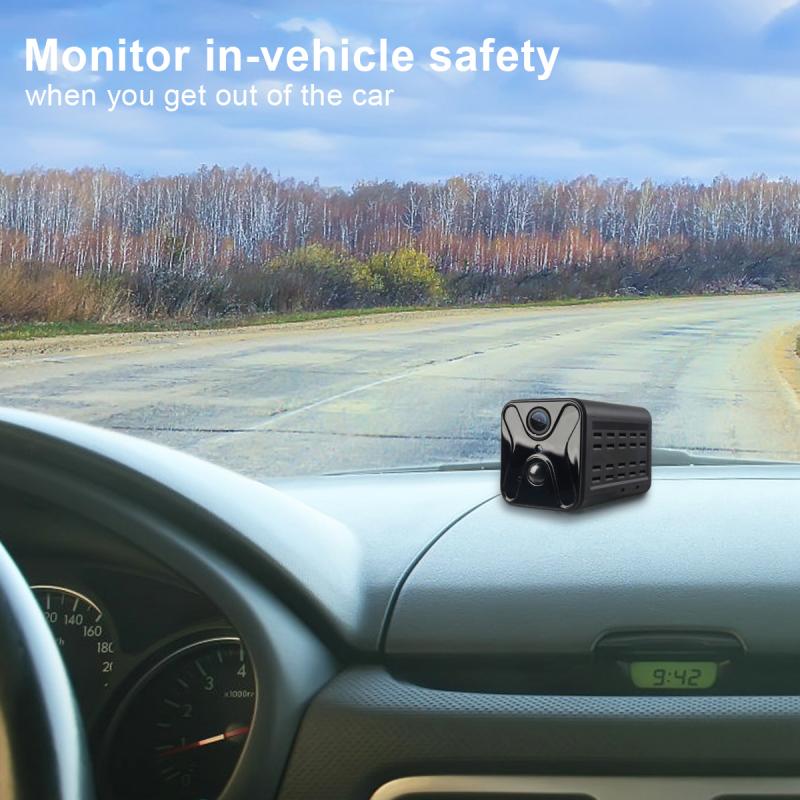
Depending on your camera type (analog or digital) and the existing connections in your home, there are multiple ways to connect your security cameras to a TV. Below are the primary methods, categorized by whether you're utilizing a DVR/NVR (Digital Video Recorder/Network Video Recorder) setup or opting for a direct connection.
---
Method 1: Connecting Via DVR or NVR
Most modern security systems come with DVRs or NVRs, which act as centralized storage and management hubs for your surveillance footage. Here’s how to connect them to your TV:
1. Verify Compatibility
Ensure your DVR/NVR has the appropriate output ports (e.g., HDMI, VGA, or RCA), which match the input ports on your TV.
2. Obtain the Appropriate Cables
Once compatibility is verified, obtain the correct cables:
- Use an HDMI cable for the highest video quality.
- Use a VGA cable if HDMI is not available, though VGA signal may lack audio transmission and offer slightly lower resolution.
- For older TVs, an RCA cable (with red, yellow, and white plugs) may be necessary.
3. Connect the Cables
- Plug one end of the cable (e.g., HDMI) into the output port of the DVR/NVR and the other end into your TV’s input port.
- If using RCA cables, match the colors (yellow for video, red/white for audio) to the corresponding ports on both devices.
4. Switch TV Input Settings
- Turn on your TV and the DVR/NVR system.
- Navigate to the TV’s settings and change the input source to the correct option (e.g., HDMI1, VGA, or AV/RCA).
5. Monitor Your Feed
If everything is set up properly, you should now see the security camera feed displayed on your TV. Depending on the DVR/NVR interface, you may also have options for viewing multiple camera feeds simultaneously.
---
Method 2: Direct Connection from a Security Camera to TV
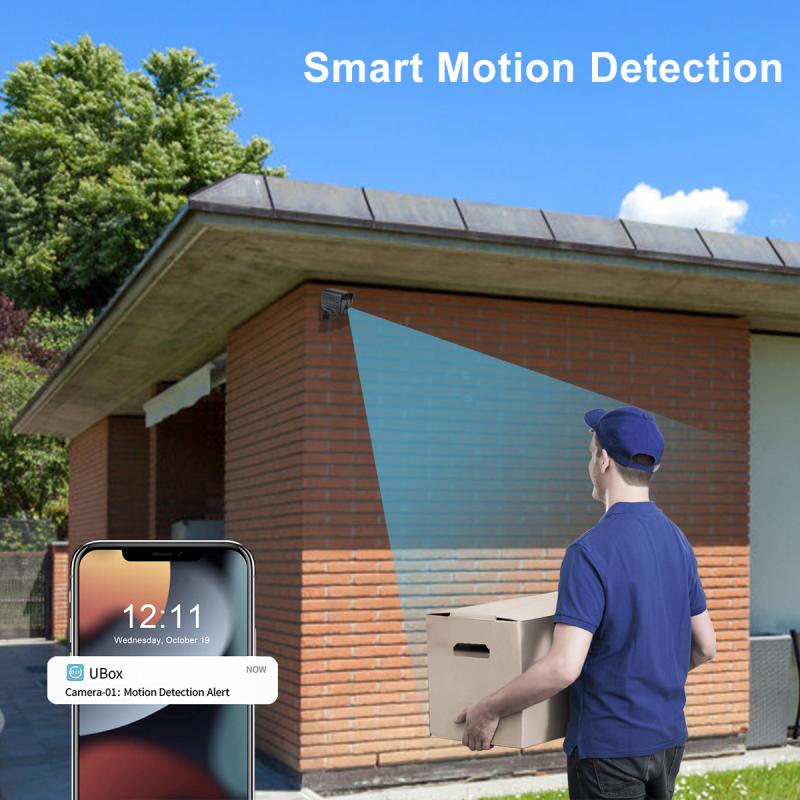
If you don’t have a DVR/NVR setup, you can connect a security camera directly to your TV. This method is often used for standalone cameras or in smaller surveillance setups.
1. Verify Output Type on the Camera
Security cameras may come with different output options, typically HDMI, RCA, or coaxial. Check your camera’s documentation to determine which type of output it supports.
2. Obtain the Appropriate Adapter (If Necessary)
- Older analog cameras may require coaxial-to-HDMI converters.
- Wireless security cameras without video output can sometimes be connected wirelessly to a smart TV (more on this in the next section).
3. Link Camera to TV
- Use an HDMI or RCA cable to connect the camera’s output port to the corresponding input port on the TV.
- For analog cameras using coaxial cables, convert the coaxial signal to HDMI using an adapter, then connect the converted signal to the TV.
4. Power the Camera and Test Connection
- Ensure the security camera is powered on (using its DC adapter).
- Adjust the TV input source, as detailed earlier, to view the live feed.
---
Method 3: Wireless Connection (Smart Cameras & Smart TVs)
For users with smart home setups or wireless-enabled cameras, connecting to a smart TV is often the most convenient option. Here’s what you’ll need to do:
1. Ensure Compatibility
Verify that both your security camera and smart TV are compatible with popular apps like Nest, Ring, or other IP camera software.
2. Download the Mobile/App Controller
Most wireless cameras come with an app that allows you to stream live footage. Link the app to your camera—this step usually requires scanning a QR code or entering a device ID.
3. Enable Streaming on TV
- Use a streaming device like Chromecast, Fire Stick, or Apple TV to "cast" the app to your TV from your smartphone or tablet.
- Alternatively, some smart cameras natively integrate with a smart TV, allowing you to select security camera feeds directly from your TV’s app dashboard.
4. Set Up Multi-Feed (Optional)
High-end smart cameras and TVs may facilitate split-screen viewing for multiple feeds, streamlining your monitoring process.
---
Choosing the Right Method for Your Setup
The ideal connection method depends on your equipment and surveillance priorities. Use these guidelines to select what works best for you:
- DVR/NVR to TV: Perfect for multi-camera setups where centralized control is required.
- Direct Camera to TV: Suited for limited setups, especially when you have a single camera and no DVR.
- Wireless Connectivity: Ideal for tech-forward users who rely on smart home ecosystems and prefer minimal wiring.
---
Troubleshooting Common Issues
While connecting your security cameras to your TV, you might encounter some challenges. Here are potential issues and their solutions:
1. Blank or No Signal on TV
- Double-check that the cables are securely connected on both the camera/DVR and the TV.
- Ensure the TV is set to the correct input source (e.g., HDMI1, VGA).
- Confirm the DVR/camera is powered on and functioning properly.
2. Low-Quality Video Feed
- Using outdated cables (e.g., RCA) can impact resolution—an upgrade to HDMI or VGA is recommended.
- For wireless cameras, improve your Wi-Fi signal strength or switch to a direct wired connection.
3. Delayed or Lagged Feed (Wireless Cameras)
- Wireless setups may experience lag due to bandwidth limitations. Restrict other devices from using excessive Wi-Fi during critical surveillance moments.
4. Audio Not Working
- Audio may not transmit via certain cables like VGA. Upgrade to HDMI for support, or verify whether the camera/DVR includes an audio output port.
---
Final Thoughts and Recommendations
Displaying your security camera footage on your TV is a worthwhile upgrade for anyone interested in enhanced, real-time surveillance. The method you choose should depend on your home or business’s surveillance needs, equipment, and level of convenience desired. Wired connections typically offer stability and reliability, while wireless alternatives provide flexibility and a cleaner aesthetic.
In either case, it’s important to invest in quality cables, an intuitive camera system, and, if applicable, a decent DVR/NVR device. Don’t forget to periodically test your setup to ensure everything works as expected—it’s better to identify faults during setup than to experience issues during critical moments.
By following these steps, you'll be able to achieve seamless integration between your security cameras and TV, giving you peace of mind and comprehensive control over your safety monitoring system.

