How To Connect A Prism Optical Microscope?
Connecting a prism optical microscope correctly is essential for achieving accurate results in your observations and experiments. While modern microscopes are designed to be user-friendly, understanding the key components of the tool and the proper setup process ensures better performance and longevity of the equipment. This detailed guide will walk you through how to connect, configure, and use a prism optical microscope effectively for scientific, educational, or personal projects.
---
Introduction to the Prism Optical Microscope
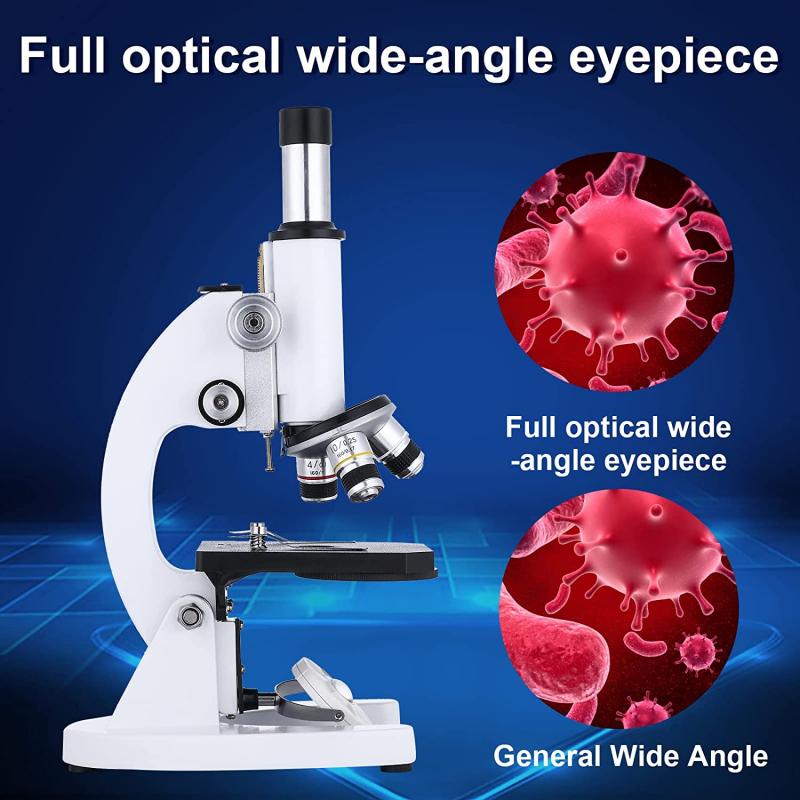
A prism optical microscope is a type of optical microscope that uses prisms in its light path to direct, reflect, or transform light, making it suitable for applications that require advanced optical manipulation. These microscopes are often used in biological research, material analysis, and medical studies. By combining prisms with traditional optical lenses, these microscopes can offer unique functionalities, such as altering the direction of light without excessive lens setups, or analyzing polarized light for specific applications.
Proper connection and use of a prism optical microscope involves assembling the device, calibrating its optical and mechanical components, connecting it to power sources or imaging accessories if needed, and ensuring proper alignment during use. Let’s dive into the detailed steps and critical considerations.
---
Understanding the Key Components
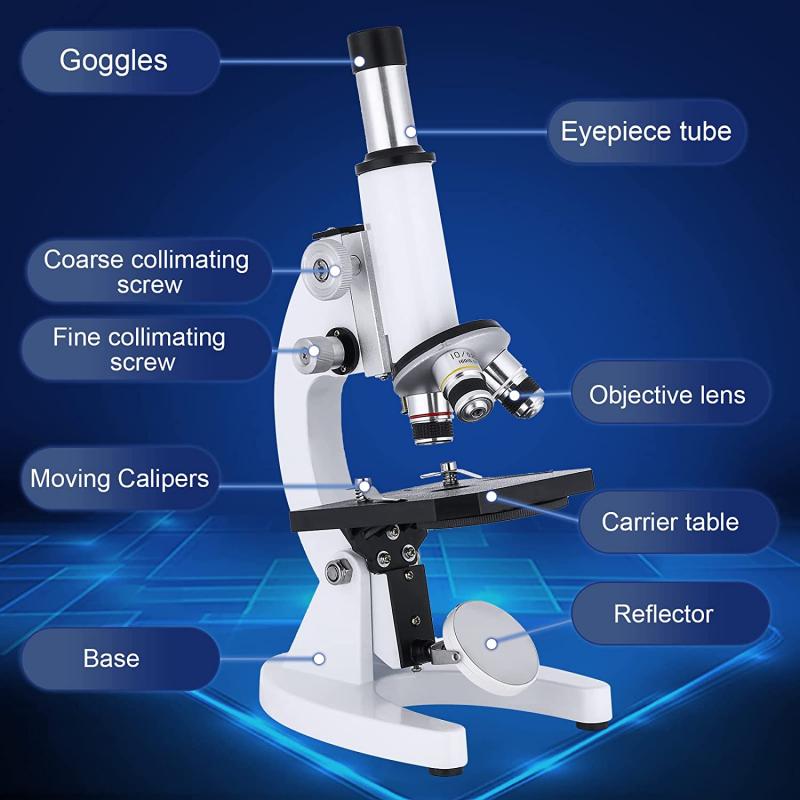
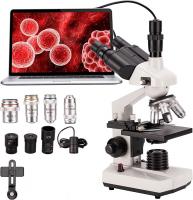
Before connecting the microscope, it is important to familiarize yourself with its parts. Some of the major components you will encounter include:
1. Base: The foundation that holds the microscope, on which the other parts are mounted.
2. Illuminator: The light source that provides illumination for the sample. It may be external or built into the base.
3. Stage: The flat platform where the specimen slide is placed. Stages often come with clips or mechanical controls to hold the slide securely in place.
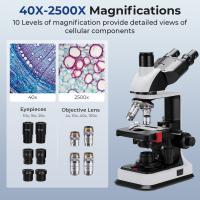
4. Objective Lenses: Positioned on a rotating nosepiece, these lenses provide magnification.
5. Eyepiece (Ocular Lens): Located in the eyepiece tube, this lens allows the user to observe the magnified sample.
6. Optical Prisms: Situated inside the microscope, these prisms reflect or bend light, either to adjust the direction of illumination or enable specialized imaging techniques.
7. Coarse and Fine Focus Knobs: These knobs help you focus the image by adjusting the distance between the objective lenses and the specimen.
8. Condenser Lens and Diaphragm: Located beneath the stage, these components focus and control the light passing through the specimen.
Understanding these parts will help you follow the instructions with greater clarity.
---
Step-by-Step Guide to Connecting a Prism Optical Microscope

1. Unpack and Assemble the Microscope
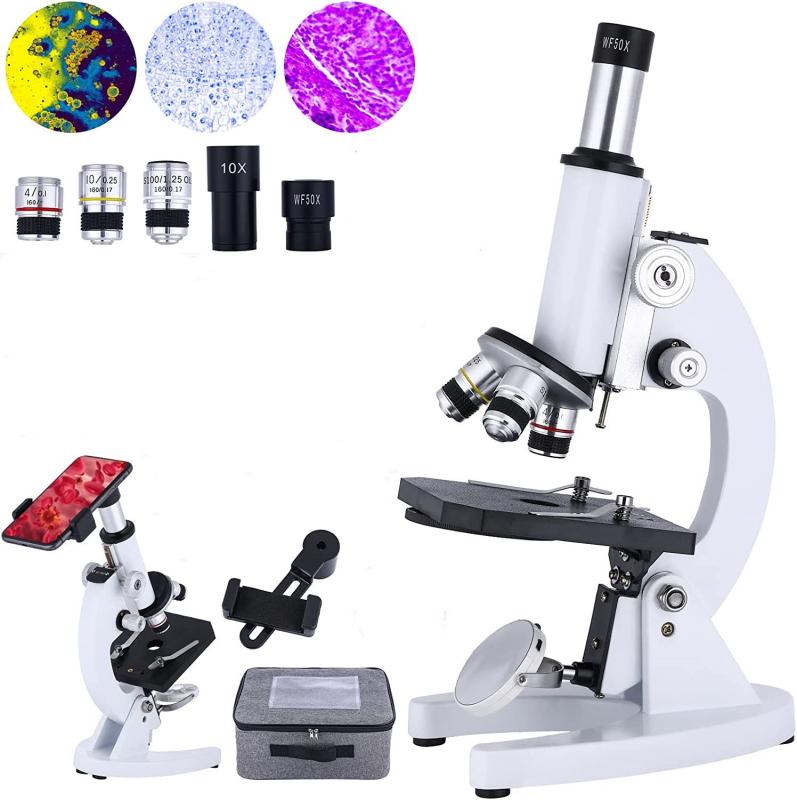
- Begin by taking the microscope out of its packaging and ensure that all components, such as eyepieces, objective lenses, and power cords, are present and undamaged.
- Gently connect the eyepiece tube to the prism housing (if they are separate components).
- Attach the objective lenses to the nosepiece by carefully screwing them into place. Ensure that the correct magnifications are positioned logically, with the lowest magnification lens facing forward for initial alignment.
2. Position the Microscope
- Place the microscope on a stable, vibration-free tabletop or workbench.
- Ensure the surface is clean and not exposed to excessive heat, moisture, or direct sunlight, which could damage the optics.
- If the microscope has an external illuminator, position it properly so that the light reaches the condenser evenly.
3. Connect the Power Supply (if applicable)
- Many modern optical microscopes have built-in light sources that require electrical power. Plug the microscope into a power outlet using the supplied cable.
- Ensure the voltage settings are compatible if the microscope offers adjustable voltage features.
4. Install Imaging Accessories (Optional)
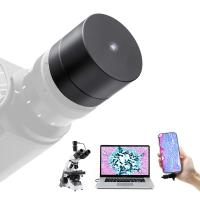
- For advanced uses, such as capturing images or videos from the microscope, connect a compatible digital camera or imaging system to the eyepiece tube or trinocular port (if available).
- Follow the manufacturer’s instructions for calibrating the camera to synchronize with the optical and lighting settings of the microscope.
5. Adjust the Light Path Using the Prism System
- The key differentiator in a prism optical microscope is the prism mechanism, which adjusts light direction. Use the control knobs to align it properly depending on your intended mode of observation (e.g., brightfield, darkfield, or polarized light microscopy).
- If the microscope allows for rotating prisms, carefully turn the prism to adjust the image contrast or brightness as needed.
6. Calibrate the Condenser and Diaphragm
- Adjust the condenser lens height so that light focuses sharply on the sample.
- Open or close the diaphragm to control the amount of light passing through, ensuring even illumination.
7. Load the Specimen Slide
- Place your prepared specimen slide on the stage and secure it with stage clips or the mechanical holder.
- Use the stage controls to position the slide accurately under the objective lens.
8. Focus the Image
- Start with the lowest magnification objective lens and bring it close to the specimen using the coarse focus knob.
- Look through the eyepiece and adjust the coarse focus knob until the image begins to form. Then, use the fine focus knob to achieve sharp detail.
- For higher magnifications, rotate the nosepiece to switch to a higher-power objective lens. Adjust the focus knobs as needed.
9. Adjust for Binocular Vision (if applicable)
- If your microscope has binocular eyepieces, adjust the interpupillary distance to match your eyes. Use diopter adjustment rings (if available) for customized focusing for each eye.
10. Begin Observations and Capturing Data
- Once the microscope is properly connected and the sample is in focus, begin your analysis or imaging.
- For experiments requiring specific light paths (e.g., polarized light microscopy), adjust the prisms and filters accordingly.
---
Troubleshooting Common Issues
Here are some issues you may encounter when connecting or using a prism optical microscope, along with possible solutions:
- Blurred Images: This is often due to improper focusing or dust on the lenses. Clean the eyepiece and objective lenses with lens cleaning paper and refocus carefully.
- Uneven Illumination: Check if the condenser is centered and aligned properly. Adjust the diaphragm and light source position as needed.
- Dark Image: Ensure that the light source is switched on and operating correctly. Check for obstructions like dirt blocking the light path.
- Drifting Specimen Image: Tighten the stage controls to hold the slide firmly in place.
---
Best Practices for Using a Prism Optical Microscope
To ensure the microscope functions optimally and has a long lifespan, follow these best practices:
1. Handle with Care: Avoid touching the lenses or prisms with your fingers, as oils can degrade image quality. Use lens cleaning tools explicitly designed for optical equipment.
2. Regular Maintenance: Clean and inspect the microscope after every use, store it in a dust-free environment, and cover it with a protective cover when not in use.
3. Environmental Factors: Avoid operating the microscope in areas with excessive humidity or temperature fluctuations, as these can affect its performance.
4. Document Settings: If you’re working on experiments that require standardization, record your prism and microscope settings for reproducibility.
---
Connecting and using a prism optical microscope might seem daunting at first, but once you understand the components and process, it becomes a straightforward task. By following the steps outlined above, you can confidently set up, calibrate, and use your microscope for a variety of applications. Proper alignment of light, accurate focus adjustments, and periodic maintenance will ensure high-quality performance while extending the life of your equipment.
Whether you’re an educator, researcher, or hobbyist, mastering these connection techniques will make your microscopy experience much smoother and more effective. Experiment with different configurations to unlock your microscope’s full potential and gain deeper insights into the microscopic world!

