How To Clean Outdoor Security Cameras?
Outdoor security cameras play a critical role in the safety and surveillance of a property; however, because they are exposed to the elements, they often gather dirt, dust, cobwebs, and other debris that can affect their performance. A dirty or obstructed lens can result in blurry or unclear video footage, potentially compromising security. Regular cleaning and maintenance not only ensure that the camera operates at peak performance but also extend its lifespan. In this article, I'll walk you through the importance of cleaning outdoor security cameras, the tools you’ll need for the job, a step-by-step guide, and practical tips on maintaining them.
Why Cleaning Outdoor Security Cameras Is Important

Outdoor security cameras are subject to a variety of environmental factors that can hinder their functionality:
1. Dirt and Dust Accumulation: Over time, dirt can stick to the surface of the lens, causing blurry footage and reducing overall image clarity.
2. Weather Effects: Rain and snowfall can leave streaks or spots on the lens and housing, making footage cloudy.
3. Debris and Obstructions: Leaves, insects, and cobwebs can create physical obstructions in the field of view.
4. Sun Glare and Fogging: Cameras may fog up because of condensation or temperature changes, especially in humid climates.
Having a camera that records distorted or unclear footage can render it ineffective as a security solution. Regular cleaning will maximize the camera’s performance and help you capture clear video footage when you need it most.
---
How Often Should You Clean Your Outdoor Security Cameras?
The frequency of cleaning depends on the environment where the cameras are located. For instance:
- High-Dust Areas: If your cameras are installed in construction zones or urban areas with heavy traffic, clean them once every couple of weeks.
- Standard Outdoor Settings: For suburban residential homes, cleaning every 1-2 months should suffice.
- Severe Weather Conditions or Seasonal Maintenance: After storms, winter snow, or heavy pollen seasons, inspect and clean your cameras to address weather-related debris.
Routine checks and cleaning schedules help ensure that cameras are functioning optimally at all times.
---
Tools and Supplies You'll Need
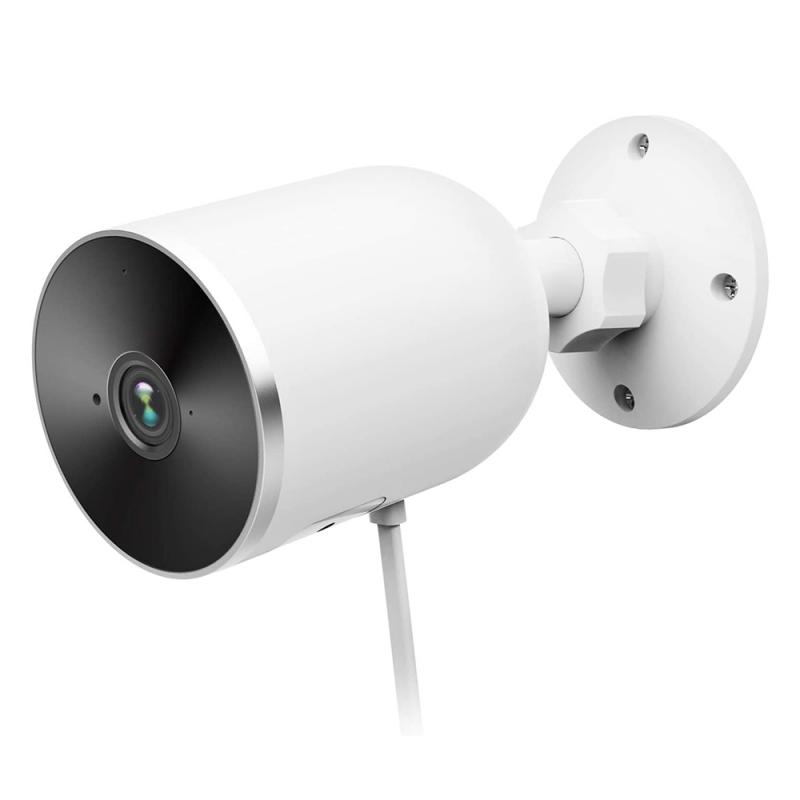
Having the right tools on hand will make the process efficient and avoid accidental damage to your cameras. Here’s a list of essential cleaning materials:
- Microfiber Cloth: For gently wiping the lens without scratching it. Avoid using paper towels as they can leave scratches.
- Soft Bristle Brush: Useful for removing cobwebs, dust, and loose debris from the camera housing.
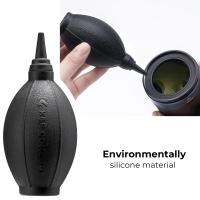
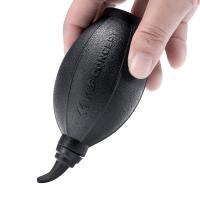
- Compressed Air: To blow dust out of tight corners and edges.
- Lens Cleaning Solution: Designed for cleaning sensitive surfaces like camera lenses. Alternatively, use a mixture of distilled water and a drop of gentle dish soap.
- Bucket and Water: For general cleaning of the camera’s outer housing.
- Ladder or Extension Pole: To reach cameras mounted high up.
- Canned Air or Anti-Fog Spray (Optional): To prevent condensation and fogging.
- Protective Gloves (Optional): If you prefer not to handle chemicals or cleaning solutions directly.
---
Step-by-Step Guide to Cleaning Outdoor Security Cameras

1. Turn Off or Disconnect the Camera
Before cleaning, ensure the camera is powered down. This reduces the risk of short-circuiting or accidentally damaging electrical components.
2. Inspect the Camera and Surroundings
Take a close look at the camera for any obvious damage, such as cracks in the lens or housing. Check for obstructions like cobwebs, branches, or insects that may have nested nearby. Identifying problem areas will help you focus your cleaning efforts.
3. Clear Debris
Use a soft-bristle brush or canned air to gently remove loose debris. Be careful not to shake the camera or knock it out of alignment while doing this.
4. Clean the Camera Housing
Dip a clean cloth or sponge in warm, soapy water (using mild dish soap) and wipe the exterior housing of the camera. Avoid letting water drip into the crevices or lens area.
5. Clean the Camera Lens
The lens is the most sensitive part, so clean it gently:
- Spray a small amount of lens-cleaning solution onto a microfiber cloth. Never spray directly onto the lens.
- Use a circular motion to clean the lens without applying too much pressure.
- For stubborn smudges or residue, repeat the process with slightly more cleaning solution.
6. Dry the Camera Thoroughly
Use another microfiber cloth to dry the lens and housing to ensure no streaks or watermarks are left behind.
7. Check Alignment
Once clean, check that the camera is still correctly aligned. Cleaning or adjusting it may have caused slight movement, so ensure it’s pointed at the intended target area.
8. Inspect and Clean Cables or Wires
If your camera is wired, check the integrity of the cables and remove any dirt, moisture, or build-up. Ensure connections are secure.
9. Reapply Protective Measures (Optional)
Consider using anti-fog spray on the lens if your area experiences frequent temperature fluctuations. You can also spray a light layer of insect repellent around—not on—the housing to keep bugs at bay.
10. Test the Camera
Turn the camera back on and test the image quality. Log into your security camera system or app to ensure the footage is clear and the camera is functioning properly.
---
Best Practices for Maintaining Outdoor Security Cameras
To minimize the need for frequent cleaning and ensure optimal performance, follow these tips:
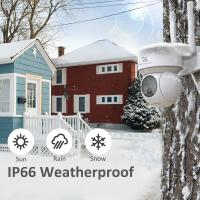
1. Install Weather-Resistant Cameras: Choose cameras rated IP65 or higher to withstand dust, water, and environmental pressures.
2. Use Protective Covers or Mounts: Installing a small hood or shield over the camera can reduce exposure to rain, snow, and direct sunlight.
3. Trim Nearby Vegetation: Ensure there are no overhanging branches, vines, or bushes that could obstruct the camera’s view.
4. Apply Non-Adhesive Lens Covers: These can help protect the lens from scratches or debris without degrading visual quality.
5. Clean After Extreme Weather: After any storm or high-pollen season, check and clean the cameras to maintain performance.
6. Schedule Regular Maintenance: Add camera cleaning to your regular home maintenance checklist to avoid overlooking this essential task.
---
Common Mistakes to Avoid When Cleaning Outdoor Security Cameras
1. Skipping Power-Off
Cleaning a camera that’s still turned on poses a safety hazard and could damage internal components. Always turn off the power source before cleaning.
2. Using Abrasive Materials
Rough cloths, paper towels, or harsh chemicals can scratch the lens or damage other sensitive parts. Stick to microfiber cloths and approved cleaning solutions.
3. Forgetting to Realign the Camera
Cleaning or wiping the camera may inadvertently move it out of position, which can leave blind spots in your surveillance coverage.
4. Using Too Much Water
Even weatherproof cameras are vulnerable to water damage when excessive moisture gets into their gaps or wiring.
5. Neglecting Regular Inspections
Leaving debris or dirt on the lens for extended periods can cause more permanent damage, such as discoloration or scratches, reducing camera quality over time.
---
Keeping outdoor security cameras clean is essential for their functionality and longevity. A high-performing security system requires clear video footage to be truly effective in protecting your property. With the right tools, a systematic cleaning process, and regular maintenance, you can ensure that your cameras deliver sharp, uninterrupted footage. By being proactive—whether that means cleaning after storms or adhering to a routine schedule—you'll minimize the risks associated with dirt, poor weather conditions, and wear. Incorporating these practices into your home maintenance routine is a small effort that pays off by providing peace of mind in the long run.

