How To Clean Old Camera Lenses?
When it comes to photography, clear and crisp images rely heavily on the condition of your camera lens. Over time, dust, smudges, oils, and even traces of mold can collect on your lens, obscuring your photos and reducing image clarity. For professionals, hobbyists, or collectors of vintage cameras, proper cleaning of old camera lenses is crucial to ensure optimal performance and preserve their value. In this guide, we’ll explore how to clean old camera lenses effectively, safely, and without compromising the integrity of the lens.
---
Understanding the Importance of Cleaning Old Camera Lenses
Old camera lenses often carry a lot of history with them. They might have been stored in less-than-ideal conditions or haven’t been properly maintained. Cleaning such lenses is not just about increasing image quality; it’s also essential for their longevity. Dirt and debris can lead to scratches or long-term damage if not removed properly.
However, cleaning old lenses is more delicate than servicing modern equipment. Vintage lenses might have coatings or materials that require special care. Additionally, repeated careless cleaning could strip the lens coating, scratch the glass, or compromise the internal mechanisms. Therefore, the goal is to clean as effectively as possible while preserving the original condition of the lens.
---
Step 1: Assess the Condition of Your Lens
Before jumping into cleaning your old camera lens, take a moment to assess its condition. Does the lens suffer from simple external smudging or surface dust, or is there more significant damage—such as mold or fungus growing inside? Hold the lens under a bright light to identify visible contaminants.
Understanding the problem helps in determining how thorough the cleaning needs to be and whether or not professional intervention is necessary. For example, if mold is present under the glass elements, it’s best to consult a professional repair technician who can dismantle and restore the lens properly.
---
Step 2: Gather the Right Cleaning Tools
Using the correct tools for cleaning old lenses is paramount to avoid unintentional damage. You can’t just grab a paper towel or T-shirt and start rubbing, as this can cause irreversible scratches or smearing. Below is a list of tools you’ll need:
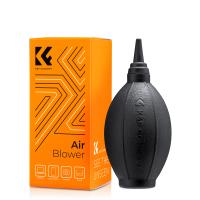
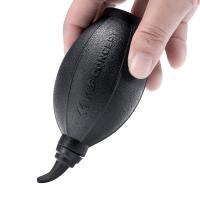
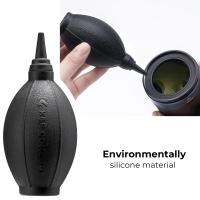
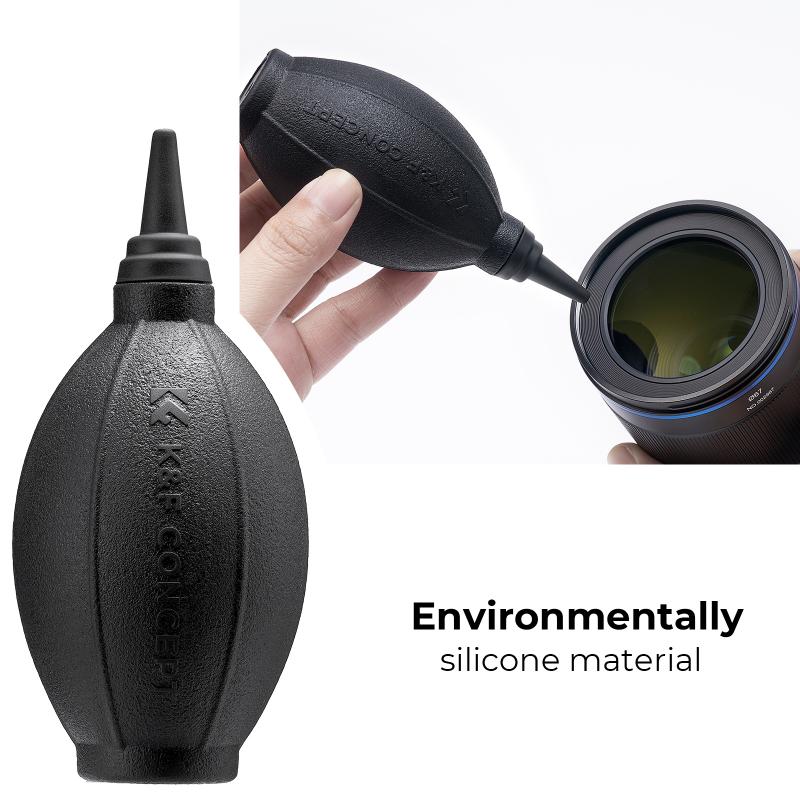
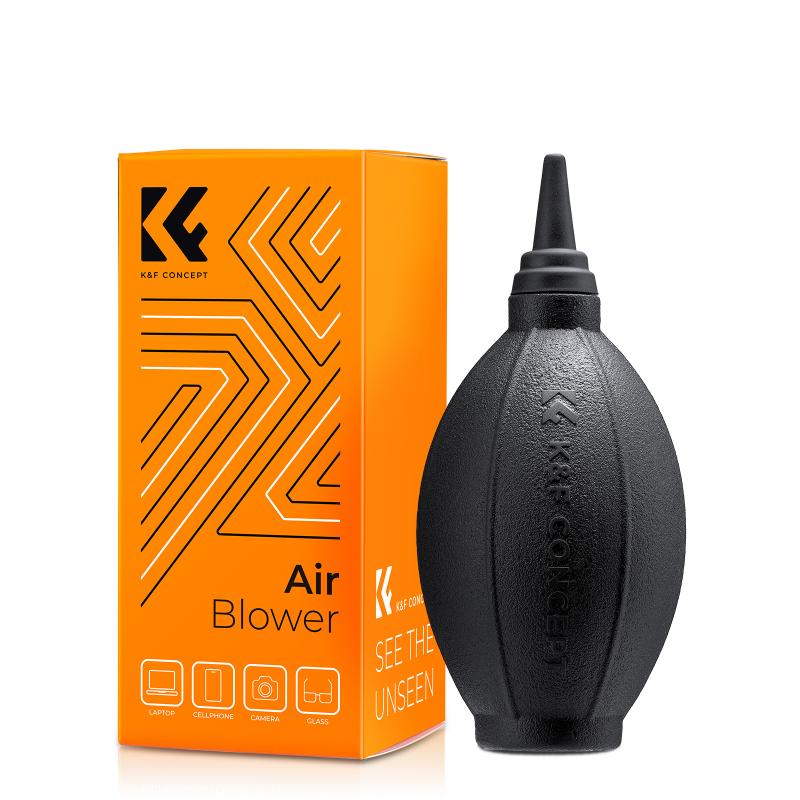
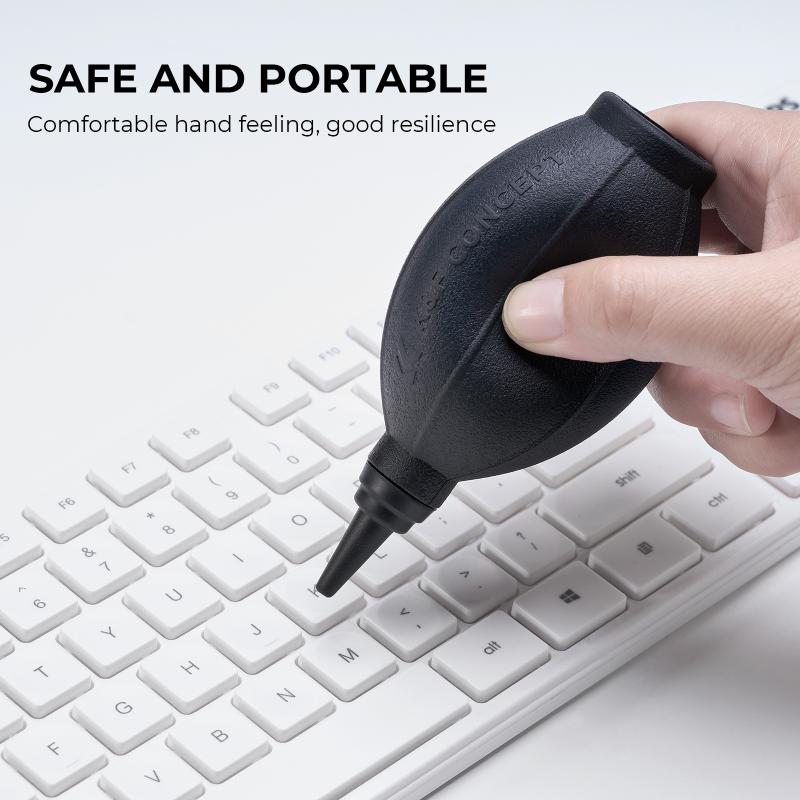
1. Lens Blower: A bulb-style blower is ideal for removing loose dust and debris without physical contact.
2. Soft Lens Brush: Specifically designed for cameras, these brushes gently remove particles from the lens surface.
3. Microfiber Cloth: A high-quality microfiber cloth is essential for wiping without scratching. Avoid cloths that have rough seams.
4. Lens Cleaning Solution: Look for a specialized lens cleaning fluid free of ammonia, alcohol, or other harsh chemicals.
5. Cotton Swabs: Non-abrasive swabs are helpful for cleaning hard-to-reach areas.
6. Isopropyl Alcohol (Optional): Use only at 99% concentration and with extreme care for stubborn grease stains.
7. Cleaning Wipes: Pre-moistened, lens-safe cleaning wipes can also be effective.
---
Step 3: Start with Dust Removal
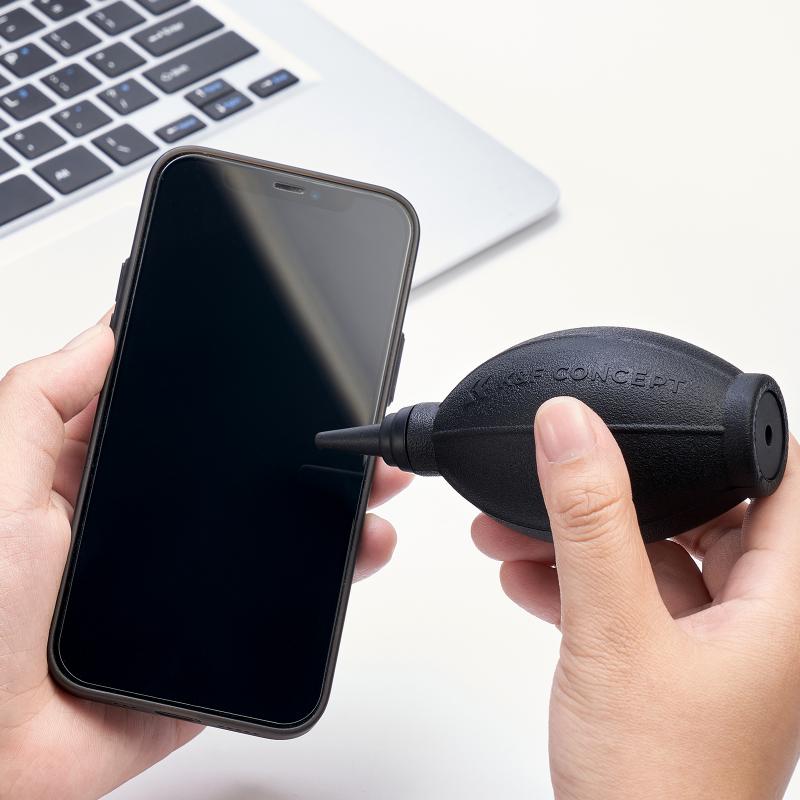
The first step is to gently remove all loose debris on the surface of the lens. Dust particles can act as abrasive agents during cleaning, so it’s crucial to clear them out first.
1. Use the lens blower to blow away loose particles. Hold the lens at a slight angle to prevent dust from settling back.
2. For stubborn dust, use a soft lens brush to lightly sweep it away. Ensure the brush is clean and hasn’t picked up dirt from previous uses. Do not apply pressure.
---
Step 4: Tackle Smudges and Fingerprints
Once the dust is removed, you can focus on eliminating smudges, fingerprints, or oil marks on the lens glass.
1. Dampen a microfiber cloth slightly with a lens cleaning solution. Avoid over-saturating the cloth, as excessive moisture may seep into the lens edges.
2. Using a circular motion, start from the center of the lens and work outward. The microfiber cloth will pick up oils and smudges without leaving streaks behind.
3. For stubborn marks, like dried oil or grime, apply a small amount of cleaning solution to a cotton swab and gently work it over the affected area. Avoid pressing too hard, as this can damage the lens coating.
---
Step 5: Addressing Mold or Fungus
Mold and fungus often plague old camera lenses. These are microorganisms that grow in humidity and feed on the organic material in lens coatings. They can cause hazy images and, left untreated, may permanently etch into the lens glass.
If there are signs of fungus inside the lens, professional cleaning might be required as most vintage lenses are not easy to disassemble. However, if the mold is minor and on the surface:
1. Mix a small amount of 99% isopropyl alcohol with distilled water.
2. Use a cotton swab to gently clean affected areas. Alcohol acts as a fungicide to kill the growth.
3. Dry the lens with a clean microfiber cloth.
Always remember, moisture facilitates fungus growth, so store lenses in a low-humidity environment after cleaning.
---
Step 6: Clean the Barrel and External Parts
The external parts of your old camera lens may also collect dirt and oils that could eventually work their way onto the glass.
1. Use a damp microfiber cloth to wipe down the exterior of the lens barrel.
2. Focus on the areas near the focus ring or aperture ring, where dirt may accumulate. A small brush can help clean these tighter spaces.
---
Step 7: Preventative Maintenance for Old Lenses
Once the cleaning is done, it’s important to take steps to reduce the need for future cleanings and safeguard your equipment. Here are some preventative measures:
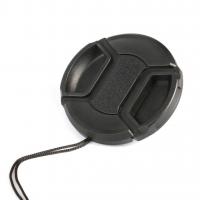
- Use Lens Caps: Always cover your lenses with front and rear caps when not in use.
- Store Properly: Keep lenses in a dry, dust-free place. Consider using silica gel packs to control humidity and prevent mold growth.
- Handle with Clean Hands: Avoid adding oils and fingerprints by cleaning your hands before handling lenses.
- Invest in a Camera Bag: Store your camera and lenses in a padded, dust-resistant camera bag.
---
Special Tips for Vintage Lenses
Vintage lenses often require extra care because their coatings may not be as durable as those found in modern lenses. Here are some additional tips:
1. Avoid Harsh Chemicals: Stick to lens-safe cleaning fluids to avoid damaging delicate coatings.
2. Be Gentle with Threads: If you need to screw filters or accessories onto the lens, avoid forcing them to prevent cross-threading.
3. Seek Professional Help When Needed: If the lens has internal contamination, specialized tools and expertise are required to disassemble and clean it.
---
Common Pitfalls to Avoid
While cleaning old camera lenses, it’s easy to make mistakes if you’re unfamiliar with the process. Here are a few common errors to avoid:
1. Skipping Dust Removal: Wiping a dusty lens immediately can drag particles across the glass, causing scratches.
2. Using Abrasive Materials: Paper towels or clothing may seem convenient but can cause scratches.
3. Applying Too Much Solution: Excess liquid can seep into the lens housing and damage internal elements.
4. Using Household Cleaners: All-purpose cleaners often contain chemicals that can strip lens coatings or cause fogging.
---
Final Thoughts
Cleaning old camera lenses is both an art and a science. It requires patience, a steady hand, and the use of the right tools and techniques. Proper care not only restores image quality but also helps preserve the value and functionality of your vintage equipment.
By following the steps outlined in this guide, you’ll be well-equipped to handle basic lens cleaning and maintenance, ensuring that your old lenses continue to perform beautifully for years to come. And when in doubt, don’t hesitate to seek the help of professionals who specialize in camera restoration. Your lenses are investments worth protecting.

