How To Change A Manfrotto Tripod Head?
Changing a Manfrotto tripod head is a straightforward process, but it's essential to understand the specific steps to ensure your gear remains secure, functional, and properly set up for your photography or videography needs. Whether you're upgrading to a new head, switching between heads for different applications, or replacing a damaged head, the process requires only basic tools and care. In this article, we'll guide you step-by-step on how to change a Manfrotto tripod head effectively and answer frequent questions regarding compatibility and maintenance.
---
1. Understand Your Tripod and Tripod Head
Before diving into replacing the tripod head, it's essential to familiarize yourself with your particular Manfrotto tripod and its current head attachment system. Most Manfrotto tripods use a standard thread size (commonly 1/4” or 3/8”) but not all tripods are created equal. Some Manfrotto models have center columns or proprietary mechanisms that influence how the head mounts or detaches.
In essence, your Manfrotto tripod head is most likely screwed onto a threaded bolt on the tripod's base plate. Check your tripod manual to confirm the thread size and specifications, which will also help when choosing a compatible replacement head.
---
2. Tools You’ll Need
Changing a Manfrotto tripod head usually doesn't require specialized equipment. However, a few tools and items can make the process smoother:
- A wrench or adjustable spanner (for loosening stubborn mounting bolts)
- A microfiber cloth (to protect the tripod threads and clean surfaces)
- Optional: A drop of thread-locker solution (to secure the new head, if necessary)
Note: Manfrotto tripods and tripod heads are generally designed for tool-free operation, so you may not need more than your hands for most models.
---
3. Remove the Existing Tripod Head
To remove a Manfrotto tripod head, follow these steps:
Step 1: Lock the Tripod Legs
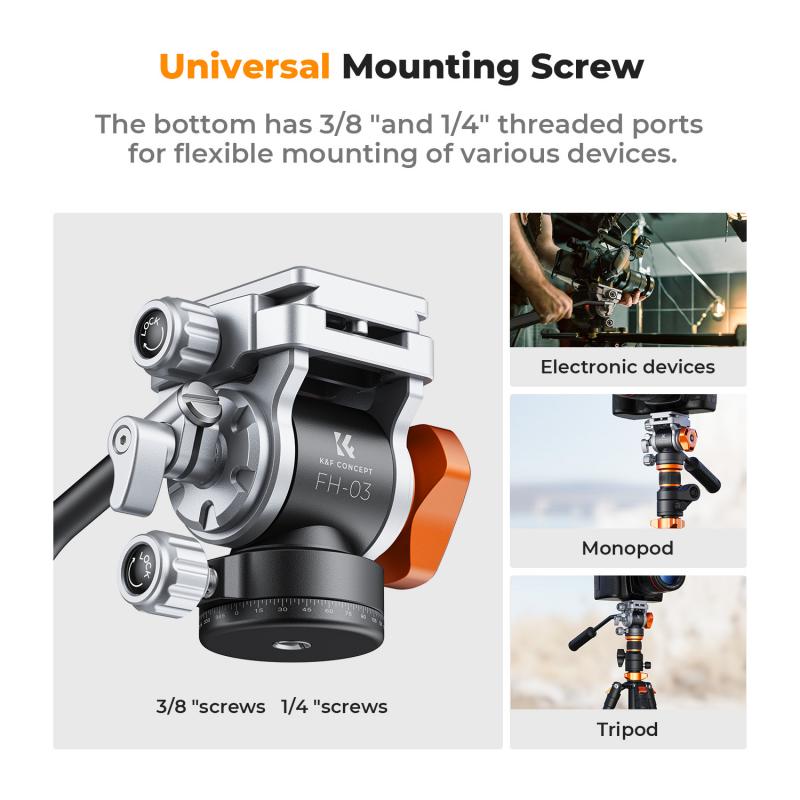
Before removing the head, ensure the tripod legs are fully extended and locked securely in place. This provides stability while you work, especially if the current head is tightly screwed on.
Step 2: Locate the Base Plate and Thread Connection
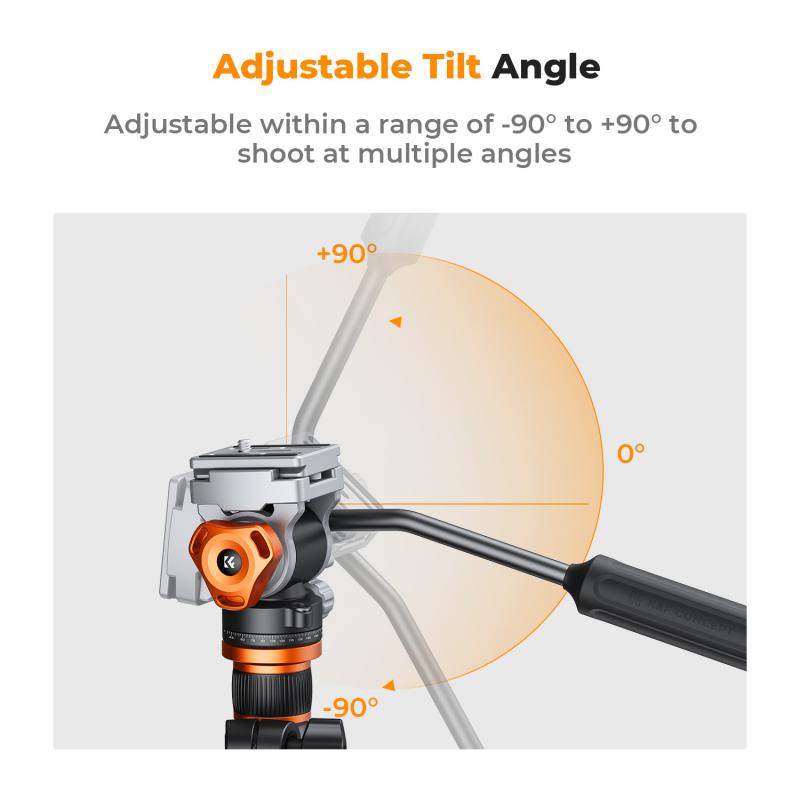
Inspect the connection where the tripod head meets the base plate. You’ll usually find a threaded screw fastening the two together. This joint may also feature a locking knob, collar, or set screw to prevent accidental loosening.
Step 3: Loosen the Head
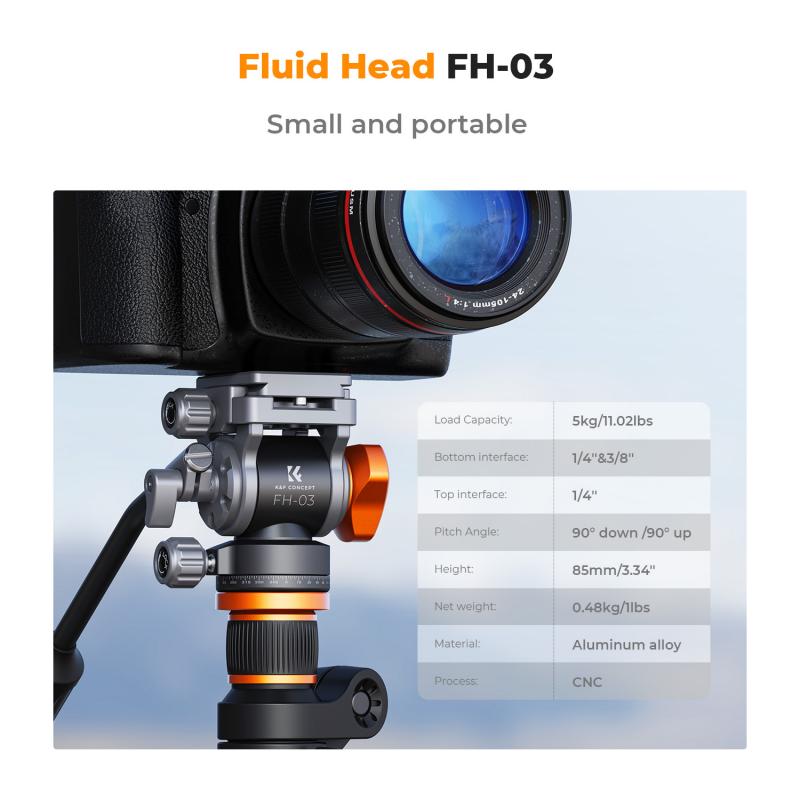
Grasp the tripod head with one hand and firmly hold the center column of the tripod with the other. Rotate the tripod head counterclockwise (lefty-loosey) to unscrew it from the base plate. If the head is difficult to turn, use a cloth for a better grip or an adjustable spanner for added torque. Be careful not to damage the threading by applying excessive force.
Step 4: Remove Any Retained Accessories
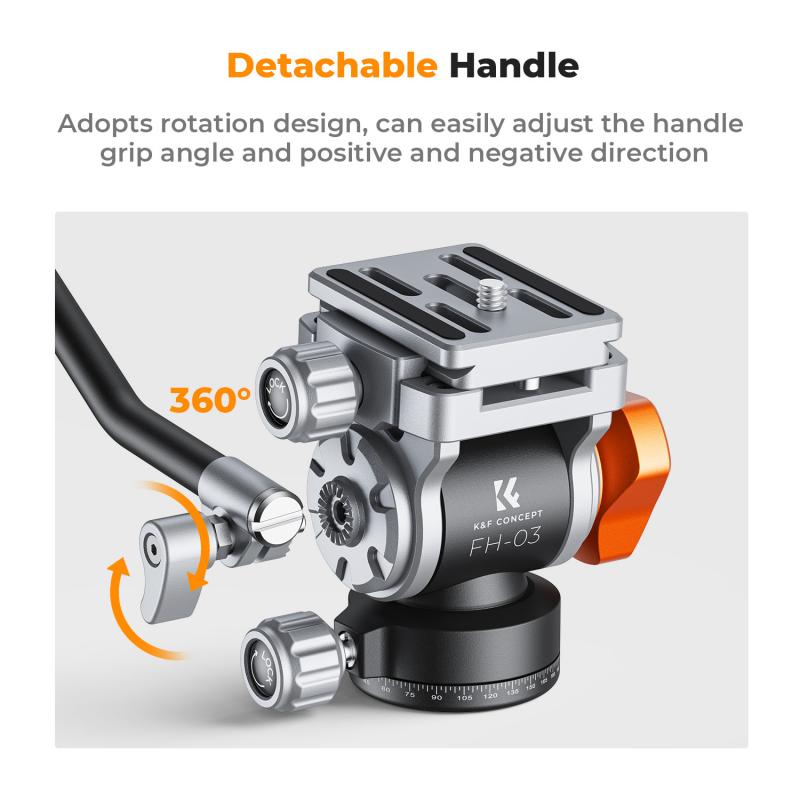
If your tripod has extra components, such as quick-release adapters, leveling plates, or friction locks attached to the tripod head, remove and set them aside before lifting the head completely off the tripod.
At this point, the existing tripod head should detach cleanly, leaving behind a threaded mount on the tripod base plate.
---
4. Install the New Tripod Head
Now that your tripod is headless, it’s time to attach the new Manfrotto tripod head. Follow these steps:
Step 1: Check the Thread Size
Ensure the thread size of the new tripod head matches the bolt on the base plate. Manfrotto tripod heads typically use 3/8” screws, but some compact models may have a 1/4” screw or an adapter built-in. Many Manfrotto heads come with adapters to switch between thread sizes, so check the package to see if you need to adjust the thread accordingly.
Step 2: Align the New Head
Position the new tripod head over the threaded bolt on the base plate. Ensure the mounting surfaces align perfectly to prevent cross-threading, which can damage the threads or make it difficult to tighten the head securely in the future.
Step 3: Tighten the Head
Screw the new head clockwise (righty-tighty) onto the tripod’s base plate. Turn the head gently but firmly until it is snugly fitted. Avoid overtightening as this can strip the threads or make future removal unnecessarily challenging.
For added security, you may optionally apply a small amount of thread-locker solution to the bolt before screwing the head in place. However, this is usually unnecessary for most casual or professional users.
Step 4: Test the Stability
Once the new head is attached, test its stability by lightly rocking or twisting the head. Confirm that it is firmly installed and all locking mechanisms (if applicable) are functioning correctly.
---
5. Check Compatibility
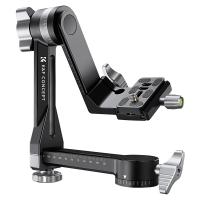
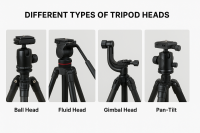
Manfrotto offers various types of tripod heads tailored to different purposes, such as ball heads, fluid heads, pan-tilt heads, and geared heads. When replacing your tripod head, ensure the new head is compatible with both your tripod and your specific use case. For instance:
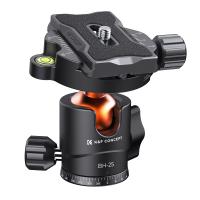
- Ball Heads: Great for photography due to their versatility and ease of movement.
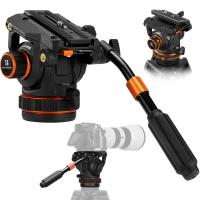
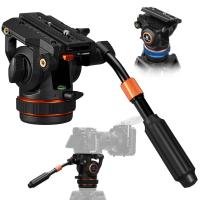
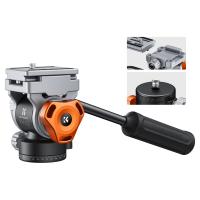
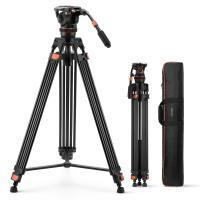
- Fluid Heads: Ideal for videography, providing smooth pans and tilts.
- Geared Heads: Perfect for precision work, including macro or architectural photography.
Additionally, confirm that the head's weight capacity matches or exceeds the weight of your camera and lens setup. Overloading the head could result in stability issues or even damage to your equipment.
---
6. Maintenance Tips for Your Manfrotto Tripod Head
Taking care of your tripod and tripod head ensures a longer lifespan and reliable performance:
- Clean Periodically: Dust and grit can accumulate in the threads and locking mechanisms. Use a microfiber cloth or compressed air to clean these areas regularly.
- Avoid Excessive Force: Both when attaching and detaching the head, always handle your tripod with care to prevent thread damage.
- Check for Wear and Tear: Inspect the rubberized or metallic components of the tripod head (e.g., knobs, plates, and sockets). If any parts seem loose or worn, consider replacing or repairing them.
- Store Properly: When not in use, store your Manfrotto tripod in a padded bag to prevent impacts or exposure to environmental elements such as moisture or extreme heat.
---
7. Common Challenges and How to Solve Them
Here are a few frequently encountered issues when changing a Manfrotto tripod head, along with their solutions:
- Problem: The head won’t unscrew.
- Solution: Apply gentle heat with a hair dryer to loosen any thread-locking compound or residue. Use a wrench or spanner for extra grip.
- Problem: The new head doesn’t match the thread size.
- Solution: Use a thread adapter (often included with Manfrotto tripod heads) to resolve size mismatches between 1/4” and 3/8” threads.
- Problem: The head feels unstable after installation.
- Solution: Double-check that the head is tightened securely. Ensure no dust, debris, or cross-threading is preventing proper installation.
---
Swapping out a Manfrotto tripod head is a simple operation that enhances the versatility and usability of your tripod. Whether you're upgrading to better suit your photography style, transitioning to a video-centric setup, or replacing damaged gear, the process takes only a few minutes when done correctly. Remember to match your tripod and head specifications for compatibility and maintain your equipment regularly to ensure steady, professional results for years to come.
Now that you know how to change your Manfrotto tripod head, you’re ready to optimize your setup and focus on capturing stunning images or footage with confidence!

