How To Buy Camera Lens Filters?
When it comes to enhancing your photography and achieving creative effects, camera lens filters are an indispensable tool. Whether you're a budding photographer or a seasoned professional, investing in the right filters can significantly elevate the quality of your images. Choosing and purchasing camera lens filters, however, can be daunting for beginners and even for those with experience. Between the multiple types of filters available, their varying functions, and the technical specifications to account for, it’s easy to get overwhelmed.
In this article, we’ll break down everything you need to know about buying camera lens filters. From understanding the different types of filters to choosing the right size and brand, this guide will help ensure you make an informed purchase that enhances your photography rather than complicating it.
---
What Are Camera Lens Filters?
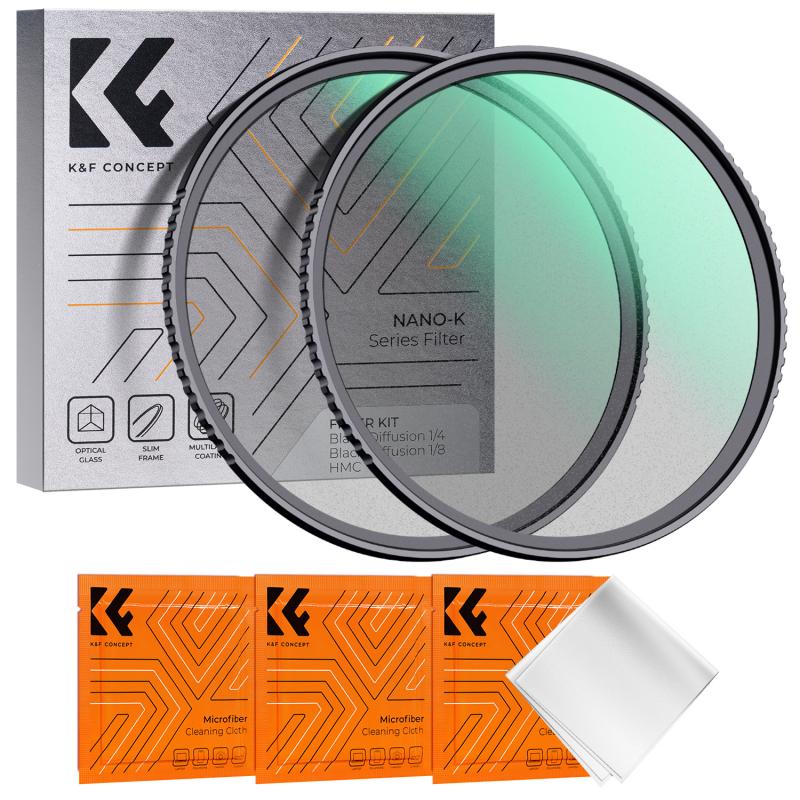
First, let’s quickly clarify what camera lens filters are and why they matter. Lens filters are accessories that attach to the front of your camera lenses. These physical filters alter the light entering the lens in various ways. Some filters enhance colors, others reduce glare, and some protect the lens itself from scratches and damage. They are often circular and screw directly onto your lens, though some are square or rectangular and require a special holder system to mount.
Using filters can help you address specific challenges in photography, add creative flair to your shots, and improve the overall quality of your images. However, to make the most of filters, you’ll need to choose wisely.
---
Factors to Consider When Buying Lens Filters
1. Understand the Types of Camera Lens Filters
The first step to buying filters is understanding the various types available and their uses. Here are the most common types:
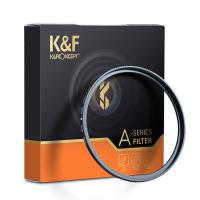
- UV/Protection Filters: These are primarily used to protect your lens from scratches, dirt, and moisture. While they were originally designed to block ultraviolet rays from affecting film photography, their main purpose today is to act as a protective layer for your lens.
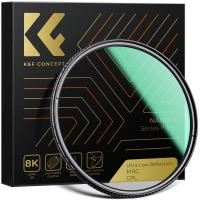
- Polarizing Filters: Essential for outdoor photography, polarizing filters reduce reflections and glare from surfaces like water and glass. They also deepen blues, enhance greens, and make skies look more vibrant.
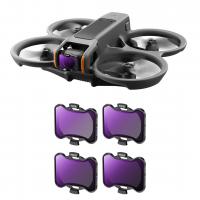
- Neutral Density (ND) Filters: ND filters block light from entering the lens, allowing for slower shutter speeds or wider apertures even in bright conditions. These are ideal for long exposure photography, such as capturing silky smooth waterfalls or motion blur in moving clouds.
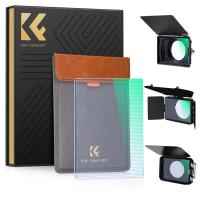
- Graduated ND Filters (GND): Unlike standard ND filters, GND filters have a gradient effect, gradually darkening one portion of the image (often the sky) while keeping the rest of the frame unaffected.
- Color Filters: These are used primarily for creative and artistic effects, adding tints to your images or enhancing specific colors.
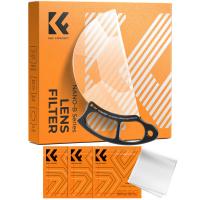
- Macro Filters (Close-Up Filters): Designed for macro photography, these magnifying filters allow for closer focusing distances, making them a budget-friendly alternative to a dedicated macro lens.
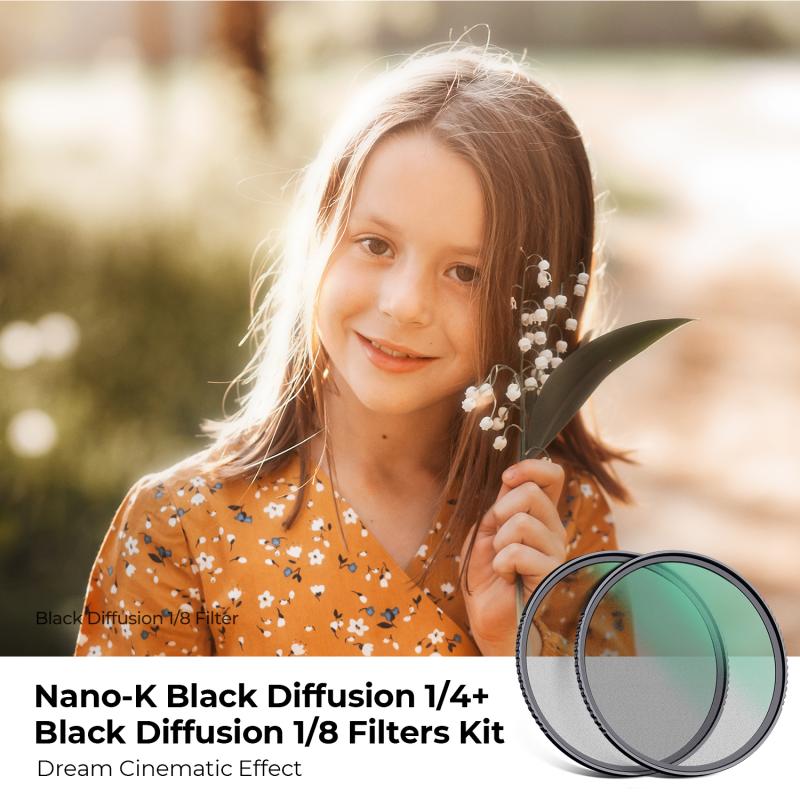
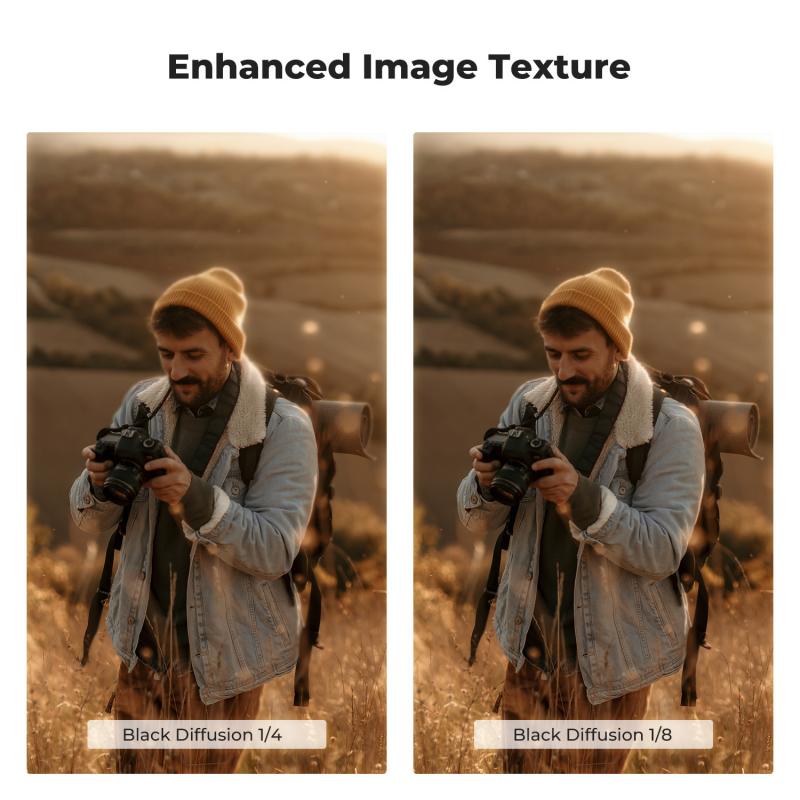
- Specialty Filters: These include starburst filters, infrared filters, soft-focus filters, etc., which can add specific creative effects to your images.
2. Check the Diameter of Your Lens
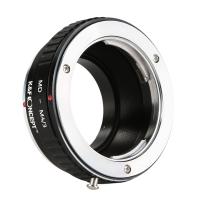
Lens filters are not one-size-fits-all. The first thing you need to check is the diameter of your lens, which is typically listed as the "ø" symbol on the front or side of your lens (e.g., ø67mm). You’ll need to buy filters that match this diameter exactly, or consider step-up or step-down rings if you want one filter to work with lenses of different sizes.
3. Choose Between Screw-On Filters and Filter Holder Systems
There are two main ways to attach a filter to your lens:
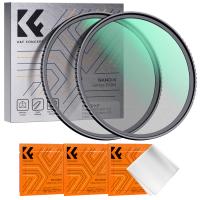
- Screw-On Filters: These are the most common type and directly screw onto the front of the lens. They’re compact, convenient, and easy to use but less versatile if you're regularly changing filters on multiple lenses of varying diameters.
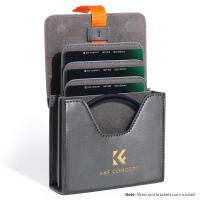
- Filter Holder Systems: These allow you to slide square or rectangular filters into a holder mounted on the lens. While bulkier, these systems are more versatile, especially for graduated ND filters and other specialty options.
4. Quality Matters
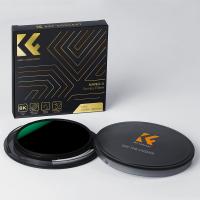
While it may be tempting to buy cheaper filters, investing in high-quality filters is crucial if you want to maintain your image quality. Filters made from cheap plastic or low-grade glass can cause vignetting, distortion, and chromatic aberrations. Look for trusted brands such as Hoya, B+W, Tiffen, Lee Filters, and NiSi, which are known for their optical clarity and durability.
5. Budget and Priority
Filters come in a wide price range, and your budget will play a role in your decision. While protective UV filters are relatively inexpensive, polarizers and ND filters can significantly vary in price based on quality, strength, and coating technology. Identify your most pressing photography needs first, and invest in the most suitable filter for that purpose.
6. Coatings and Build Quality
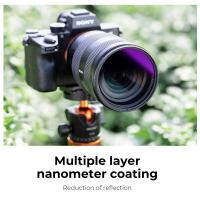
High-end filters often come with additional coatings to reduce reflections and improve image clarity. Look for terms like "multi-coated" or "MRC" (multi-resistant coating) as indicators of quality. Additionally, filters with weather-sealed or hardened glass can withstand tough conditions, making them ideal for outdoor photographers.
---
Step-by-Step Guide to Buying a Camera Lens Filter
Now that you understand the fundamentals, let’s walk through the buying process step-by-step.
Step 1: Identify Your Needs
Before purchasing, determine what type of photography you predominantly shoot and what challenges you face. If you’re into landscape photography, for instance, you’ll likely benefit from a polarizing filter or ND filter. If you mostly shoot indoors or portraits, a UV filter may suffice.
Step 2: Note Your Lens Diameter
Check the front of your lens for its diameter measurement (e.g., 58mm or 77mm). This ensures compatibility with your filter. Keep in mind that you can purchase step-up rings to adapt a larger filter onto smaller lenses, but ensure the filter size isn’t so large that it becomes unwieldy or unbalanced.
Step 3: Research Brands and Reviews
Spend time researching trusted filter brands. Read reviews and watch comparisons to understand the subtle differences in filter performance, sharpness, and vignetting. Websites such as DPReview or trusted YouTube photographers like Peter McKinnon can provide reliable advice.
Step 4: Buy from Reputable Retailers
When making your purchase, choose reputable retailers or photography-specialized stores to avoid counterfeit products. Sites like B&H, Adorama, or Amazon (direct purchases, not third-party sellers) are popular choices for authentic gear.
Step 5: Consider Extras
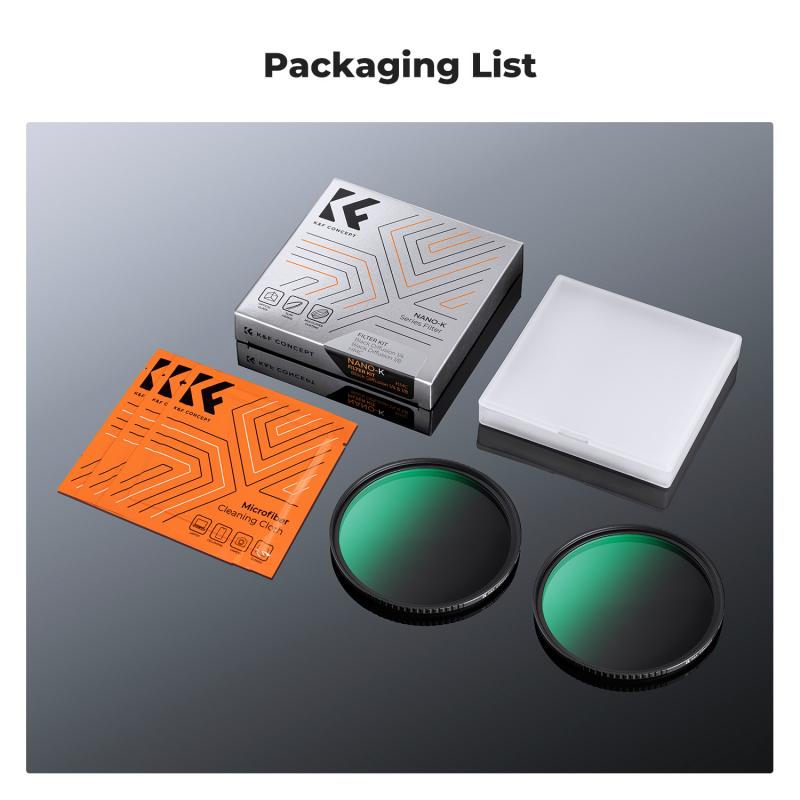
If you plan to stack filters (e.g., combining a polarizer with an ND filter), make sure your filters are compatible. Slim filters are recommended to reduce vignetting, especially for wide-angle lenses. Additionally, consider purchasing a filter case for safe storage and cleaning supplies, like microfiber cloths, to maintain their condition.
---
Are Lens Filters Still Relevant in the Digital Age?
Some photographers question the usefulness of lens filters in the era of advanced editing software. While tools like Adobe Lightroom and Photoshop can replicate certain filter effects, lens filters still offer unique physical advantages. For instance, you can’t reduce glare from reflective surfaces or achieve proper long exposures with editing software alone. Furthermore, filters allow you to capture desired effects in-camera, which can save you time during post-processing and produce more authentic results.
---
Closing Thoughts
Purchasing camera lens filters can feel like a small but pivotal investment in your photography journey. By understanding the different types of filters available, being mindful of lens compatibility, evaluating quality, and researching trusted brands, you can choose filters that not only protect your gear but also expand your creative horizons.
Remember, photography is ultimately about experimentation and exploration. Start with the essential filters that fit your immediate needs—like a polarizer or a UV filter—and then gradually expand your collection as you grow in skill and develop your personal shooting style. With the right filters, your camera lens becomes a more versatile and powerful tool, capable of capturing your artistic vision with clarity and precision.

