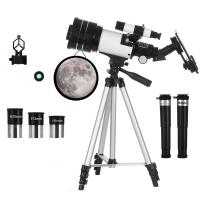
How To Build An Astronomical Telescope?
Building Your Own Astronomical Telescope: A Comprehensive Guide
Astronomy has long captured the imaginations of humans, from ancient civilizations mapping the stars to modern-day enthusiasts marveling at distant galaxies. For those passionate about stargazing, building your own astronomical telescope is not only a rewarding experience but also a gateway to deeper celestial exploration. While purchasing a telescope from the market is an easy solution, assembling one yourself offers valuable insights into its mechanics and aligns deeply with the spirit of discovery. This guide will walk you through the practicalities, challenges, and rewards of constructing your own telescope.
Understanding the Basics of a Telescope
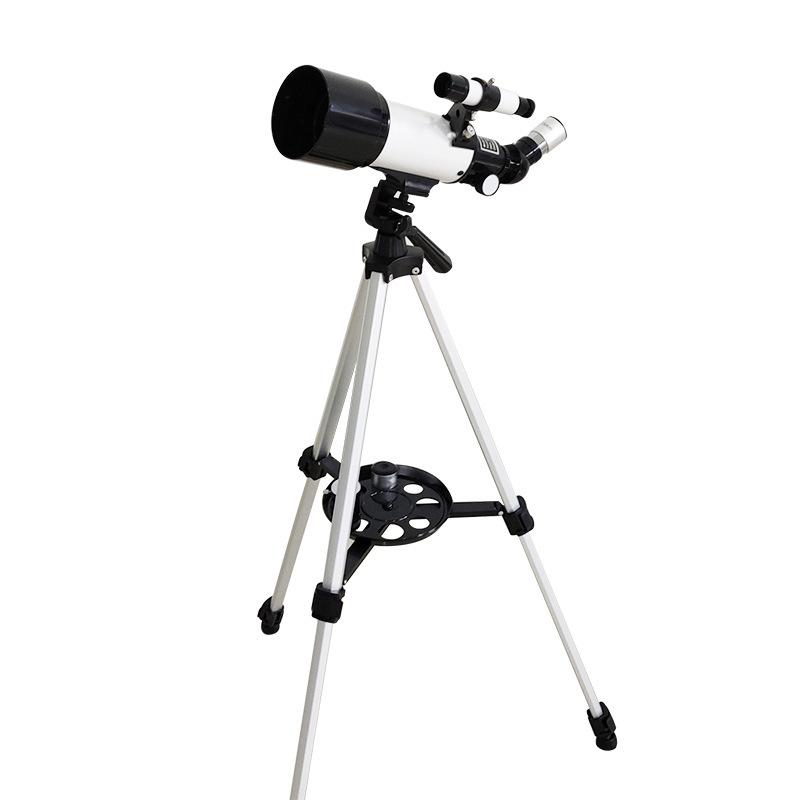
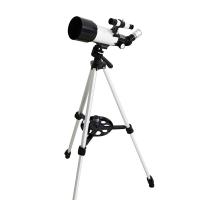
Before diving into the construction process, it’s crucial to understand how a basic telescope works. A telescope essentially collects and magnifies light from distant objects, allowing the viewer to observe celestial phenomena that are far too dim or small for the naked eye. There are three main types of telescopes:
1. Refracting Telescopes (Refractors): Use lenses to bend and focus light.
2. Reflecting Telescopes (Reflectors): Use mirrors to collect and focus light.
3. Catadioptric Telescopes: Combine lenses and mirrors for a hybrid performance.
For beginners, reflecting telescopes are often recommended for a DIY project due to their relatively simple design, affordability, and effectiveness for deep-sky observation.
Step 1: Planning Your Telescope
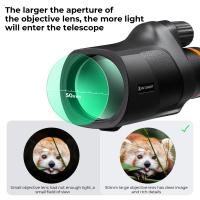
The first step is determining the purpose of your telescope. Are you primarily interested in observing bright objects like the moon and planets, or do you wish to explore deep-sky objects such as nebulae and galaxies? This will influence the size (aperture) of the telescope, which is the primary determinant of its light-gathering power.
Most amateur telescope builders opt for a Newtonian reflector due to its straightforward construction. For this guide, we'll focus on building a simple Newtonian reflector telescope.
Step 2: Gathering the Materials
Key components for a Newtonian reflector are:
1. Primary Mirror: This is the heart of the telescope, collecting light and reflecting it into a focal point. Mirrors can be purchased pre-made or crafted yourself, though the latter is far more challenging.
2. Secondary Mirror: A smaller elliptical mirror that redirects light from the primary mirror to the eyepiece.
3. Telescope Tube: Houses the primary and secondary mirrors. Typically, a PVC pipe, metal, or cardboard tube is used.
4. Mount and Base: Provides stability and support for the telescope. A Dobsonian mount is popular among DIY enthusiasts due to its simplicity and ease of use.
5. Eyepiece: Magnifies the image formed by the primary mirror. Eyepieces come in different focal lengths for varying magnifications.
6. Focuser: Allows for fine adjustments to bring the image into a sharp focus.
7. Other Tools: Screws, bolts, clamps, black matte paint (to prevent glare inside the tube), and a collimation tool (to align the optical components).
Step 3: Building the Primary Mirror Cell and Telescope Tube
The primary mirror needs a secure holder that allows it to be adjusted during collimation. A mirror cell can be made from wood or metal. It should hold the mirror firmly without inducing stress, as even slight distortions can degrade the image quality.
The telescope's tube holds the mirrors in alignment. A lightweight yet sturdy material, such as a PVC pipe, is ideal. Coat the inside of the tube with black matte paint to reduce internal reflections and improve image contrast.
Step 4: Assembling the Mirrors
Position the primary mirror at the bottom of the tube, ensuring it is seated securely in the mirror cell. Next, install the secondary mirror using a holder, positioning it at a precise angle (typically 45 degrees) to redirect light to the eyepiece.
Collimation accuracy is critical for clear images. Using a collimation cap or laser collimator, adjust the mirrors until they form a perfect focus.
Step 5: Adding the Eyepiece and Focuser
Drill a hole in the side of the tube for the focuser, which will hold the eyepiece. The focuser should allow for smooth movement so you can adjust the focus when viewing celestial objects. Ensure that the eyepiece aligns perfectly with the focal plane of the primary mirror.
Step 6: Constructing the Mount and Base
A Dobsonian mount is an excellent choice for this project because it provides a stable, user-friendly, and portable solution for your telescope. The mount consists of a swiveling base that allows for altitude and azimuth movement. You can use plywood, screws, and Teflon pads to build the base and rocker box.
Ensure that the telescope tube sits securely on the mount while allowing smooth and deliberate adjustments for tracking celestial objects.
Step 7: Final Alignment and Testing
Once the telescope is assembled, perform a thorough collimation check to align the optical components. Point the telescope at a distant object during the daytime or a bright star at night to test its performance. Adjust the mirrors and focuser as needed to achieve sharp images.
If star images appear sharp and crisp, your telescope is ready to explore the night sky.
Troubleshooting Common Issues
1. Blurry Images: Likely caused by poor collimation. Recheck the alignment of your mirrors.
2. Low Magnification: Swap to a shorter focal length eyepiece to increase magnification.
3. Instability in the Mount: Ensure the base and joints of the mount are firm and balanced.
4. Light Pollution: If your observations are affected by stray light, consider creating a light shield or relocating to a darker observation site.
Upgrading Your Telescope
Once you’ve successfully built a basic telescope, the possibilities for upgrades are endless. You can:
- Add a motorized tracking system to follow celestial objects as they move across the sky.
- Invest in higher-quality eyepieces for better magnification and clarity.
- Install a camera adapter for astrophotography.
Why Build Your Own Telescope?
Building an astronomical telescope is not just about constructing a tool; it’s a journey of learning and discovery. You gain a profound understanding of optical systems, light behavior, and celestial observation techniques. It’s also a budget-friendly way to access astronomy, as many of the parts can be sourced or repurposed inexpensively.
Beyond practicality, building a telescope fosters a deeper appreciation for the wonders of the universe. There is unparalleled satisfaction in observing the rings of Saturn or the craters of the moon through a device you built with your own hands.
Final Thoughts
Constructing your own astronomical telescope is a project that combines creativity, engineering, and a love for the night sky. While it may require patience and attention to detail, the reward of experiencing the cosmos through your handmade instrument is well worth the effort. Whether you’re a budding astronomer or a seasoned enthusiast, building a telescope is an unforgettable journey into the heart of stargazing.
So, arm yourself with patience and commitment, and embark on this exciting project. The stars are waiting!

