How To Build A Wireless Target Camera?
Building a wireless target camera can be an exciting and practical project, particularly for applications such as shooting practice, sports analysis, surveillance, or scientific experiments. By creating a custom wireless camera, you can enhance convenience, redefine portability, and remove the restrictions of tethered devices. This article will provide a detailed, step-by-step guide to building a wireless target camera while covering the components, essential considerations, and solutions to potential challenges.
1. Understanding the Basics of a Wireless Target Camera
First, let’s define a wireless target camera and outline its key functions. This device is essentially a camera system capable of capturing images or video of a distant point (the "target") without requiring a physical connection to transmit the footage. This wireless functionality allows the user to monitor a target from a considerable distance in real time. Such systems often combine image quality, power efficiency, wireless communication, and durability.
The main requirements for building a wireless target camera are:
- High-Resolution Camera: To capture clear images/videos.
- Wireless Module: A transmitter and receiver system for video streaming or image transfer.
- Power Supply: Typically, a rechargeable battery.
- Durable Housing: To protect the system and ensure portability.
- Software Integration: Image processing or video streaming software to view footage remotely.
---
2. Components Needed for the Build
Before starting, gather the required components and tools, ensuring they fit both your budget and project requirements:
Hardware Components
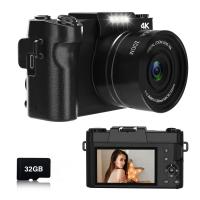
1. Camera Module: Select a high-definition camera module with adjustable focus for better performance. Example options: Raspberry Pi Camera Module, ESP32-CAM, or Logitech USB webcams.
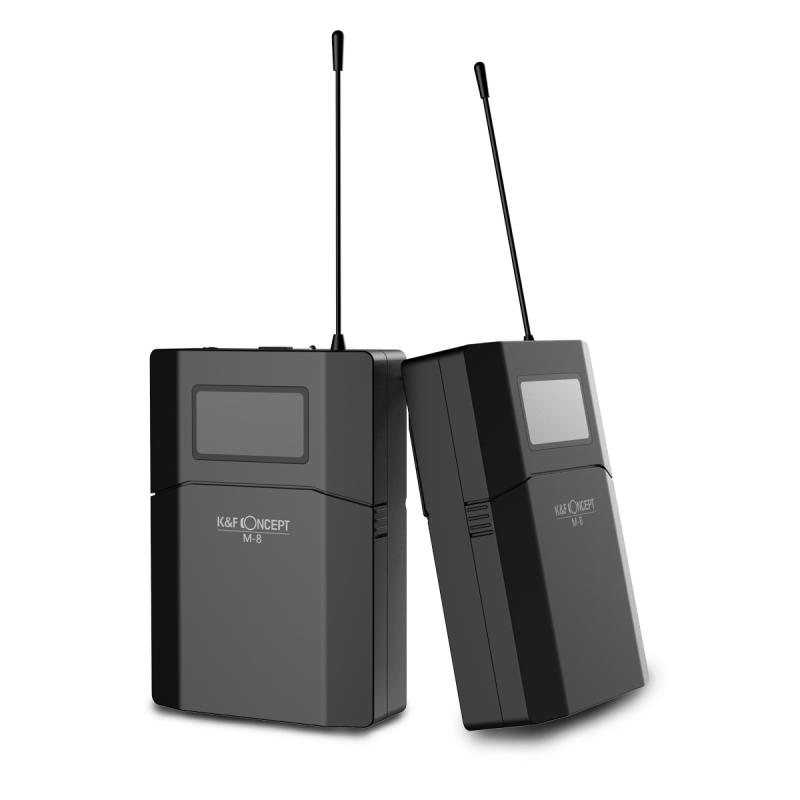
2. Wireless Communication Module: Options include Wi-Fi-based modules (ESP8266, ESP32 with inbuilt Wi-Fi), or for more advanced projects, modules supporting Bluetooth, Zigbee, or LoRa.
3. Microcontroller/Microprocessor: Raspberry Pi (e.g., Pi Zero W, Pi 4) or Arduino paired with a compatible communication module, depending on the processing power needed.
4. Battery Pack: A rechargeable lithium-ion battery with sufficient capacity for long-term operation. Example: 18650 Li-ion cells or USB power banks.
5. Power Regulation Circuit: Ensures that voltage supplied to the components is consistent.
6. Enclosure: A robust, lightweight casing to protect the camera and electronics from dust, water, and environmental wear.
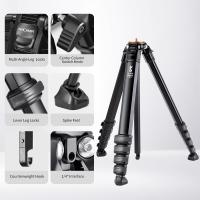
7. Mounting Equipment: Adjustable tripod or frame holder for easy positioning.
8. SD Card (Optional): For local storage if wireless transmission is interrupted.
9. Cooling System (Optional): Heat sinks or cooling fans for prolonged use.
Software/Configuration Tools
1. Programming Environment: Python, Arduino IDE, or other languages based on your hardware.
2. Streaming Software: Open-source software like MotionEyeOS, FFmpeg, or custom tools for handling video feeds in real time.
3. Mobile App or Dashboard: Use interfaces like MQTT-based apps, VLC Media Player, or custom mobile apps for monitor display.
Tools for Assembly
- Soldering kit (if needed)
- Screwdrivers
- Heat-shrink tubing
- Multimeter for testing circuits
- Wire cutters
---
3. Step-by-Step Guide to Building a Wireless Target Camera
Step 1: Assemble the Camera and Wireless Components
Start by integrating the camera module with your chosen microcontroller or processor:
- For Raspberry Pi projects, connect the camera module to the CSI (Camera Serial Interface) port.
- If you’re using an ESP32-CAM, connect the camera directly to the ESP32 board.
Next, connect the wireless communication module (if not inbuilt). Ensure all connections are secured as per the datasheets.
Step 2: Set Up Power Supply
Choose a compatible power system. For portable devices, lithium-ion batteries are ideal due to their high energy density. Ensure the correct voltage levels using a Boost/Buck converter, if necessary. Test the system with a multimeter to prevent power surges.
Step 3: Configure the Software
For Raspberry Pi:
1. Install Raspberry Pi OS and enable the camera interface via the configuration menu.
2. Install streaming software like MotionEyeOS for real-time video.
3. Configure the Wi-Fi module on the Raspberry Pi to ensure seamless wireless streaming, assigning a fixed IP address for easy connection.
For ESP32-CAM:
1. Flash appropriate firmware via Arduino IDE (install ESP32 libraries first).
2. Use libraries like `ESPAsyncWebServer` to set up a streaming web interface.
3. Test the wireless connection by streaming via a browser or app using the camera’s IP address.
Step 4: Develop the User Interface
Whether streaming to a mobile device or computer, the user interface plays a critical role:
- If using a browser-based tool, configure the output as an IP stream.
- For advanced setups, use MQTT or HTTP protocols to create a real-time feed accessible via mobile apps (e.g., Blynk, Home Assistant).
Step 5: Design and Assemble the Housing
Cut and prepare your enclosure to fit all components snugly. Ensure ventilation for cooling and terminal access for power cables. For outdoor use, weatherproof the enclosure with waterproof seals.
Step 6: Test and Fine-Tune
Run multiple tests for:
- Wireless range consistency
- Image/video quality
- Battery life during extended use
- Heat dissipation efficiency
- Target detection accuracy (e.g., adjust camera focus and field of view).
---
4. Common Challenges and Solutions
Challenge 1: Insufficient Wireless Range
Solution:
- Use range extenders or more powerful radio modules for better communication.
- Place the receiving device closer, or switch to a long-range protocol like LoRa if applicable.
Challenge 2: Poor Video Stream Quality
Solution:
- Use cameras with higher resolutions and adjust software encoding to optimize frame rate.
- Reduce bandwidth usage by lowering stream quality when needed.
Challenge 3: Unstable Power Supply
Solution:
- Upgrade to a higher-capacity battery.
- Add capacitors to balance momentary voltage drops.
Challenge 4: Overheating
Solution: Implement cooling methods (e.g., heat sinks or fans), especially for high-energy processors like the Raspberry Pi.
---
5. Applications of a Wireless Target Camera
Once your wireless target camera is ready, it becomes a versatile tool:
- Shooting Training: Aim the camera at a distant shooting range to view shot locations without walking.
- Sports: Capture movements in archery, golf, or other sports for analysis.
- Wildlife Observation: Place the camera near remote locations to monitor animals without disturbing them.
- Science/Engineering: Use the system to monitor experiments or machinery in hard-to-reach areas.
---
6. Scaling and Enhancing the Project
If you want to take this project further, consider the following upgrades:
- AI Integration: Add AI modules to recognize targets and provide automatic feedback.
- Solar Power: Use solar panels for continuous outdoor operation.
- Multiple Cameras: Create a multi-camera setup for larger coverage.
- Encrypted Streaming: Add encryption for secure wireless transmission.
---
7. Conclusion
Building a wireless target camera is a rewarding endeavor that teaches fundamental technical skills in electronics, programming, and wireless communication. Even better, this project provides practical utility in various fields, from sports to security. By following the steps outlined in this guide, you can create a reliable, customizable device tailored to your specific needs.
Remember, the process may involve challenges, but they are an opportunity to learn and experiment. With patience and determination, you’ll have a functional wireless camera to make your tasks more convenient and efficient.


