How Do You Wire Security Cameras?
Installing and wiring security cameras can seem like an overwhelming task for those unfamiliar with the process. However, with the right guidance and tools, you can set up a reliable surveillance system that keeps your property secure and your loved ones safe. In this article, we’ll walk through the essential steps to wire security cameras effectively and highlight practical tips to ensure your setup is efficient and functional. Whether you're working on a residential property, small business, or even a larger enterprise, this guide will empower you to handle wiring tasks like a pro.
---
## Understanding the Basics of Wiring Security Cameras
Before jumping into the actual wiring process, it's essential to have a foundational understanding of the different types of security cameras and their wiring requirements. Security cameras can generally be categorized into two main types based on how they receive power and transmit video data:
1. Wired Systems: These include analog cameras connected to a DVR (Digital Video Recorder) or digital cameras connected to an NVR (Network Video Recorder). Wired systems often require both video transmission cables (such as coaxial or Ethernet) and power supply lines.
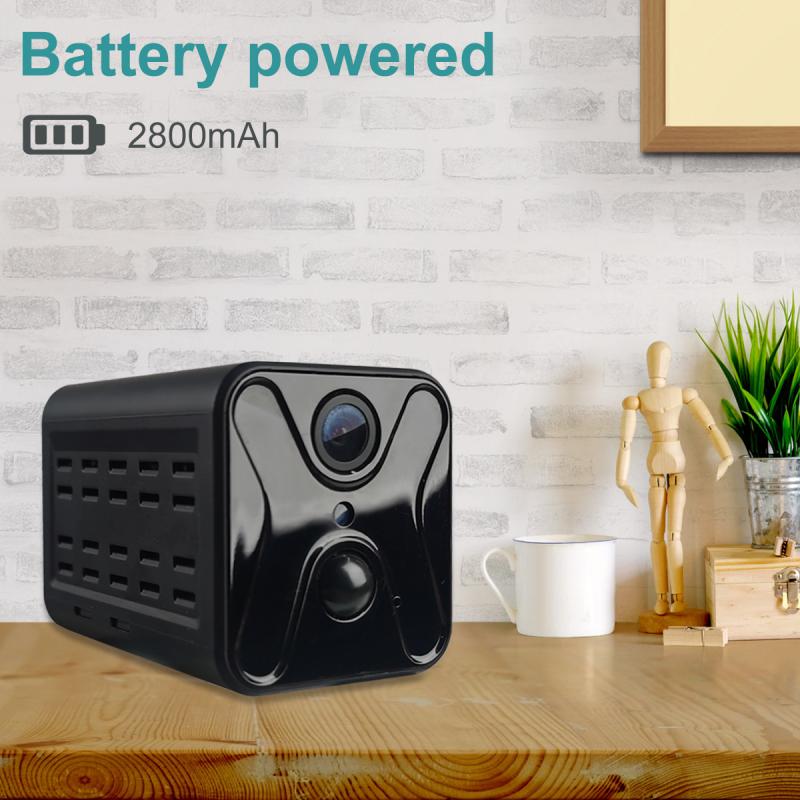
2. Wireless Systems: While wireless cameras transmit video over Wi-Fi, many still require wired power connections unless they run purely on batteries.
In this guide, we will focus on installing and wiring wired security cameras, as they provide a more stable and dependable connection than their wireless counterparts.
---
## Step 1: Planning Your Camera Installation
A successful surveillance system starts with planning. Mapping out your security camera placement in advance will save you time, prevent costly mistakes, and ensure complete coverage of your property.
Conduct a Security Assessment

- Identify vulnerable areas where intruders might gain access, such as doors, windows, and driveways.
- Consider high-traffic zones that require monitoring, such as living rooms, garages, and office spaces.
- Note blind spots to ensure no part of your property remains uncovered.
Determine Camera Types and Equipment Needs
- Dome Cameras: Compact, less obtrusive, and suitable for indoor use.
- Bullet Cameras: Ideal for outdoor settings due to their long range.
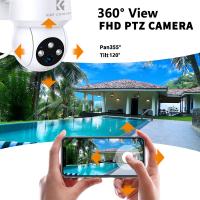
- PTZ Cameras: Pan-Tilt-Zoom cameras offer versatility for monitoring large areas.
- Identify the exact number of cameras you need and the recording equipment (DVR/NVR) that supports your system.
Plan Cable Routes
Decide how the cables will run from the cameras to the recording device and power source. Make note of obstacles such as walls, ceilings, or outdoor features. In most cases:
- Opt for the shortest route to minimize cable costs.
- Avoid areas with electrical interference, such as power lines or heavy machinery.
---
## Step 2: Gathering the Necessary Tools and Equipment
To wire security cameras, you'll need specific equipment and tools. Here's a checklist of the essentials:
- Cameras with mounting hardware.
- A DVR (for analog systems) or NVR (for IP cameras).
- Appropriate cables, typically:
- Coaxial cables with BNC connectors (for analog systems).
- Ethernet cables (Cat5e or Cat6) (for digital/IP systems).
- A power supply unit or PoE (Power over Ethernet) switch for IP cameras.
- A power drill and screwdriver for mounting hardware.
- Fish tape (for pulling cables through walls or ceilings).
- Cable ties, staples, or clips for securing cables.
- Video monitors or testing devices to confirm functionality.
---
## Step 3: Running the Cables
Wiring is a critical step in your installation process, requiring precision and organization.
Analog Cameras: Using Coaxial Cables
1. Attach BNC Connectors: Connect one end of the coaxial cable to your camera and the other end to the DVR. Ensure the connections are secure to prevent signal loss.
2. Run the Cable:
- Start at the camera’s location and work toward the DVR.
- Use fish tape to pull the cable through walls, ceilings, or conduit, minimizing exposure to the elements.
3. Connect Power: Run a separate power cable from the camera to a power supply or use a combined cable (known as Siamese cable) for both video and power.
Digital/IP Cameras: Using Ethernet Cables
1. Connect Ethernet Cables: Attach one end of the Ethernet cable to the camera and the other to the NVR or PoE switch.
2. Run the Cables:
- Ethernet cables carry both power and data when using PoE (Power over Ethernet), reducing clutter.
- If not using PoE, run a separate power cable, or connect via an external power adapter.
3. Manage Cables: Organize cables by tying them along walls or ceilings using cable clips or conduits.
---
## Step 4: Connecting the Cameras
Once all cables are in place, connect your cameras to the recording device and power source.
1. Power Your Cameras:
- Analog cameras: Plug the power adapter into the power outlet or a centralized power supply box.
- IP cameras: If using PoE, ensure the switch or NVR is providing adequate power output for your cameras.
2. Connect to the Recording Device:
- Analog systems: Connect the coaxial cables to the DVR’s video input ports.
- IP systems: Plug Ethernet cables into the NVR or network switch.
3. Test Each Connection: Use a monitor or your computer to confirm the camera feed is functioning. Adjust the connectors if you’re not getting a signal.
---
## Step 5: Mounting and Final Adjustments
With wiring and connectivity in place, you can secure your cameras and fine-tune their positioning.
Mount the Cameras
1. Use a power drill and screws to secure the mounting brackets.
2. Once mounted, attach the cameras to the brackets.
3. Adjust the angle to ensure wide and clear coverage of the target area.
Configure Settings and Optimize
1. Access the camera’s software interface via the DVR/NVR or web application.
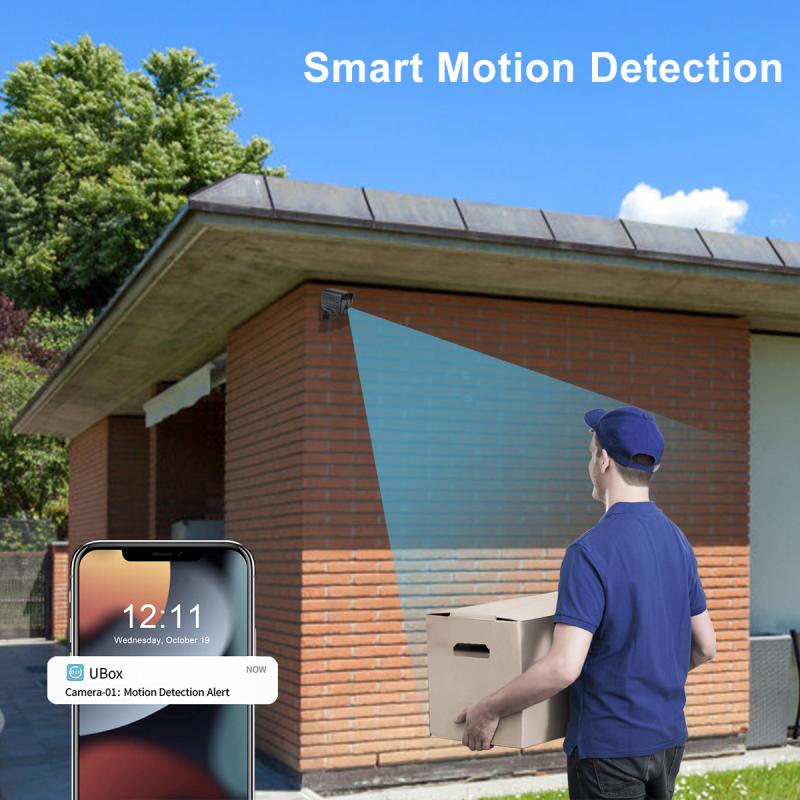
2. Adjust brightness, contrast, and motion detection sensitivity.
3. Set up a recording schedule. Some systems allow for continuous recording, while others can be triggered by motion sensors.
---
## Tips for a Professional Installation
- Label Your Wires: Keep track of which cables correspond to which cameras by labeling them. This simplifies future troubleshooting.
- Use Conduit for Outdoor Wiring: Protect outdoor cables from weather and damage by running them through waterproof conduit or PVC piping.
- Ground Your System: If you’re using a large-scale setup, grounding your DVR/NVR and power supplies can safeguard against power surges.
- Regular Maintenance: Inspect cables periodically for wear or damage to prevent disruptions to your surveillance system.
---
## Troubleshooting Common Wiring Issues
Even with careful planning and execution, issues can arise. Below are some common wiring-related problems and their solutions:
- No Video Signal: Check whether the cables are securely connected. If using analog, ensure the BNC connectors are locked into place. For digital systems, verify that the Ethernet cable is functional.
- Power Issues: Test the camera using another power source to rule out a defective adapter. If multiple cameras are affected, check the centralized power supply unit.
- Interference or Poor Quality Feed: Avoid running cables near high-voltage lines, as electromagnetic interference can degrade signal quality.
---
## Final Thoughts
Properly wiring a security camera system might initially seem daunting, but with the right tools, sufficient planning, and the detailed steps shared in this guide, you’ll be equipped to handle the installation with confidence. A well-wired system not only ensures reliable performance but also minimizes downtime and troubleshooting in the long run.
Remember: the reliability of your surveillance depends largely on how carefully the cameras are installed and wired. Invest the time to do it right, and your property will benefit from robust security for years to come. Whether you’re protecting your home or business, the peace of mind that comes with effective security is well worth the effort.

