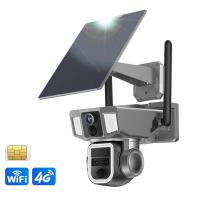
How Access Wifi Cameras On 4g?
Accessing Wi-Fi cameras over a 4G cellular connection is a common use case for people who need remote surveillance without physical proximity to their cameras. This is especially important for scenarios ranging from ensuring home security while away to monitoring a business or property in real-time. However, many users face challenges related to connectivity, setup, and technical know-how. In this article, we will provide step-by-step guidance on how to access Wi-Fi cameras over a 4G network and troubleshoot common issues effectively.
---
Understanding the Basics of Wi-Fi Cameras and 4G Networks
Before diving into technical steps, it’s essential to understand the key components involved:
- Wi-Fi Cameras: These are surveillance cameras designed to connect to the internet via a Wi-Fi network. Most models offer remote access through apps or web interfaces.
- 4G Mobile Network: Refers to cellular connectivity that provides internet access. This can serve as an alternative to Wi-Fi when you’re not on the same local network as your camera.
Wi-Fi cameras are typically designed to work within the local network to which they are connected. To access them remotely via 4G, you'll need to bridge the local Wi-Fi camera to the wider internet securely and efficiently.
---
Methods to Access Wi-Fi Cameras Over 4G
1. Using the Camera's Companion Mobile App
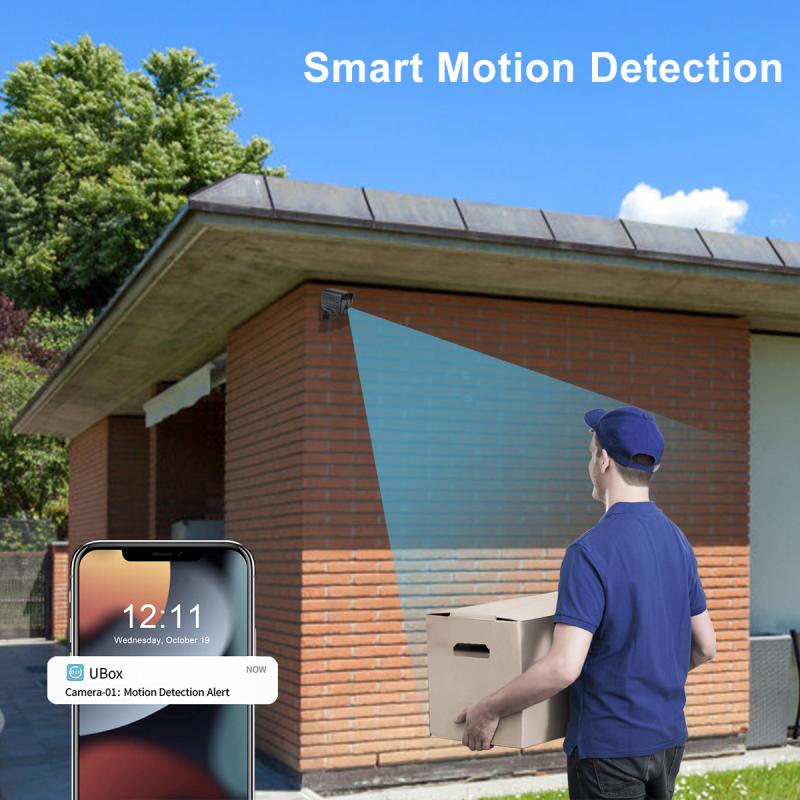
Many Wi-Fi cameras come with a manufacturer-provided companion application (e.g., Arlo, Ring, Blink) for mobile phones and tablets. These apps are optimized for remote access and often serve as the simplest way to connect via 4G. Here’s how to set it up:
Steps:
- Download the app specified by the Wi-Fi camera manufacturer on your smartphone or tablet.
- Connect the camera to your home or office Wi-Fi network using the app interface. Complete the initial setup, such as pairing the camera with your local network.
- Log into the app with a username and password (or QR code scan) that links your camera to your account.
- Enable the app’s remote access feature; this allows you to log in via cellular data when out of the local network.
- Test connectivity by disabling your Wi-Fi connection on the phone and using 4G to access the live feed through the app.
Pros:
- Simple setup for non-tech-savvy users.
- Often includes additional features like cloud storage, motion detection alerts, and activity history.
Cons:
- Some apps or services may require subscription fees for remote access or cloud storage.
- Feature sets might be limited for low-cost cameras.
2. Using Port Forwarding
Advanced users may opt to configure port forwarding on their router to access the camera’s IP address over the internet. This method will bypass third-party apps, allowing you direct access to the camera’s feed.
Steps:
- Obtain the IP address and port number of your Wi-Fi camera.
- Log into your router’s admin panel (typically accessible via a browser at `192.168.1.1` or similar addresses).
- Locate the "Port Forwarding" section in your router settings.
- Create a new rule to forward the camera’s port to its internal IP address.
- Note down your public IP address, which will act as the entry point for remote access.
- Access the camera feed by typing `http://
Pros:
- Direct access without reliance on third-party platforms.
- Greater control for tech-savvy users.
Cons:
- Requires exposing your public IP address, which could pose a security risk.
- Configuration can be intimidating for inexperienced users.
3. Using Dynamic DNS (DDNS)
If your ISP assigns a dynamic public IP address that changes periodically, port forwarding alone won’t suffice. In such cases, you can set up a Dynamic DNS (DDNS) service to map your dynamic IP address to a fixed hostname.
Steps:
- Register for a DDNS service (e.g., No-IP, Dyn, DuckDNS).
- Configure the DDNS service in your router; this will update the hostname with the current external IP address automatically.
- Use the DDNS-hosted domain (e.g., `yourcamera.ddns.net`) in place of the public IP address for remote access.
- Combine this with port forwarding for seamless connectivity over 4G.
Pros:
- Solves the problem of dynamic IP addresses.
- Provides a secure and scalable solution for remote access.
Cons:
- Requires moderate technical skills to set up.
- Free DDNS plans often have limitations.
4. Using a VPN (Virtual Private Network)
A VPN is another secure and reliable option for accessing Wi-Fi cameras remotely. By configuring a VPN on your router or using a third-party VPN service, you can simulate being on the local network even while on 4G.
Steps:
- Set up a VPN server either via your router (if it supports VPN functionality) or by using a service like NordVPN, ExpressVPN, or OpenVPN.
- Configure your device to connect to the VPN.
- Once the VPN connection is active, access the Wi-Fi camera using its internal IP address as if you were on the same Wi-Fi network.
Pros:
- Highly secure method, minimizing exposure to cyber threats.
- No need to rely on third-party apps or port forwarding.
Cons:
- VPN setup may require advanced networking knowledge.
- Free VPN services might not provide reliable connections or adequate privacy.
---
Troubleshooting Common Issues

Accessing your Wi-Fi camera over 4G can sometimes present challenges. Here are some common issues and corresponding solutions:
1. Unstable Connection
- Ensure the 4G signal is strong and stable, as weak signals may cause stream buffering or delays.
- Verify that your internet speed (both upload and download) is sufficient for live video streaming.
2. Cannot Connect to the Camera
- Double-check the camera's network settings and ensure it is functional on the local Wi-Fi network.
- Verify that port forwarding or other remote access methods are configured correctly.
- Restart the router, camera, and your smartphone to rule out temporary glitches.
3. Login Credentials or Permissions Issues
- Confirm the username and password required to access your camera are correct.
- Update firmware for both the camera and its companion app to stay protected from bugs and inconsistencies.
4. Firewall or Security Restrictions
- Check whether your router’s firewall is blocking external access, and configure exceptions for the camera’s IP and port.
- Update security protocols to protect against unauthorized access.
---
Important Tips for Security and Privacy

While accessing your Wi-Fi cameras on 4G is convenient, it’s vital to prioritize security:
- Use Strong Passwords: Avoid default passwords set by manufacturers. Choose strong, unique credentials and update them regularly.
- Enable Encryption: Cameras and apps with SSL/TLS encryption ensure secure data transmission from the device to the user.
- Beware of Open Ports: If using port forwarding, monitor activity logs frequently to ensure that no unauthorized users are exploiting your connection.
- Update Regularly: Firmware updates fix vulnerabilities and enhance performance.
---
Final Thoughts
Accessing Wi-Fi cameras on a 4G network opens up a world of convenience for modern surveillance needs. Whether you’re monitoring your home, workspace, or a summer vacation cabin, the methods described above ensure you can always stay connected to your cameras regardless of your location.
For the majority of users, leveraging the companion app that comes with their Wi-Fi camera is the simplest method. However, if you need more hands-on control or if your setup requires advanced solutions, consider alternatives like port forwarding, DDNS, or VPNs. Finally, don’t forget to follow proper security protocols to keep your system safe from cyber threats.
By following these best practices and understanding the various techniques for remote access, you’ll be empowered to monitor your surroundings with confidence and efficiency.

