D Link Baby Camera Wifi How To Connect?
In an era of constant connectivity, baby cameras with Wi-Fi functionality have revolutionized how parents monitor and care for their children. However, for those navigating this technology for the first time, connecting a baby camera to Wi-Fi can seem daunting. To help, this article will guide you through the process step-by-step, answer common questions, identify potential issues you might face, and offer detailed troubleshooting advice. By the end of this guide, you'll not only be equipped to connect your baby camera to Wi-Fi successfully but also fully understand how to get the most out of this helpful technology.
---
Why Connect a Baby Camera to Wi-Fi?
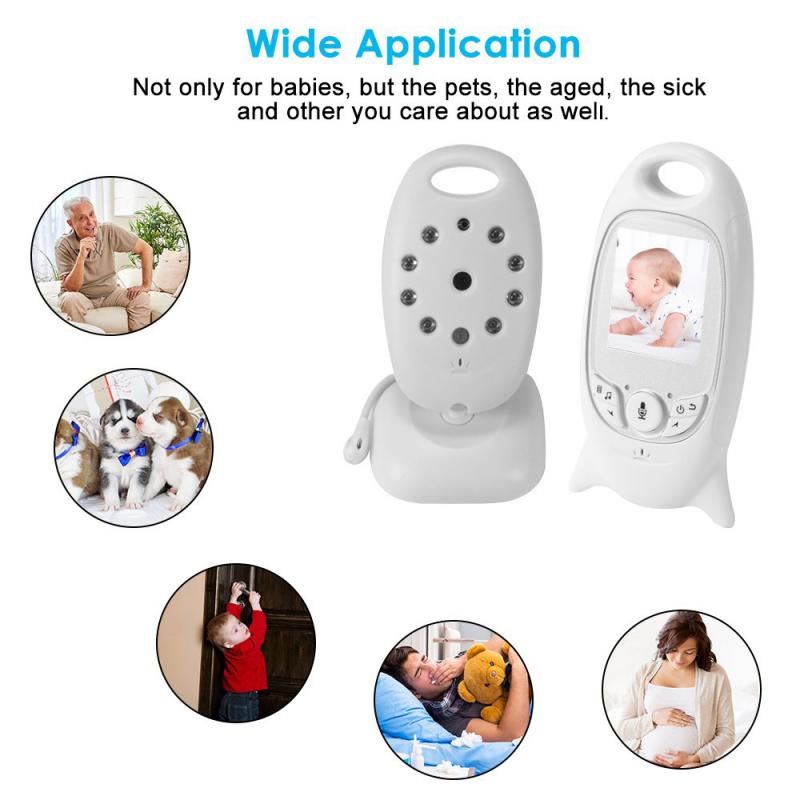
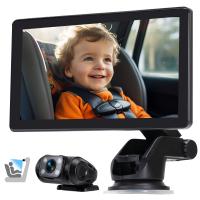
A baby camera with Wi-Fi offers peace of mind through real-time monitoring from anywhere. These smart devices allow parents to see and hear their baby through a smartphone, tablet, or computer, even when they’re not at home. Additionally, many modern baby cameras come with advanced features like motion detection, two-way audio, temperature sensors, and night vision, all of which enhance a caregiver’s ability to monitor their child. Connecting your baby camera to Wi-Fi is the first step in ensuring you utilize these features effectively.
---
A Step-by-Step Guide to Connecting Your Baby Camera to Wi-Fi
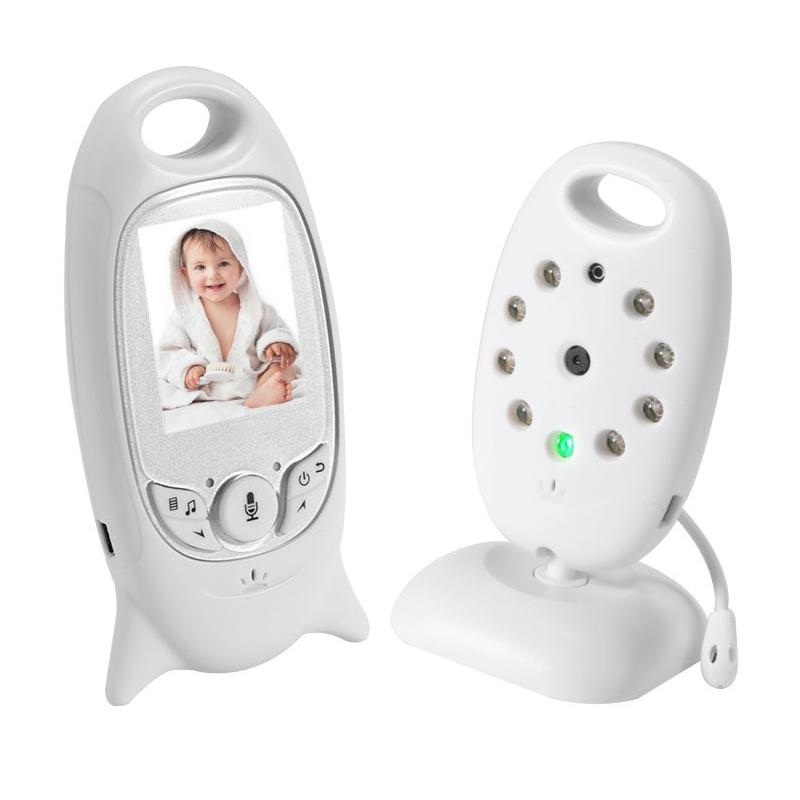
Here is a detailed process for connecting your baby camera to a Wi-Fi network:
1. Check the Camera Compatibility:
Before diving in, verify that your Wi-Fi network and the baby camera are compatible. Most baby cameras support 2.4 GHz Wi-Fi networks, but many do not support 5 GHz networks. Review the user manual or specifications of your baby camera and ensure your router supports the required frequency.
2. Power on the Baby Camera:
Plug the baby camera into a power source and ensure it is turned on. Most devices indicate power through a blinking light or another visual signal.
3. Download the App:
Most Wi-Fi-enabled baby cameras pair with a mobile application provided by the manufacturer. Search for the app in your smartphone's app store and install it. Look for apps like "Hubble Connected" (Motorola baby monitors), "Nanit," or “Infant Optics,” depending on your device model.
4. Create an Account or Log In:
Once you download the app, you’ll likely need to set up an account with an email address. Registering an account helps sync the baby camera to your smartphone and enables you to access its features.
5. Connect to Wi-Fi Via the App:
Follow the app’s on-screen prompts to pair the camera with your home Wi-Fi. Typically, it will involve selecting your Wi-Fi network from a list and entering your password. Some apps may require you to scan a QR code displayed on your smartphone screen using the camera.
6. Confirm the Connection:
Once the camera has connected to the Wi-Fi, the app will notify you with a success message. Some baby cameras have a status light that changes color or stops blinking once the Wi-Fi connection is established. At this point, live streaming and app functionalities should be available.
---
Common Challenges and Troubleshooting Tips
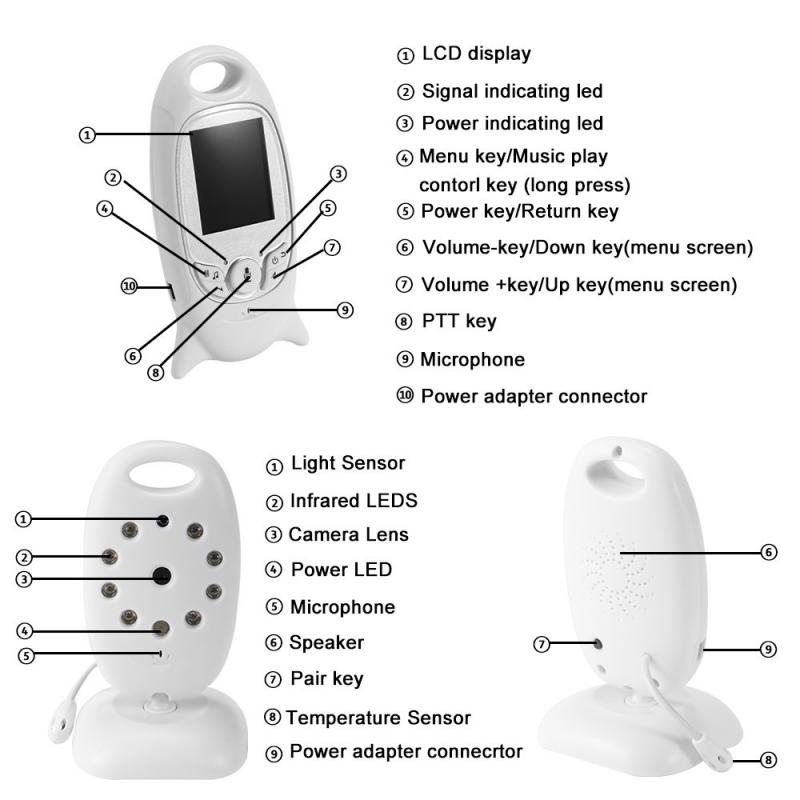
Even with intuitive setups, users often encounter obstacles while connecting their baby cameras to Wi-Fi. Below is a breakdown of common issues and troubleshooting tips:
1. Wi-Fi Incompatibility
As mentioned earlier, many baby cameras are restricted to 2.4 GHz Wi-Fi networks. If your router is set to 5 GHz or dual-band, switch the network to 2.4 GHz through your router’s admin settings. Consult your router's manual for steps or contact your internet service provider.
2. Weak Wi-Fi Signal
A weak Wi-Fi signal can result in connection failures. Ensure the baby camera is within range of your router and that there is no interference from thick walls, metal objects, or other electronic devices. Consider using a Wi-Fi range extender or relocating the router to enhance connectivity.
3. Incorrect Password
Failing to input the correct Wi-Fi password is a common problem. Double-check your password, ensuring there are no typos or omitted characters. Avoid using “copy-paste” functions that may inadvertently add extra spaces.
4. App Malfunctions
At times, glitches or outdated versions of the manufacturer’s mobile app can hinder setup. Ensure the app is up-to-date by checking your app store. If the issue persists, consider uninstalling and reinstalling the app.
5. Camera Not in Pairing Mode
Some baby cameras require manual activation of pairing mode. This may involve pressing a pairing button on the camera itself. Refer to the user manual to verify if your camera requires this step.
6. Firmware Update Required
Outdated firmware on the baby camera can cause connectivity issues. Check the app to see if an update is available for the camera and proceed with the update before attempting to connect again.
7. Confirm Router Settings
Certain router settings or security protocols may block device connections. For instance, the MAC address filtering setting on your router might prevent unknown devices (like a baby camera) from joining the network. Temporarily disable MAC address filtering, if enabled, to connect the camera.
---
Optimizing Your Baby Camera’s Wi-Fi Connection
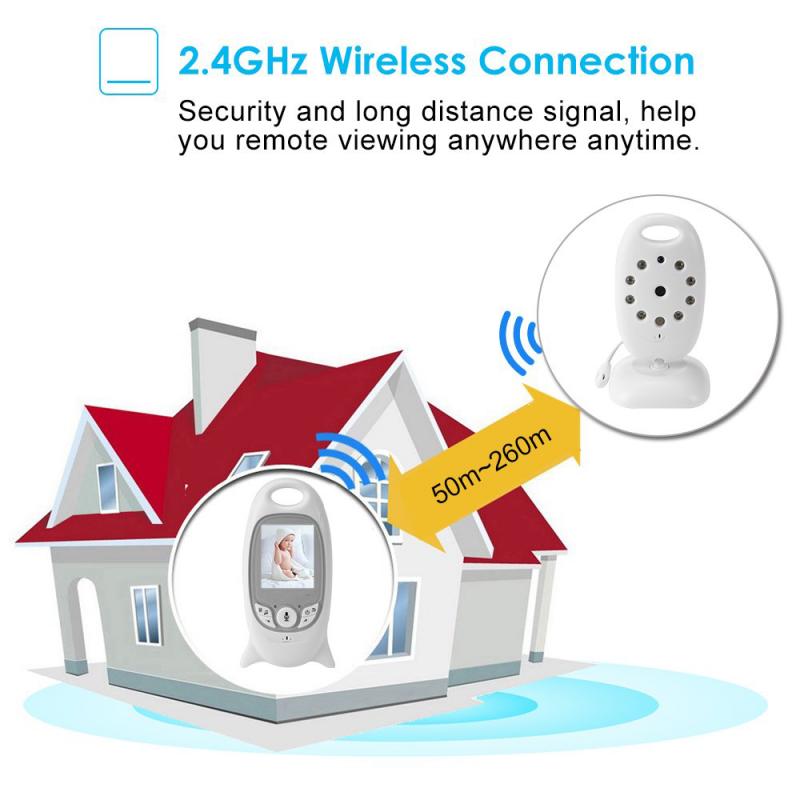
Once your baby camera is connected to Wi-Fi, focus on optimizing its performance to make the most of its features:
1. App Alerts and Notifications
Enable push notifications or alerts for motion detection, sound detection, or other key events. These will ensure that you receive updates in real time, even if you’re not actively monitoring the live feed.
2. Adjust Video Quality Settings
Most cameras allow you to toggle between high-definition (HD) and standard-definition (SD) video quality. If you’re experiencing lag or buffering, switch to SD to ease the strain on your Wi-Fi bandwidth.
3. Schedule Monitoring Hours
Some apps enable you to schedule monitoring hours, which can conserve battery life on your smartphone and reduce unnecessary alerts while still maintaining coverage when you need it most.
4. Secure Your Connection
Ensure your baby camera is secure by using a strong, unique password for your Wi-Fi network. Many cameras and apps also allow you to set a separate password specifically for accessing the camera feed.
5. Back Up Critical Data
If your baby camera offers cloud storage, consider enabling it to store video clips from significant events, such as motion or sound alerts. Cloud storage provides a reliable backup in case footage is needed later.
---
Addressing Security Concerns
Wi-Fi-enabled baby cameras have faced scrutiny for potential security risks, such as unauthorized access by hackers. Following these precautions can minimize your risk:
- Change Default Passwords: Many cameras come with default credentials. Change these immediately to a unique, strong password.
- Use Two-Factor Authentication (2FA): If your camera or app supports 2FA, enable it to add a secondary layer of security.
- Update Firmware and Software Regularly: Manufacturers frequently release updates to patch vulnerabilities. Keep both your camera and app up to date.
- Set Up a Guest Network: Assign your baby camera to a guest Wi-Fi network on your router. This isolates it from your main network, limiting potential exposure to your other devices.
---
Wi-Fi-enabled baby cameras are not only profoundly convenient but also offer parents a remarkable sense of security. By following the simple connection steps and addressing potential challenges using the troubleshooting tips listed above, you can ensure a stable and secure connection to your baby camera. As a result, you’ll gain the ability to monitor your little one effortlessly whether you are at home, at work, or even on vacation.
Further optimizing your baby camera’s settings while prioritizing security practices will enhance your experience. Remember, the key to making the most of any technology lies in understanding how it works and staying proactive about maintaining its performance. While the setup process may seem technical at first, it quickly becomes second nature, allowing you to focus on what matters most—your baby’s safety and well-being.


